Adobe Premiere Pro (Pr)- Tutorial 1
Basic Edit in Premiere Pro
Difficulty: Basic
What you will learn: Create a project in Premier Pro, Import media, Edit using a variety of tools, Export finished standalone media file
Finding open media to use
See our "Copyright for Digital Media" guide to help with sourcing open and/or free media to use.
Step 1 - Setup your workspace
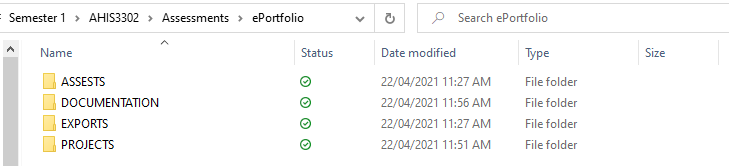
- In your 'Documents' folder create a new folder for your project
- Inside this folder you will create four sub folders
- ASSETS
- This folder will hold all the images, videos and sounds you wish to use. I recommend assigning a new sub-folder to each media type.
- DOCUMENTATION
- This folder will hold your assessment paperwork including AV script and Copyright details.
- EXPORT
- This is the folder you will export your final product to.
- PROJECTS
- This will be the folder that you create your Adobe Premier Pro project in.
- ASSETS
- Place your media in your 'ASSETS' folder. It is recommended that you organise your media into folders to make it easier to find.
- E.g. Audio, Images, Video
Step 2 - Create a new project
- Select 'New Project'
- Give your project a name and save it in your 'PROJECTS' folder

These tabs are found at the top of your workspace. Most of your work will take place under Editing.
Useful options under other tabs:
The Learning tab contains Adobe created tutorials and materials to help you develop your skills in Premiere Pro.
Color allows you to adjust contrast, sharpness, temperature, white balance etc. of your media.
Effects transitionary effects as well as audio and visual effects are found here eg. Dip to black, cross dissolve, noise reduction etc. These can be selected from drop down menus and dragged into the timeline.
Audio adjust volume easily with slider bar.
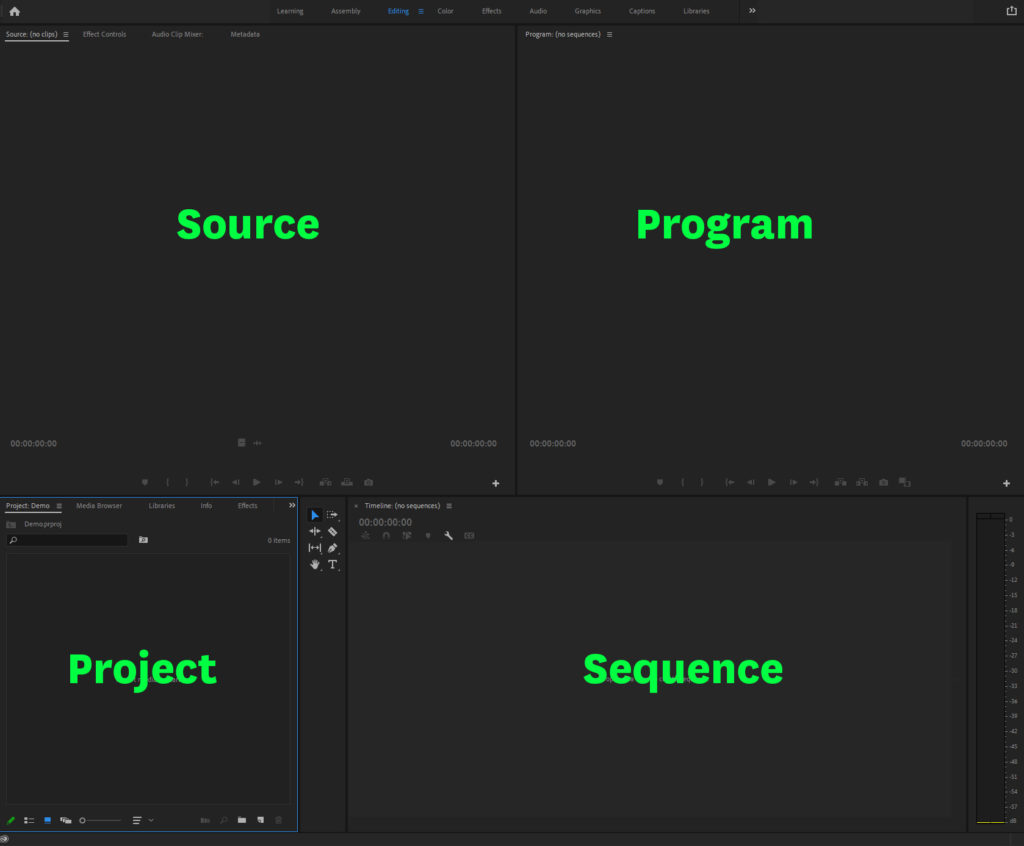
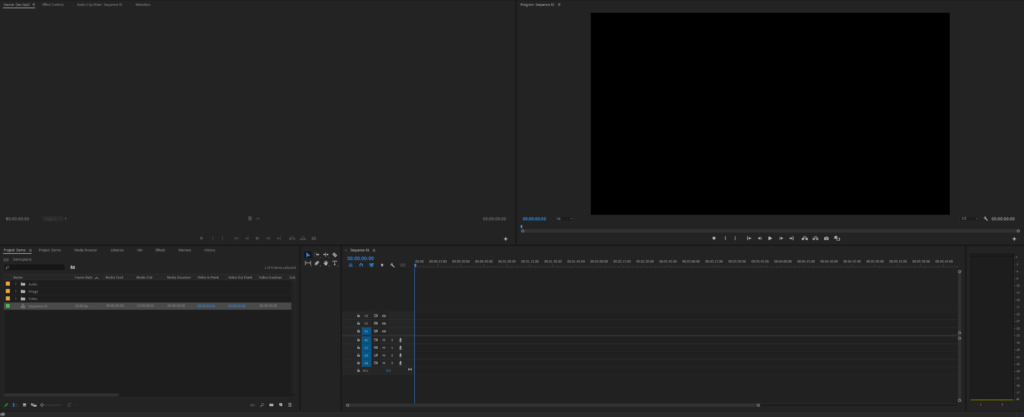
Step 3 - Understanding the interface
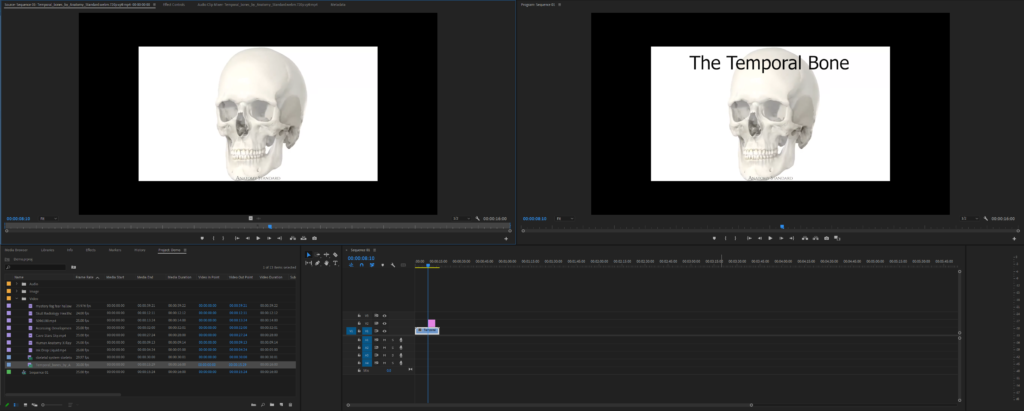
- Top Right Field — Is a called ‘Program’, this preview of your work so far.
- Top Left Field — Is called ‘Source’, this is a preview of the single asset you wish to use. It also contains 'Effect control' – you will be able to scale, position, animate and control volume on your media items from here and make changes to other details such as size, colour, font, etc.
- Bottom Right Field — is called ‘Sequence’, this is the field that you will put your assets in in the sequence you wish for your video. The majority of your work will occur here. In this panel you can order and cut your media (photos, videos, sound), change their properties, and add effects.
- Bottom Left Field — is called ‘Projects’, this field will hold all the assets you want to use in your sequence, you can preview these in the ‘Source’ field. Your imported media files will be here. You can also import by browsing from your computer through “Libraries”
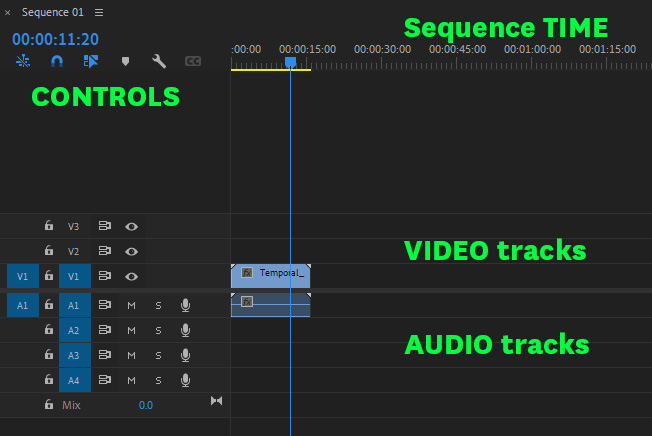
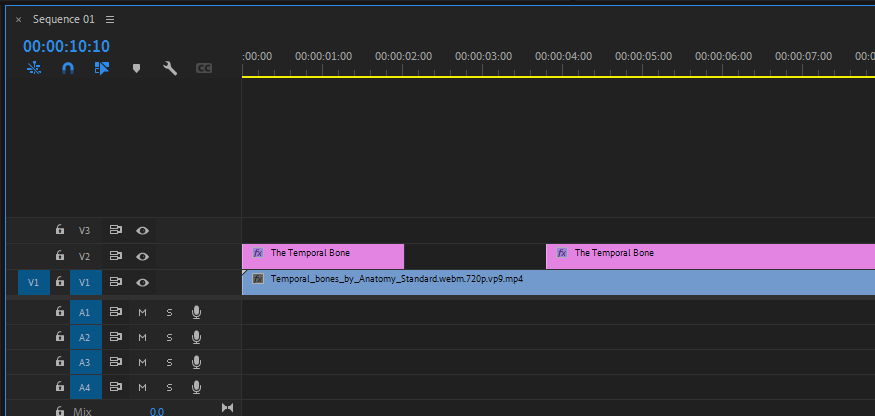
A view of the ‘Timeline’ workspace with media items imported. Pictures and added text in pink, audio in green and video in blue.
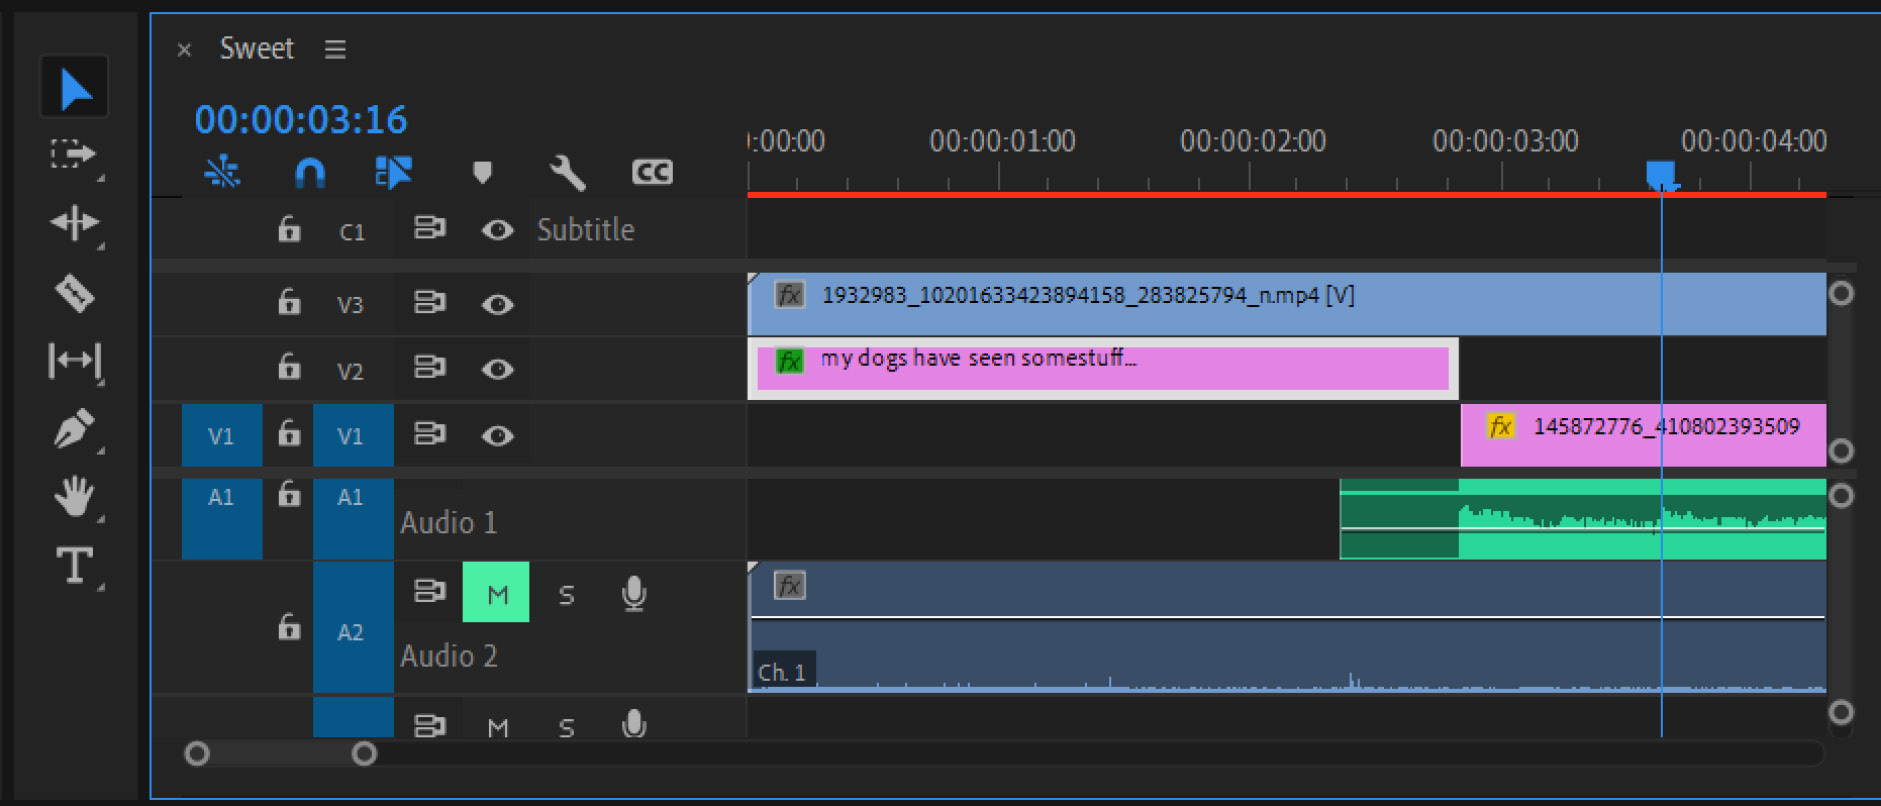
NOTE: the visual and audio portion of a video will be split in two by Premiere Pro. You can mute the audio (highlighted green M) or blind the visual and have only audio (toggle eyeball icon). You can also unlink the two by right-clicking and pressing “unlink” you can then trim, delete, cut one portion without affecting the other.
The scroll bar at the bottom and on the sides also work to ‘zoom’ in on your items. Dragging the circle ends of the bottom bar closer will allow you to see less of the overall video and let you focus on seconds of detail. This is very useful for pacing and trimming.
To order your items, you simply click and drag where you want your images/audio/text to appear in the video.
You can trim/crop the length of your media items by hovering your cursor at the beginning or end of its rectangle. A red bracket will appear; hold left-click and drag.
Step 4 - Import and organise your assets
- Select the ‘Projects’ field, then in the top left choose ‘File’ → ‘Import’.
- Locate your assets folder to import them into Adobe Premier Pro


3. Right click on an empty space in your ‘Projects’ field and selecting ‘New bin’
-
- A bin is a folder. Use this to organise your assets by dragging them into folders.

Step 5 - Setup a sequence
- You will first need to select the sequence field, then go to File > New > Sequence.
- Under the ‘AARI’ dropdown open '1080p' and select the ‘ARRI 1080p 25’ option
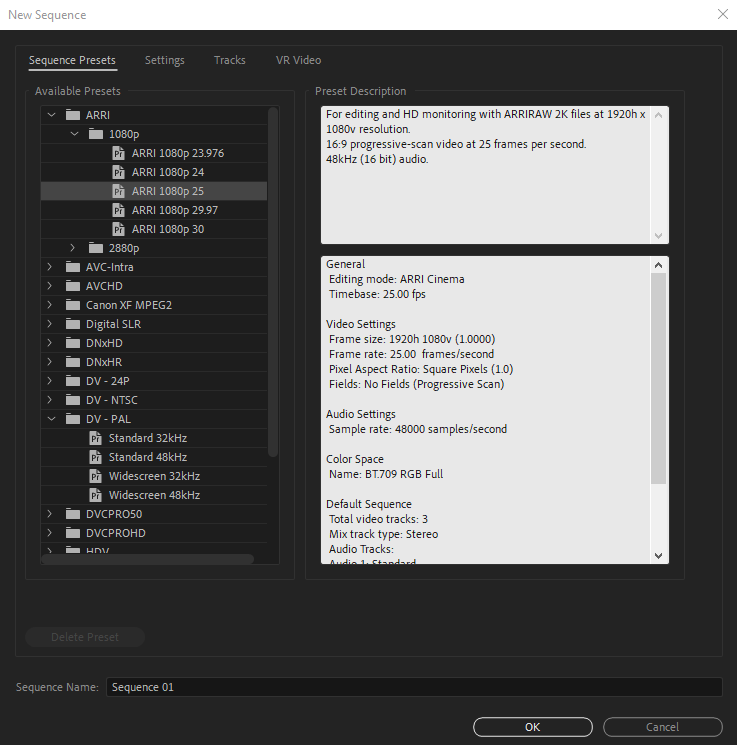
- Once created you will see your sequence appear in your ‘Projects’ field.
- You may create many different versions of a sequence with your assets without having to repeat steps 1-4.
- Your screen should now look something like this:
Step 6 - Add assets to sequence
- Simply select the asset you want from the 'Projects' field and drag it onto the timeline now in your 'Sequence' field.
- If prompted select "Keep existing settings"
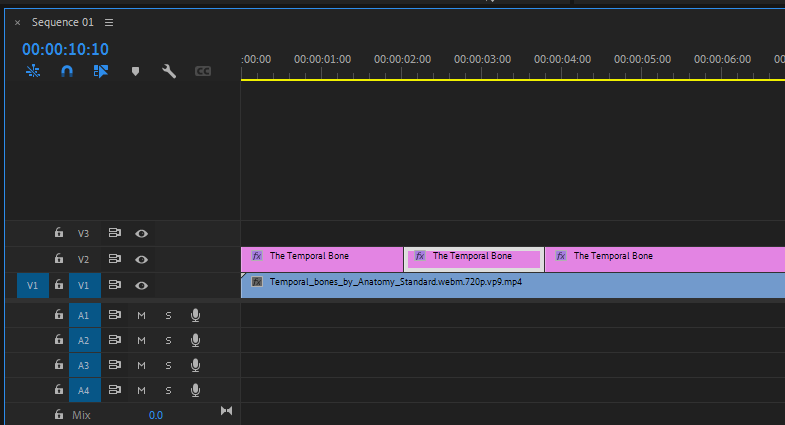
- You will notice that your timeline is divided top and bottom
- The top labelled as 'V1-V3' is for visuals
- The bottom labelled as 'A1-A4' are for audio
- Be mindful that many videos also contain audio and this can be removed or edited separately.
Step 7 - Edit your assets
First, select the 'Arrow Tool' ![]() located in the box between your 'Projects' and 'Sequence' fields
located in the box between your 'Projects' and 'Sequence' fields
In your 'Sequence' field, click and drag your assets along the timeline until you're happy with the order that your assets will appear.
To edit a piece of media select the picture, audio, video file in the timeline, drag the video marker to a point on the timeline that includes the media file (if visual) so you can preview the changes.
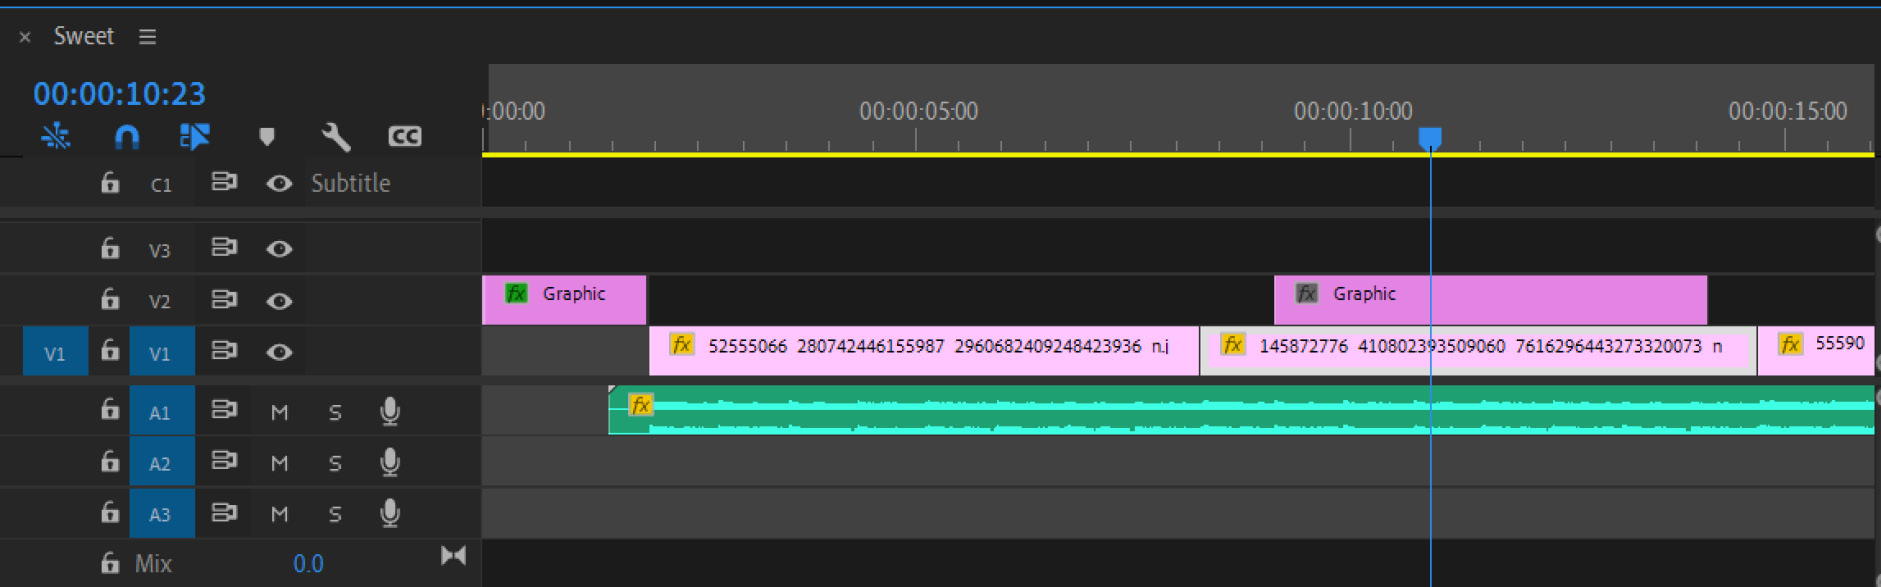
In the above screenshot the selected media item has a light grey outline and the blue running bar is over it.
Drag your assets up and down to change which track they are playing in
- This is useful if you wish to layer different media during the same time. E.g. Text or Subtitles
To decouple audio attached to a video file right click on the video in your timeline and select 'Unlink' from the menu
- This will allow you to delete any unwanted audio by selecting only the audio track and hitting the 'Delete' key.
To trim the length or extent the length of an asset in your timeline.
- Click on the asset in your timeline sequence, a thick boarder will appear around it.
- Hover your mouse over either end of the selected asset → A red arrow icon will appear
- The direction of the arrow points to trimming or extending
To chop a video up and only use sections of it, Select the 'Razer Tool' ![]() from your tools field
from your tools field
- Click on your asset in your timeline sequence at a desired location to snip the video at that location
- You can make as many of these snips as you like
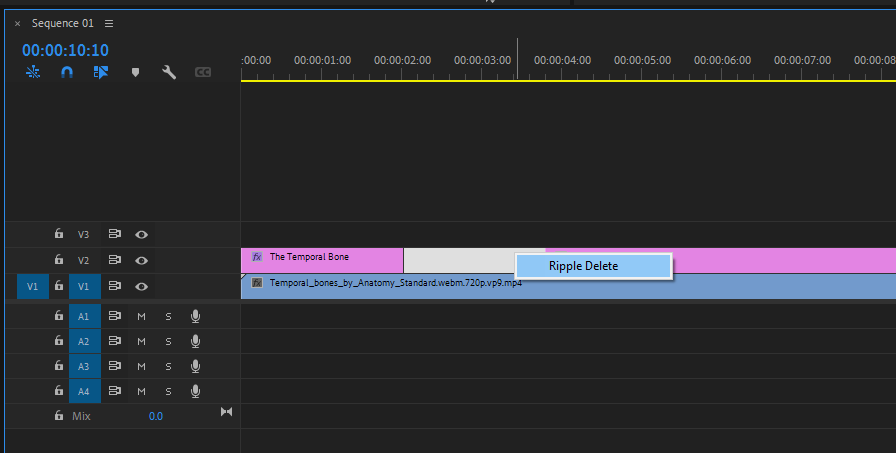
To delete the middle section simply select that section in your timeline sequence and hit the 'Delete' key
To remove the gap in your sequence without having to drag up the other assets that further down your timeline sequence right click on the gap and select 'Ripple Delete'
This is particularly useful for sniping and editing recorded audio for your video within Adobe Premier Pro.
Step 8 - Adding text
Choose your desired location in the timeline by sliding the blue timescale bar left or right in your 'Sequence' field.
Select the 'Text Tool' (T icon) from the same 'Tools' field you found your 'Arrow Tool' in.
Select anywhere on the preview in your 'Program' field (top right) and enter your text.
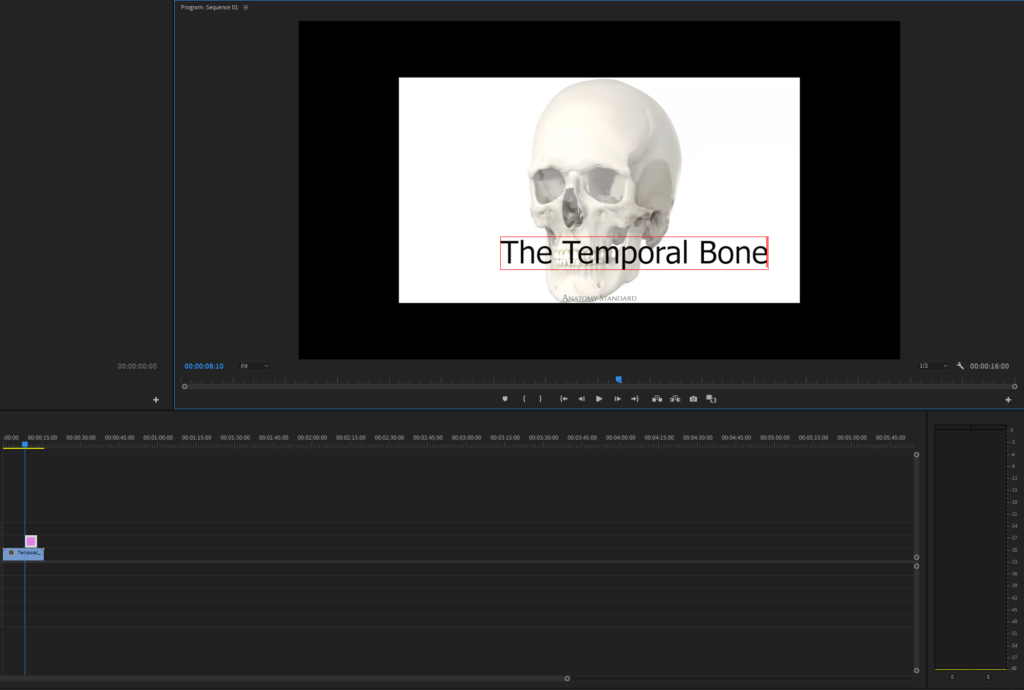
This text can be moved around until you're happy with its placement by clicking and dragging it around in the 'Program' field.
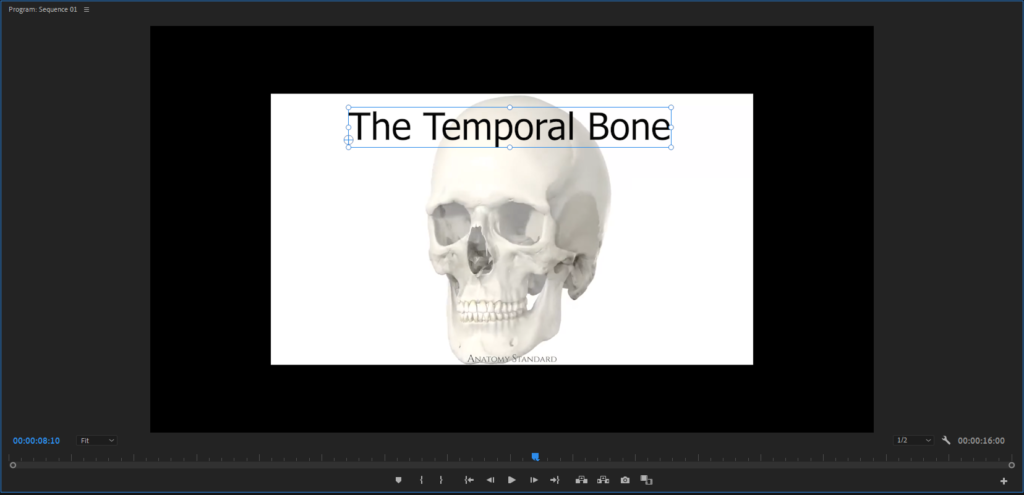
Note that this makes a new item on the top track of the timeline in your 'Sequence' field. If you want to move this text to a later point in your timeline simply drag it along.
Step 9 - Edits assets and effects in source window
To change specific details of your assets such as colour or size simply double click on the desired asset in your timeline sequence.
This will open that asset in your 'Source' field (top left)
Note that text cannot be previewed in this field, however you can still access the settings for your text in the same manner.
In the 'Source' field select the 'Effect controls' tab to access the settings for your asset.

Effect controls can be used to change the size, opacity, position and a variety of other things with your assets.
When an asset is selected in a sequence, options will appear under Effects Control. Below is for an image.
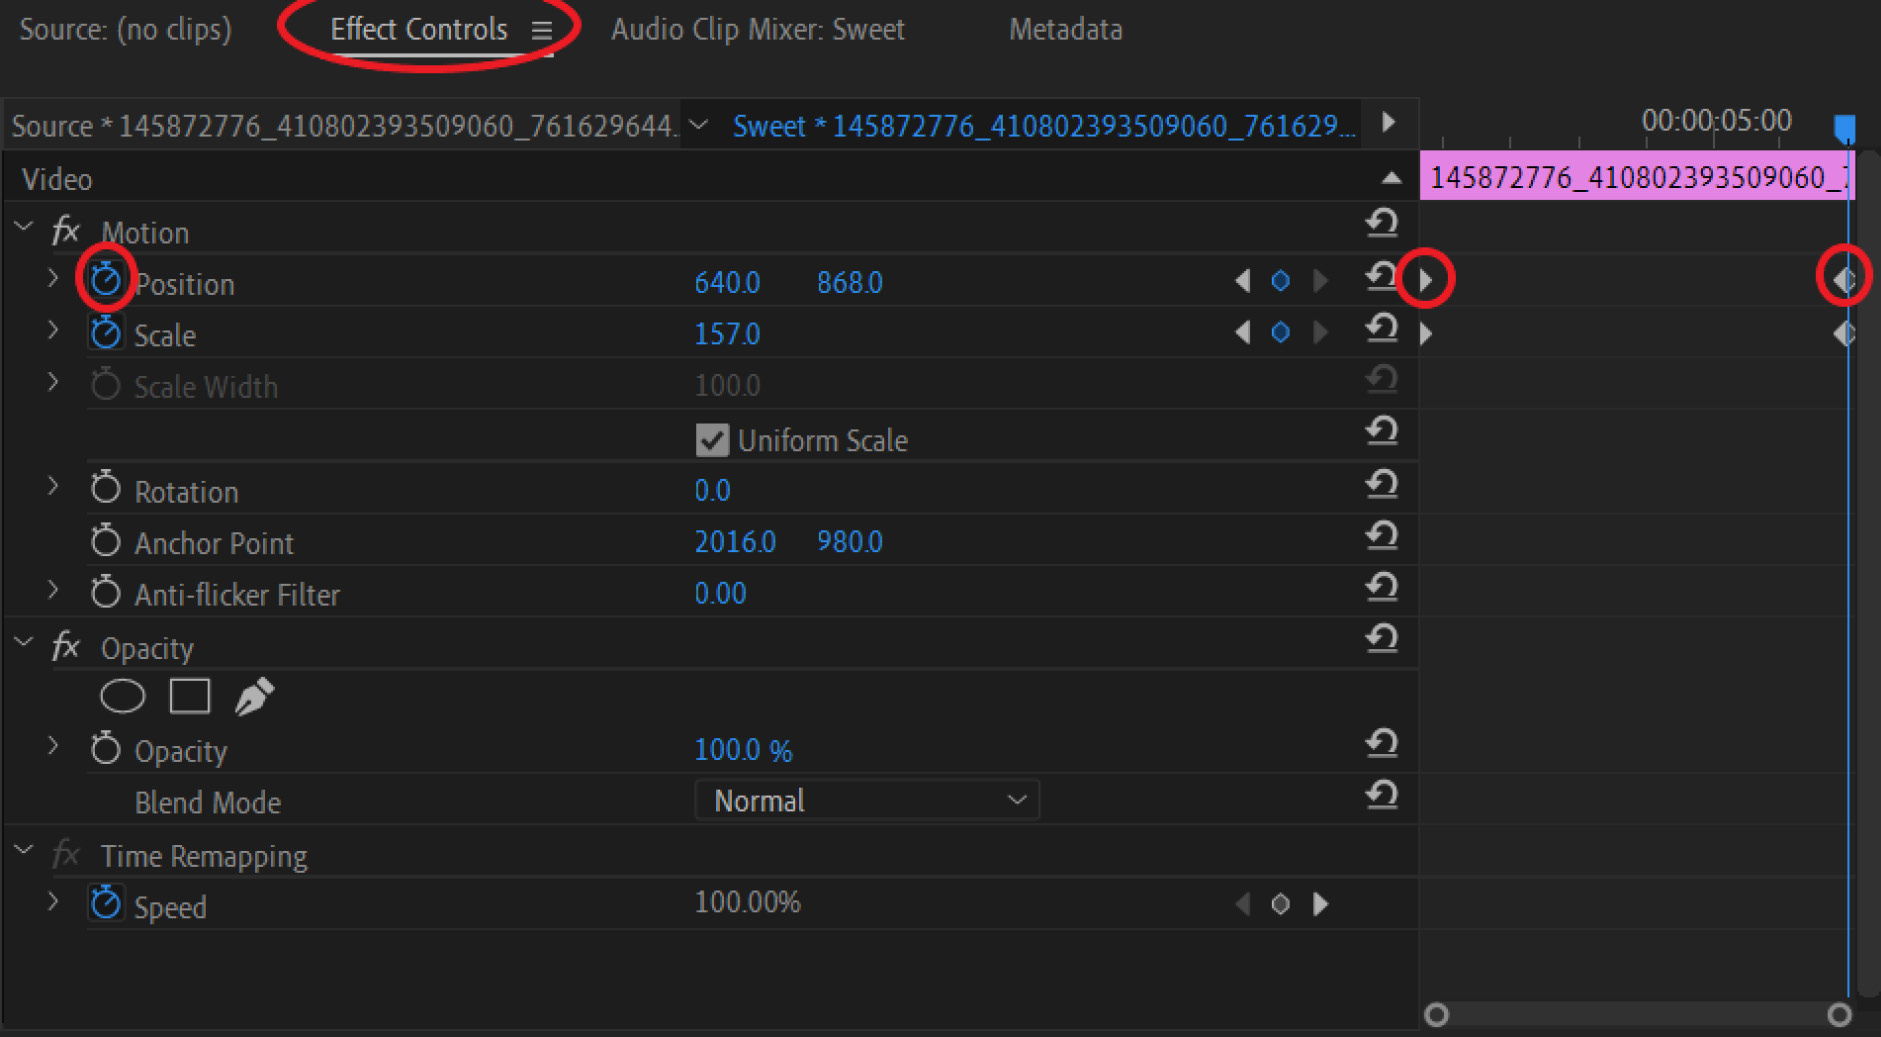
Position → left number (640 in the image above) will move the selected media item horizontally, right number (868 above) will move vertically.
Scale → adjusts size of the image
Rotation → what it sounds like
You can edit these numbers but double-click or by holding left-click and sliding left or right. I’d recommend left-click as you can see in real-time in the preview window how your item is changing.
You can ‘animate’ your scaling/positioning etc Ensure the blue running bar is placed when you’d like the ‘animation’ to begin and then toggle the stopwatch on the left (blue toggled on) this creates a “keyframe” seen on the far right, play through to when you’d like it complete; adjust your scaling/positioning/rotation/opacity to the setting you’d like it to finish at; this will create another “keyframe”. These keyframes, create a smooth transition such as zooming, panning, fading or simply adding some movement to still images to make your video more dynamic.
*this keyframe method also works for fading music in and out*
When an audio piece is selected, the Effects Controls panel will look like this:
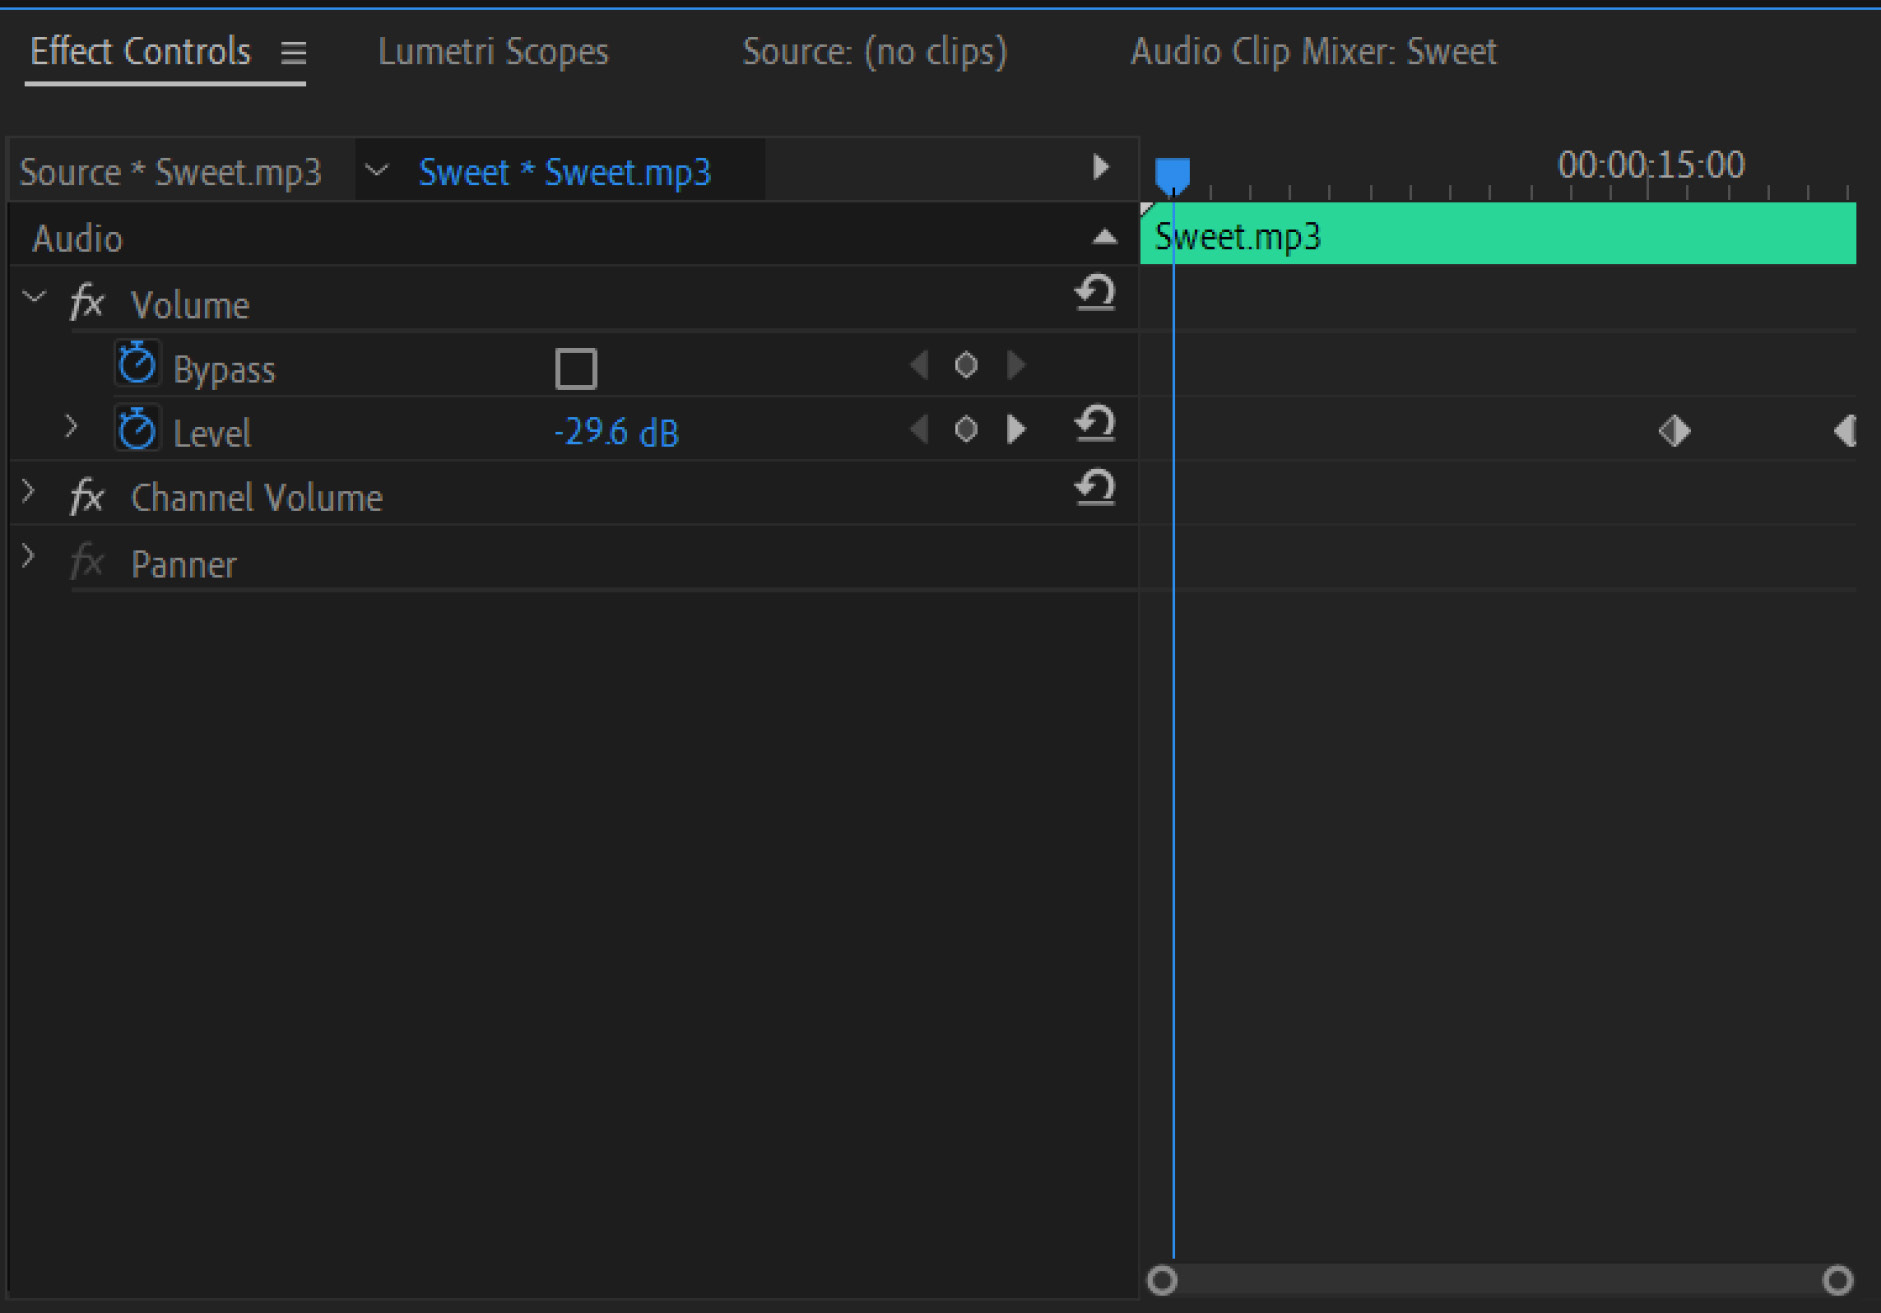
“Level” will adjust the volume.
Step 10 - Adding transitions
The effects tab at the top of the workspace will open a panel with drop downs of Premiere’s inbuilt effects. You can also find this list as one of the tabs on the Project part of the workspace.
Open the Video Transitions folder.
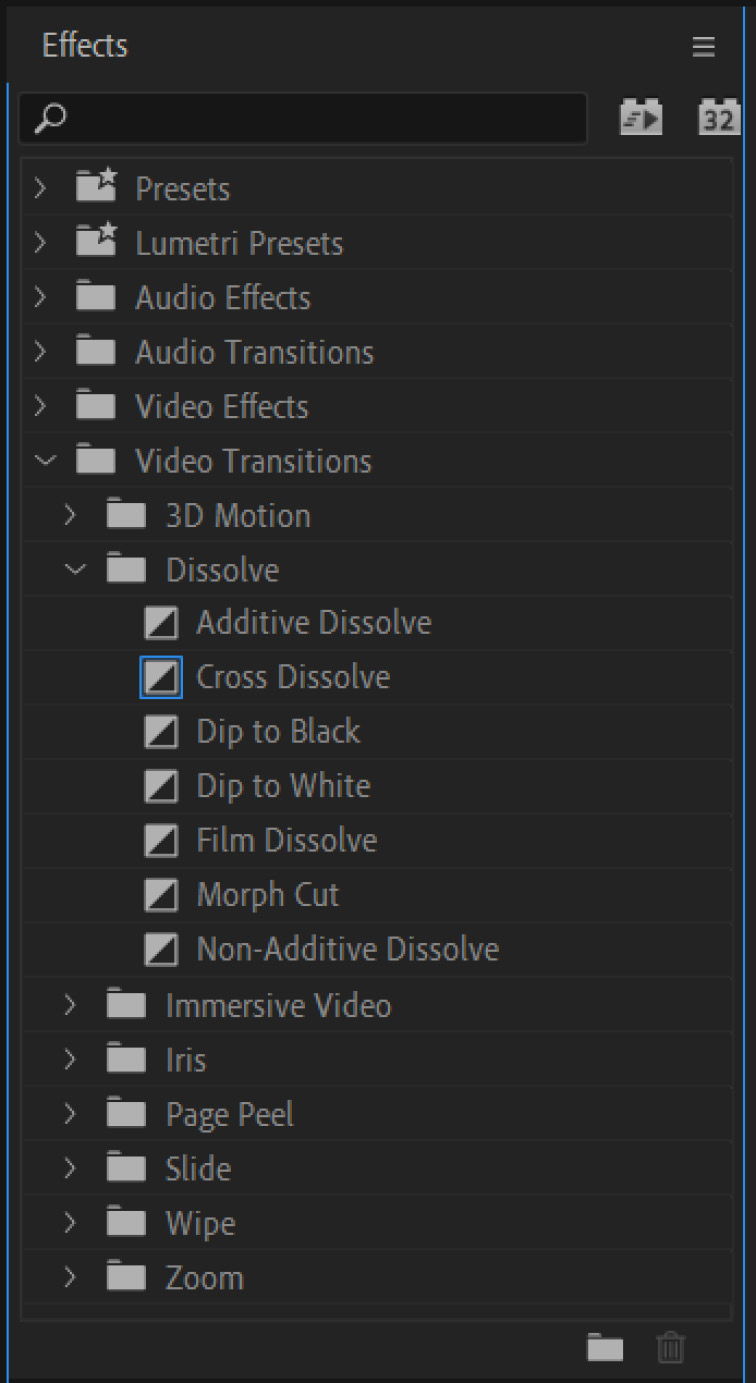
Once you find an effect you’d like to use eg. Cross Dissolve (selected above you can simply click and drag to the meeting point of 2 media items.
This will create an effect box within the media item boxes.

Effect durations can be trimmed down or extended by hovering at the beginning or end of this box.
*Some effects can only be placed between two items, some only at the beginning or end of items*
Step 11 - Exporting your video
To preview the final product of your video drag the timescale bar to the start of your sequence and press the 'Play' button in your 'Program' field (Alternatively, press the 'Spacebar')
Do not worry if it skips and lags, Adobe Premiere Pro is attempting to play your video before rendering it. Large files with many assets or older computers may struggle.
Once you are happy with your final product and are ready to export it
- Select your 'Sequence' field. This is important as it tells Premiere what to export. When your sequence is the focus, it should have a blue line around it.
- Go File > Export > Media in the top left-hand corner of Adobe Premier Pro
- In the window that appears, name your final video by double-clicking on the blue text next to the 'Output Name' option under the 'Export Settings' box in the top left
- Select the 'EXPORTS' folder you created in your documents earlier as your export location and give your project a name.
- Click on the 'Format' dropdown and choose 'H.264'.
- Click on the 'Preset' dropdown and choose 'Youtube 1080P full HD'
- Simply press the 'Export' and wait for your video to render. If you have multiple edits to export, you can chose 'Queue' which will add the video to Adobe Media Encoder. You can do many videos at once this way or you can keep working on another edit whilst it exports.
- Navigate to your 'EXPORTS' folder in your documents and play your finished video.

Originally developed by Crystal Miller and Stephanie McFarlane, April 2021