Difficulty: Basic
What you will learn: How to use text tools, animators, keyframes and transformation variables to create customisable text animations.
Step 1 – Creating Text
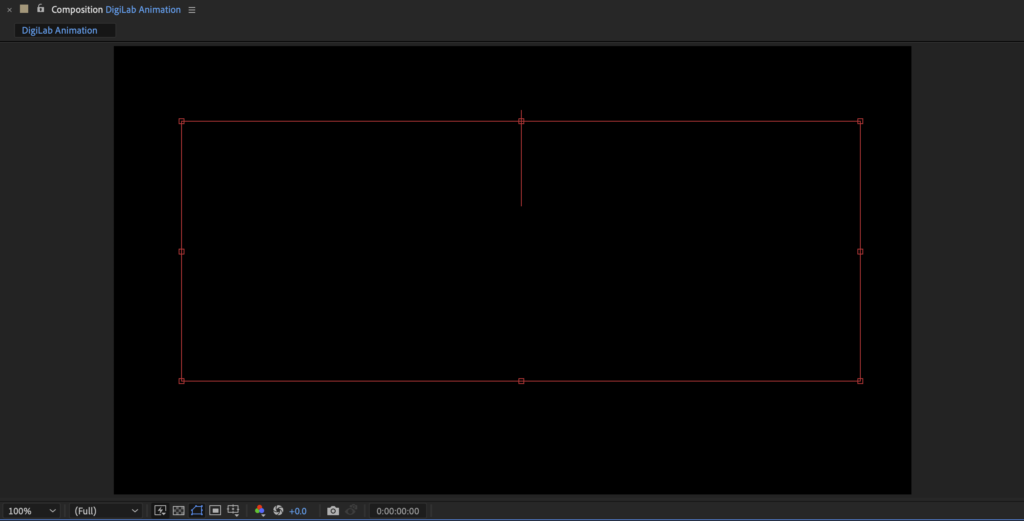
- Create a new After Effects project and composition from scratch.
More information on creating projects is in this guide [Beginning an After Effects Composition]. - Create a text layer by selecting the Text Tool icon (looks like the letter “T”) on the top left hand side of the screen and dragging out a text box in the composition window.
- Type the word or words you’d like to animate in the text box and highlight it with your cursor so all of the text is selected.
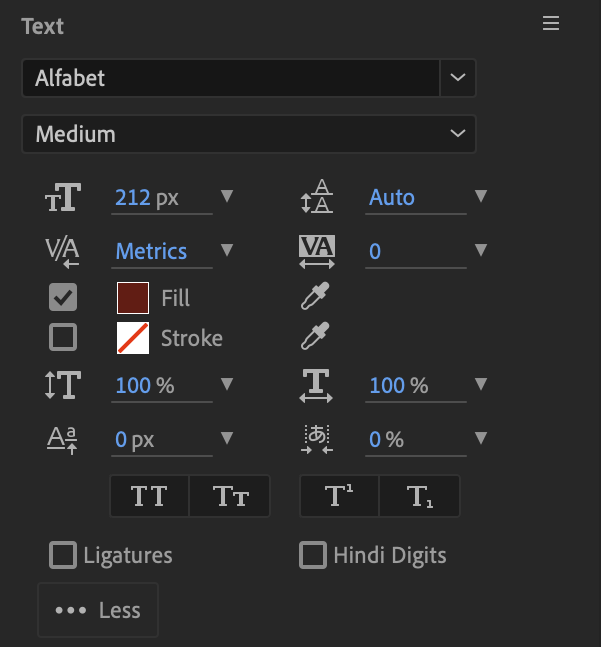
- Go to the “Text” panel at the right side of the screen and select a font type and a font size by manipulating the drop down menus.
Note: The size will be how big you want the text at the end of the reveal animation. You will only be able to manipulate these variables if all the text is highlighted.
Step 2 – Manipulating Position & Alignment
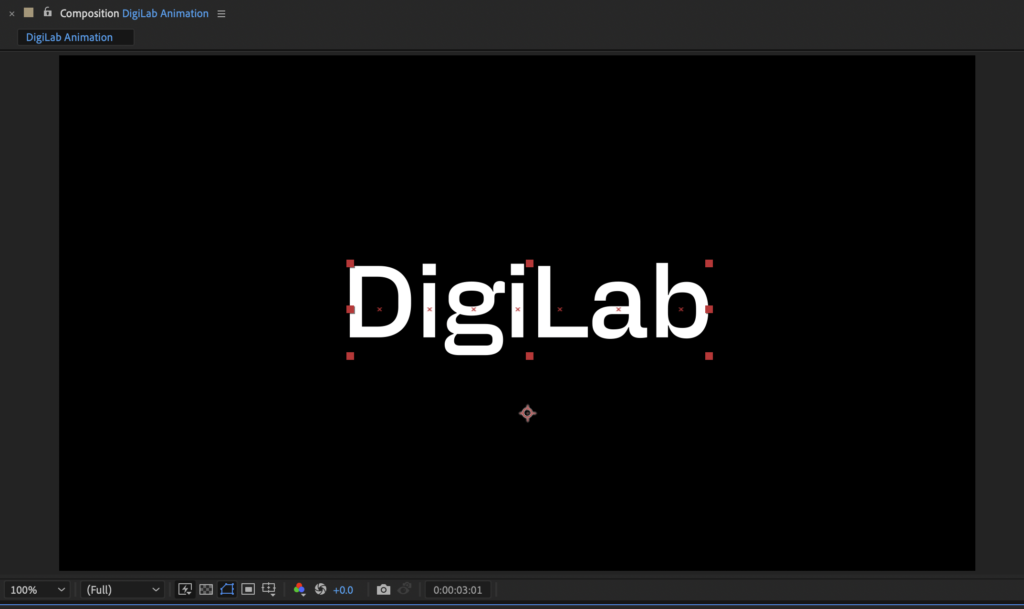
- Click the Selection Tool at the top left hand side of the screen (looks like a mouse pointer) to get out of type mode and select the newly created text box.
- Adjust the text so it sits in the middle of the composition by clicking and dragging anywhere on the box with the Selection Tool.
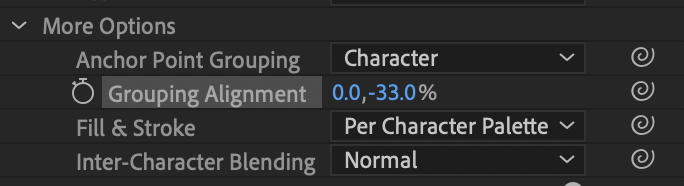
- Go to the text layer on the bottom left hand side of your screen and click the arrow next to “Text”, and then “More Options”.
Note: The text layer’s title should be the words typed in the composition window text box. - Click and drag on the Grouping Alignment to change its value so it sits right in the middle of your text.
This will determine where the animation originates from.
Step 3 – Creating an Animation
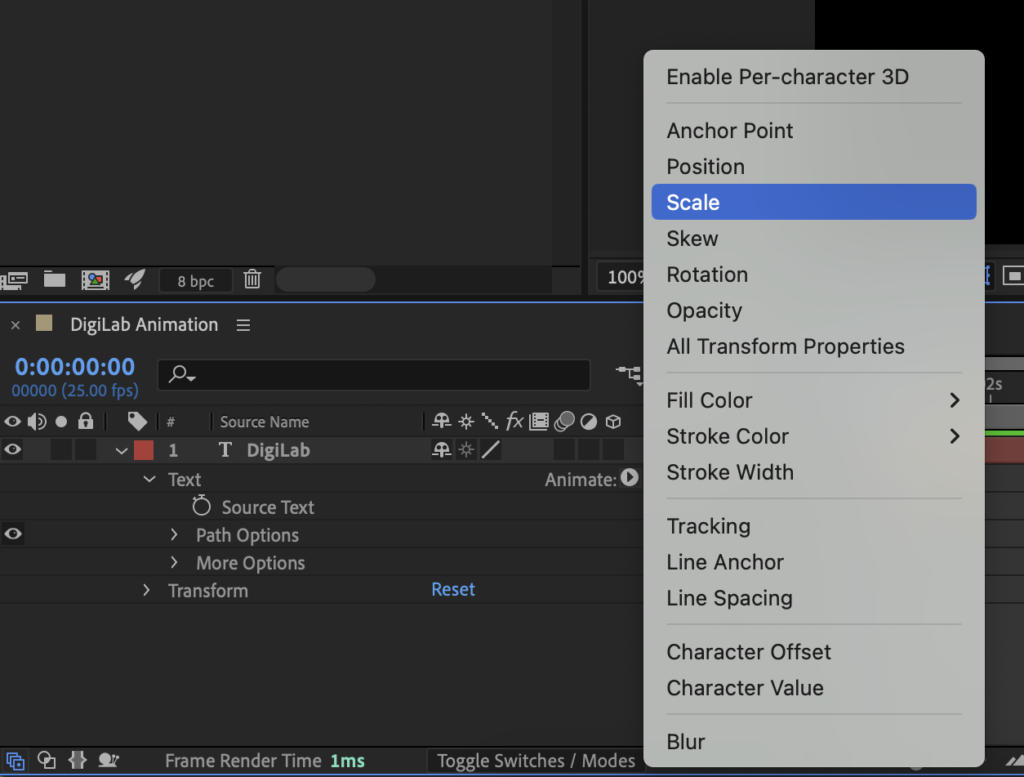
- Collapse those options menus by clicking the arrows again and then click on “Animate” and then “Scale”.
This will set us up to manipulate the size of the text via animation.
- Navigate to “Animator 1” and adjust the size of the Scale by clicking and holding your cursor on the blue numbers and dragging either down or left until none of the text is visible anymore.
This will be the value that the animation starts at. For this animation we want the text to start non-visible. - Select “Range Selector” and then “Advanced” and change the shape of the animation’s path by navigating the drop down menu and selecting “Ramp Up”.
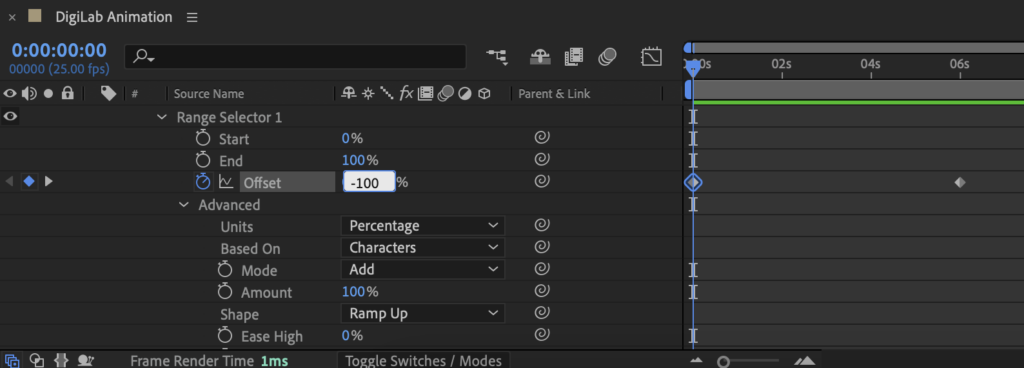
- Go back to “Range Selector” and set the value of “Offset” to “-100”.
Offset in this context determines which characters are subject to our determined values, the change in this value over time is what is going to give us our animation. - Select the stopwatch icon next to “Offset” while your playhead is at the beginning of the timeline. This will create a keyframe with the value “-100” where your playhead sits.
A keyframe is the start and end point of an animation. - Pull the blue playhead icon on the timeline a few seconds forward and type “100” into the value of “Offset”.
This will create another keyframe, telling After Effects how much you’d like the value of “Offset” to change over this period of time. Whatever length you set this to be will be the length of the animation, I recommend making this one at least 5 seconds.
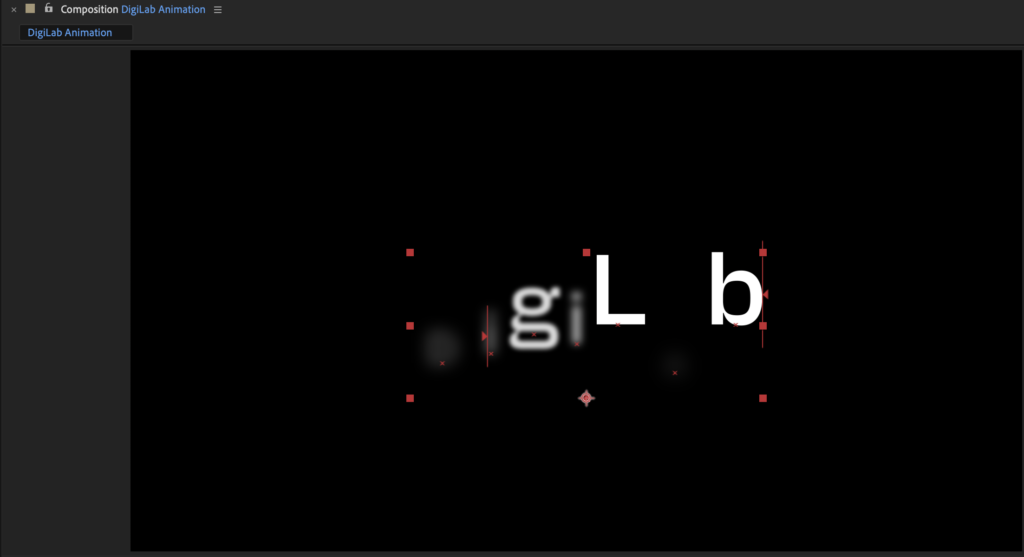
- Play the video and each character will go from the set scale value to its original value independently. Click “Randomize Order” at the bottom of “Advanced” to randomly decide which character gets animated at what time.
Step 4 – Adding Depth
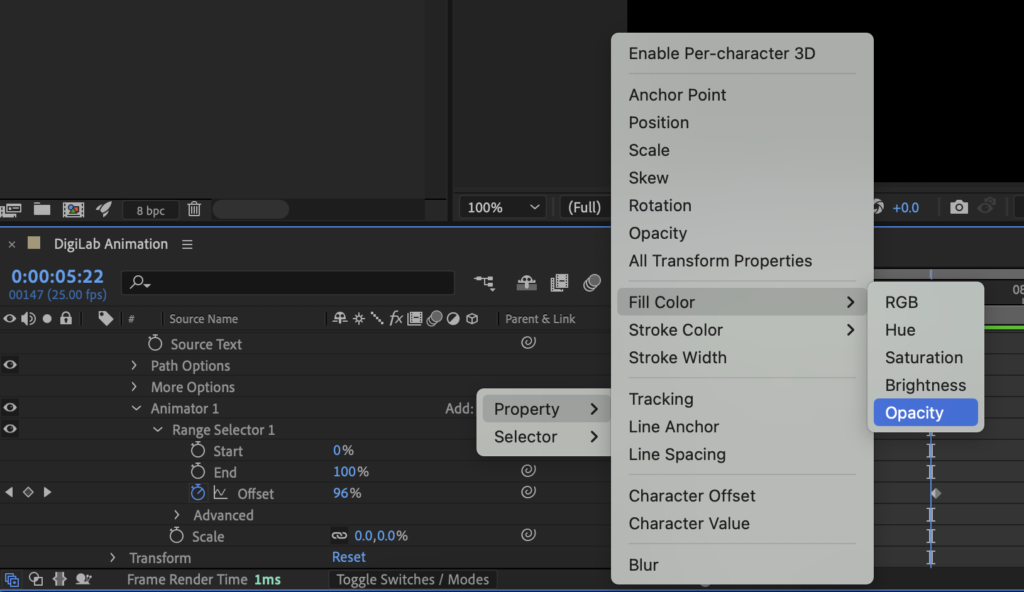
- Click “Add” at the top of “Animator 1” to add another value to the Offset Animation and click “Opacity”.
Note: Do not confuse this with creating another Animator by clicking the “Animator” button as this will create an entirely new set of animated values that are not in sync with the ones we have already set. - Make the value of “Opacity” “0”.
This will make the text slowly fade in as it enlarges.
- Click “Add” on “Animator 1” again and click “Blur”.
- Set the value of “Blur” to “100”.
This will slowly pull the text into focus over the course of the animation. - Click “Add” on “Animator 1” again and click “Position”.
- Adjust the value of “Position” so that the red points on the composition page sit below where the text belongs.
This will make the text feel like it’s popping in from below and give it some depth.
Step 5 – More Options & Exporting
- If you’d like to see the text effect disappear the same way it started, then pull your playhead a few seconds further than the end of your animation and set the “Offset” value to “-100” again.
This will bring your animation back to its starting point and play it in reverse. - After you have the initial offset animation set up, you can add any number of different transformation variables to the text to make it unique. This is a simple way to create unique text effects and transitions with only one set of keyframes.
- To export this project you will need to export with the transparent background, which works differently depending on if you’re putting the animation into Premiere Pro or different software. Check out our guide here [Finishing an After Effects Composition] on the different ways to get your project out of After Effects.