Lightroom Classic - Tutorial 1
Processing Photos in Lightroom Classic
Difficulty: Easy
What you will learn: Histogram, cropping and transforming, temperature, tone, saturation/vibrance, sharpening and noise reduction, distortion correction, metadata removal
Download Reference Photos: guide-student-practice-0789.dng
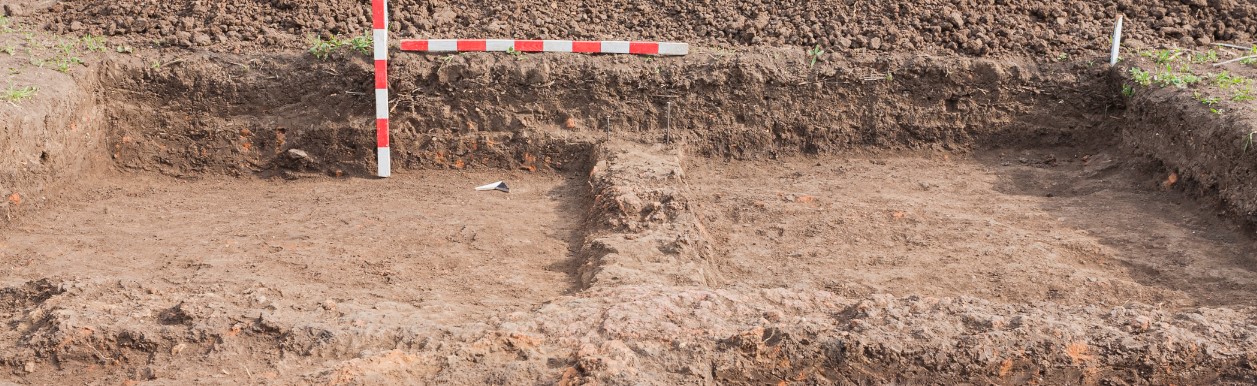
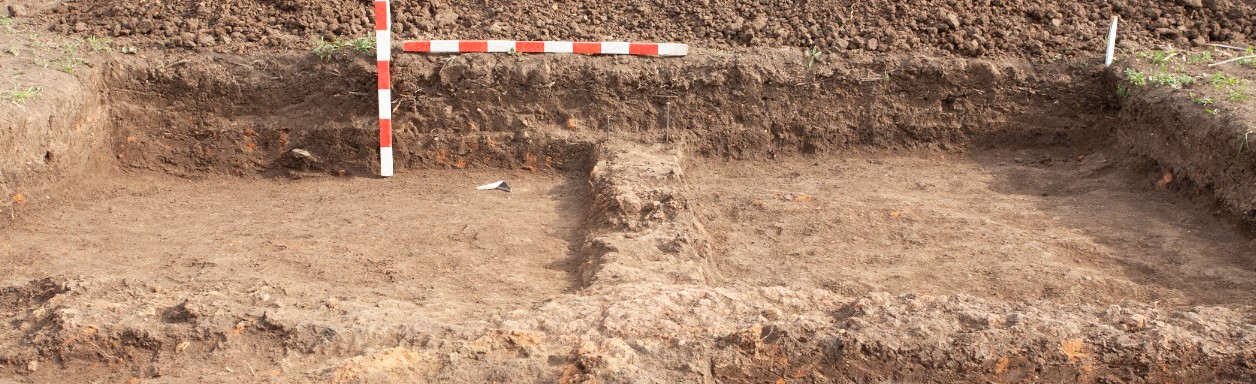
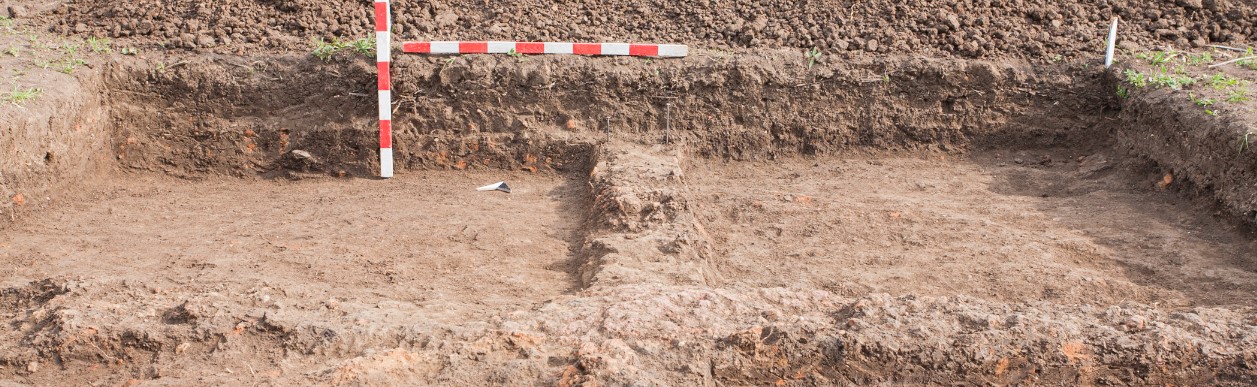
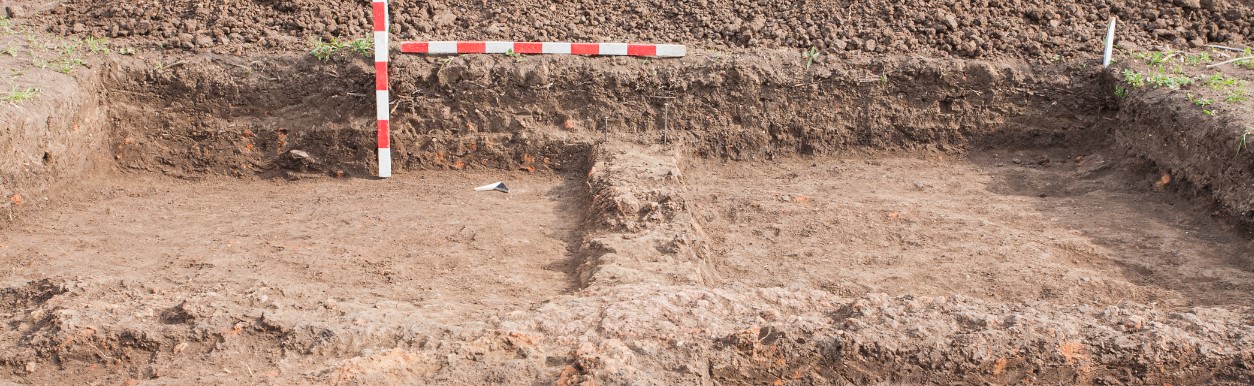
Result:
Step 1 - Preparation
Open "Lightroom Classic".
Note: do not use "Lightroom" (old name: Lightroom CC). Lightroom Classic is desktop-based with its photo library stored on the computer, meanwhile, Lightroom stores its photo library on the cloud.
Lightroom Classic will be used in this tutorial.
Download the reference photo at the top of the page and save it in your storage.
Step 2 - Creating a new catalog
Go to File > New Catalog...
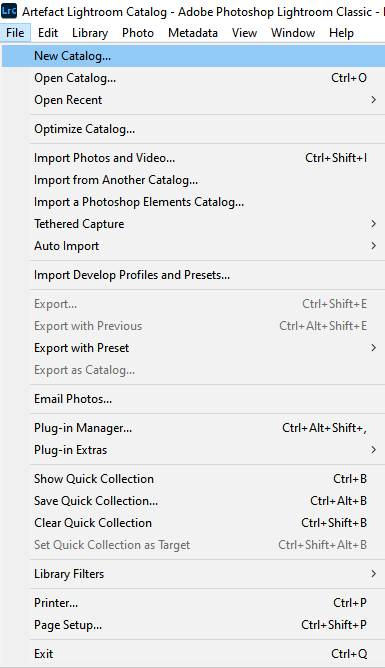
Save the catalog to your computer.
A catalog is a database that stores information about your photos. When you edit your photos, the edits are not applied to the photos but are stored in the catalog. This allows you to work non-destructively.
Library
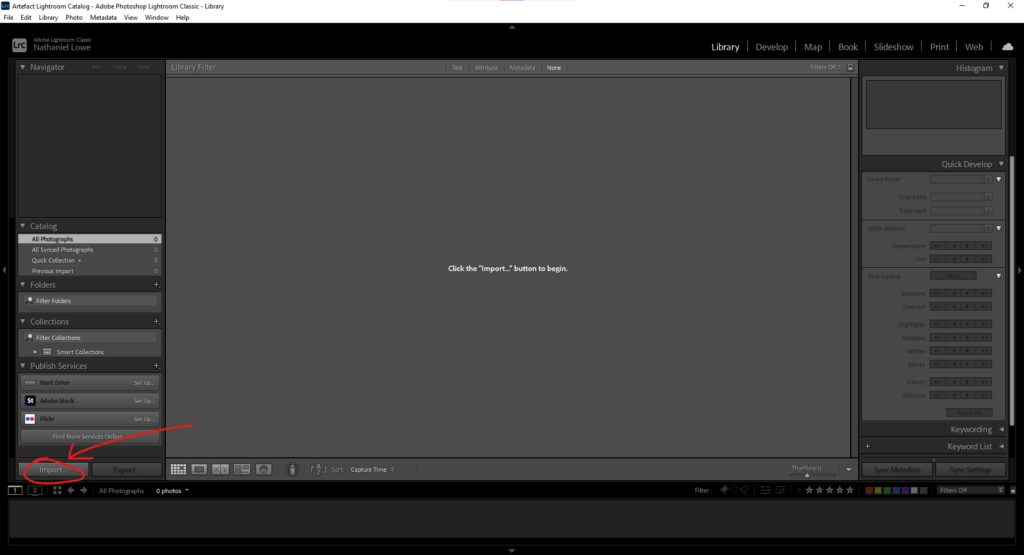
Step 3 - Importing photos
At the bottom left of the screen, click on Import. This will bring up the computer's storage library.
Locate and select the folder with the reference photo on the left side of the screen.
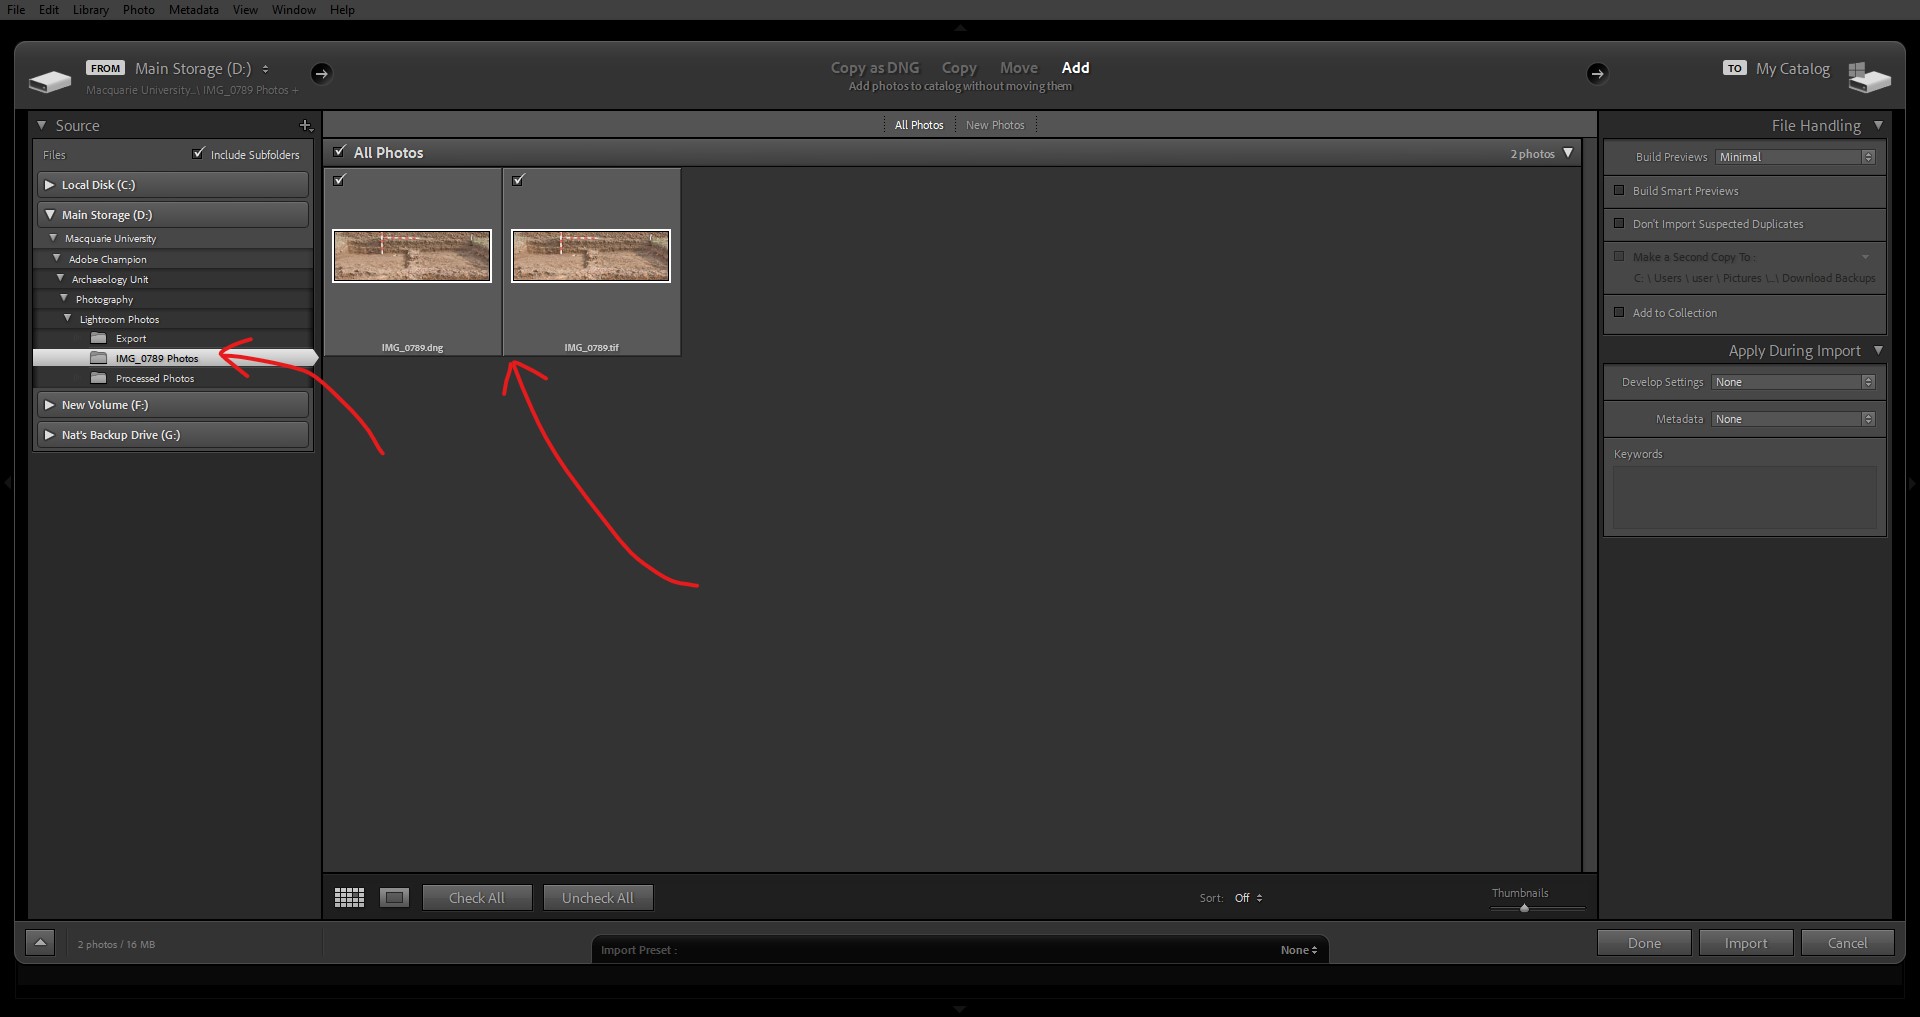
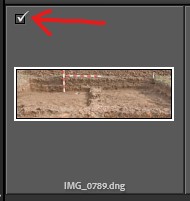
Ensure that the reference photo has its checkboxes ticked to ensure it's selected.
After selecting the reference photo, click on Import at the bottom right of the window.
Develop
Step 4 - Develop Workspace
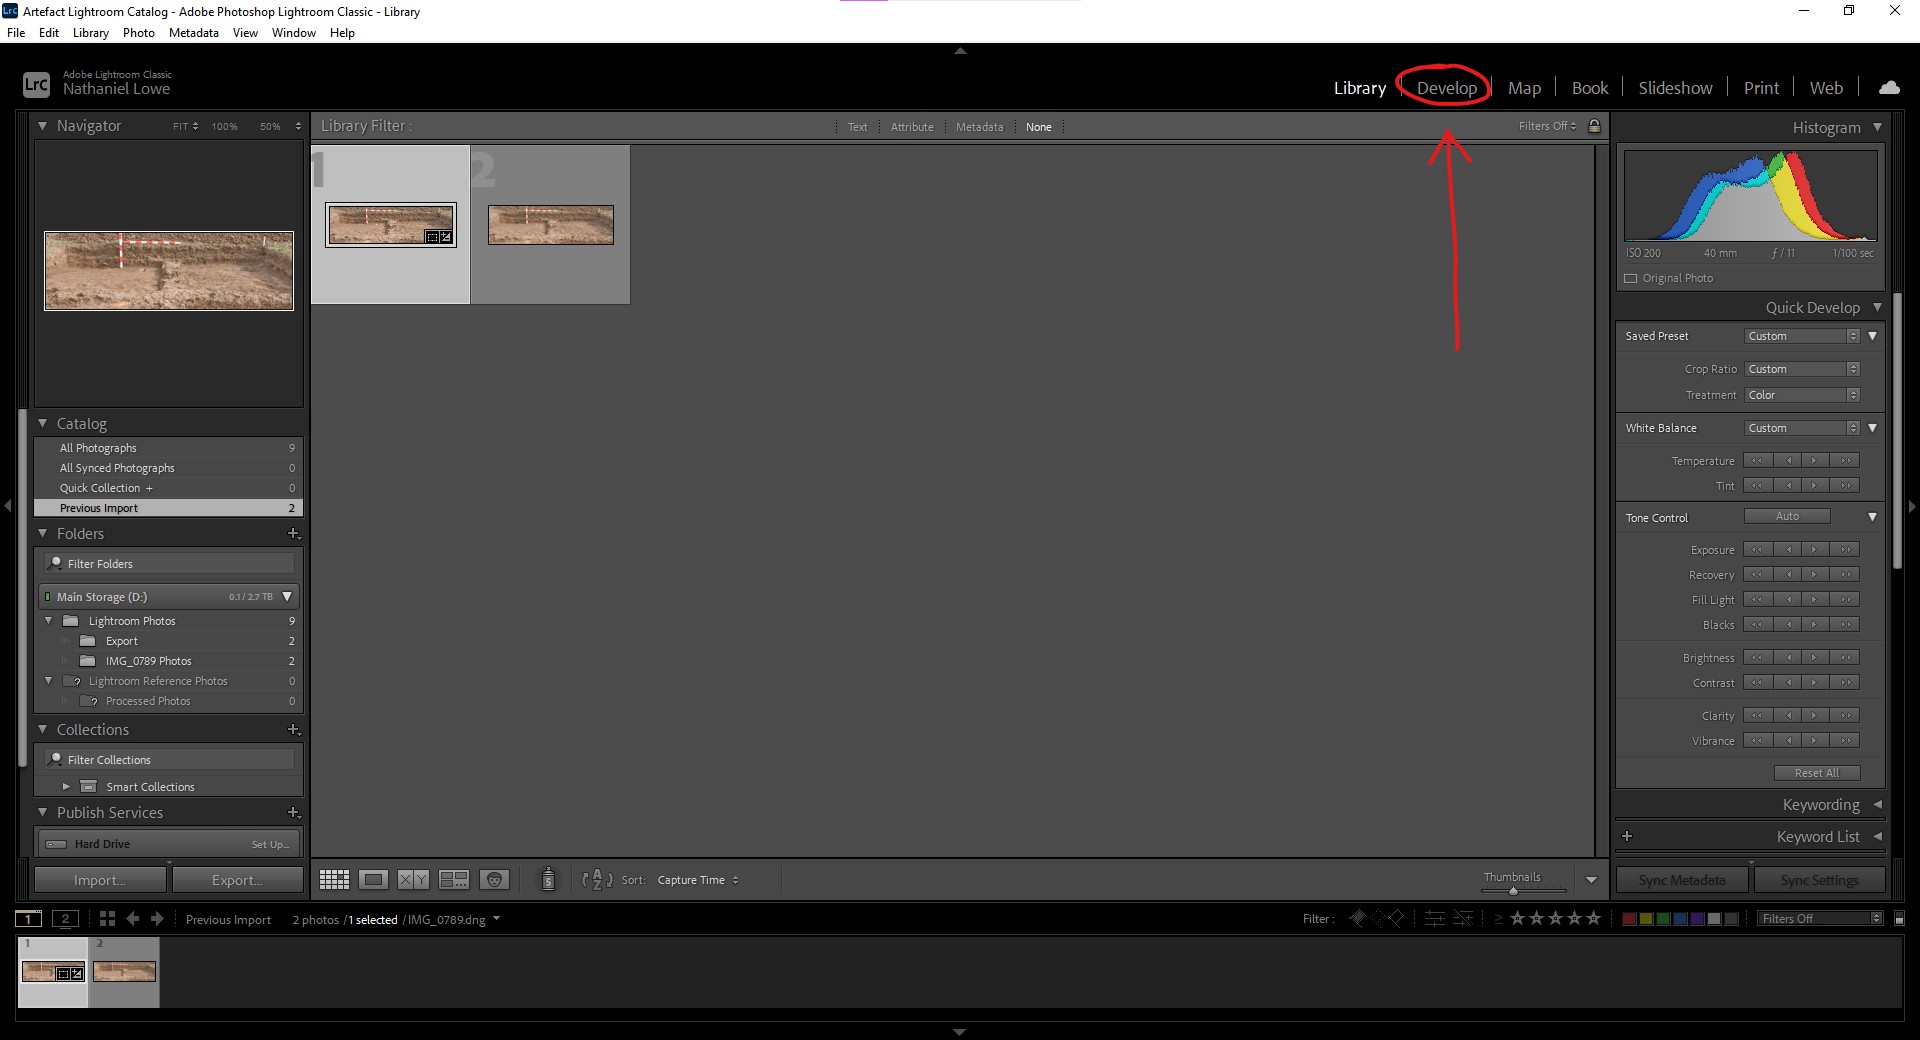
After importing your photo, ensure that you are now in the Develop workspace. If you are not, click on Develop on the top right bar on the screen.
Step 5 - Cropping
Select the Crop Overlay (R) on the right-side of the screen.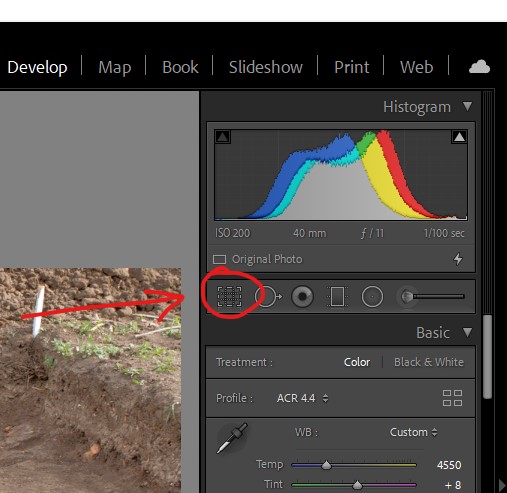
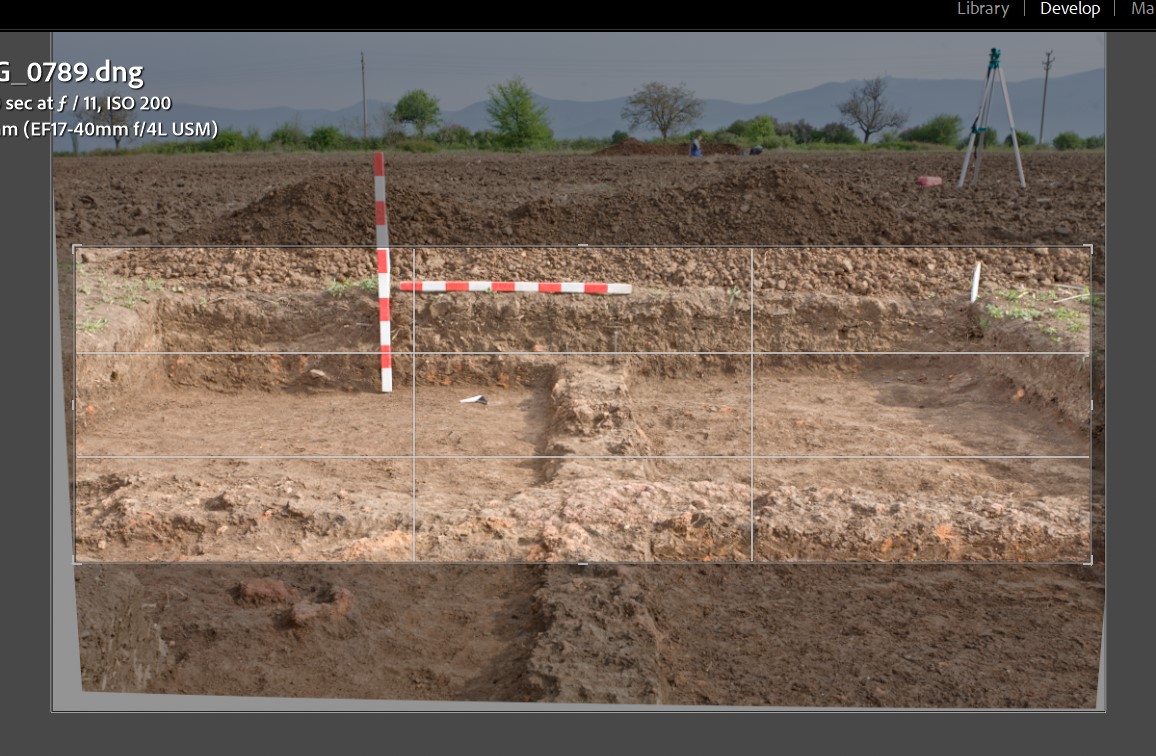
Use the handles in each corner of the photo to change the cropping of the photo. Crop the photo to remove unnecessary.
Press Enter to confirm the crop.
Results should look similar to this:
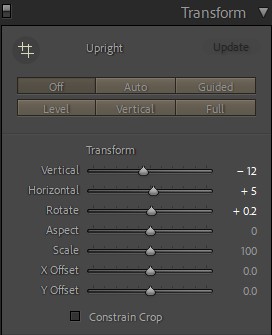
Step 6 - Transforming
In the menu on the right side of the screen, scroll down until the Transform setting.
Transform allows the perspective, scale, aspect ratio and offset to be changed.
Adjust the settings until your photo looks similar to this:
Settings which were used:
Step 7 - Temperature and Tint
The first setting in the Basic menu is Temperature and Tint.
Temperature changes the warmth of the photo.
Tint is the secondary setting that is used to help correct the temperature of the photo.
Move the sliders of these two settings to correct the temperature of the photo so that the whites and colours appear neutral.
These were the settings used:

Step 8 - Histogram
The Histogram is a graphical representation of all the tonal values in the photo. The histogram plots the darkest values to the brightest values from left to right.
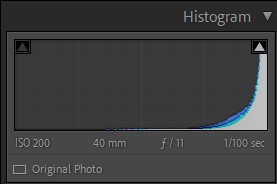
Important: when adjusting the tonal values of your photo, avoid letting the distribution to skewer to the point it reaches the edges of the histogram. When this occurs, this is called clipping. Clipping is the loss of detail in the shadows or highlights as the tonal values at the very edge of the histogram are either completely black or white.
An example of clipping, where the overexposed image loses detail as these areas become completely white.

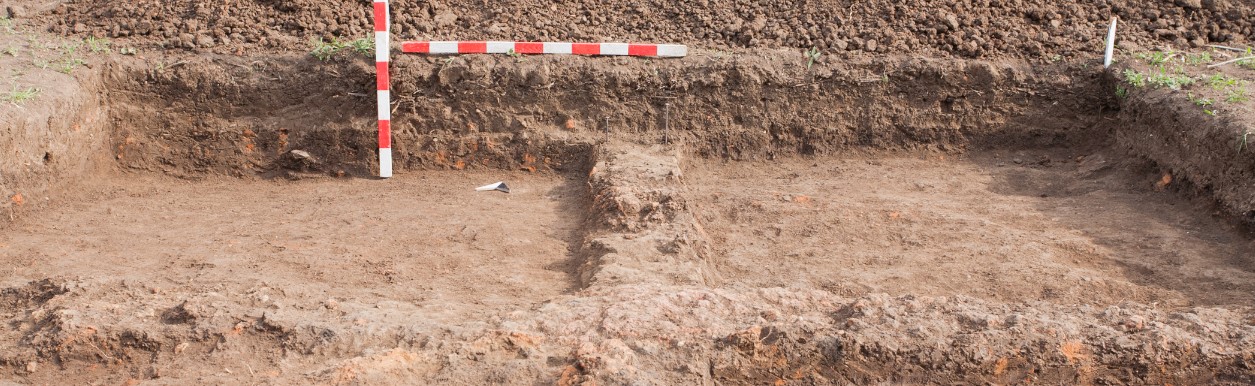
Ideally, the distribution of the histogram should be in the centre so the photo is neither underexposed nor overexposed. Example:

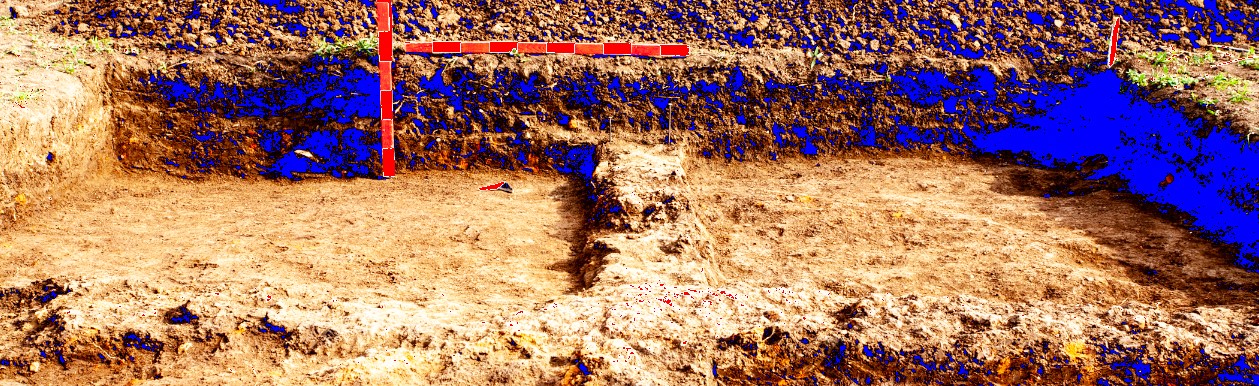
Tip: In the image below, click on either symbol to display shadow or highlight clipping. This will help when adjusting the tonal values to ensure there is no loss of detail in the shadows or highlights.
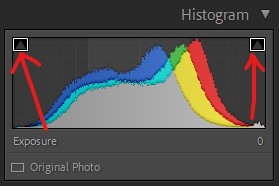
Blue areas indicate shadow clipping, meanwhile, red shows highlight clipping.
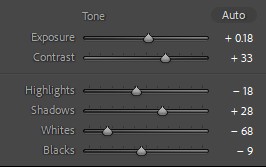
Step 9 - Tone
These settings allow you to adjust the exposure and tonal values of your photo. It can be used to increase the contrast of the photo to make it more readable or visually pleasing.
Exposure is how bright the overall photo will appear.
Contrast is the difference in exposure between the dark and light tones in the photo.
Highlights is the brightest parts of photo.
Shadows is the darkest parts of the photo.
Whites adjusts the white point of the photo. It is similar to Highlights, however, it changes where the brightest point in the photo is.
Blacks adjusts the black point of the photo. It is similar to Shadows, however, it changes where the darkest point in the photo is.
Adjust the settings until the image looks similar to this:
The settings which were used:
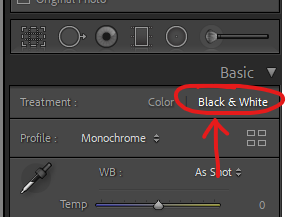
Step 10 - Black and white
At the top of the Basic panel, the photo can be converted into a black and white image by changing Treatment from Colour to Black & White.
Adjust the tonal values to add contrast and detail to the photo. As a side note, try to aim to keep the distribution at the centre of the histogram.
Note: Black and white won't be applied to the rest of the tutorial so that other features such as saturation can be demonstrated.
Step 11 - Presence
These settings add contrast or saturation to make photos "pop" more.
Texture adds contrast to areas of high frequency (areas of fine detail)
Clarity adds contrast to the mid-tones.
Dehaze can restore contrast to washed-out photos.
Saturation changes the intensity of all colours simultaneously.
Vibrance changes the intensity of muted colours more than already saturated colours. It is similar saturation, however, minimises the occurrence of posterisation (detail loss).
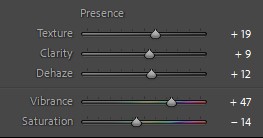
Adjust the settings until they look similar to this:
The settings which were used:
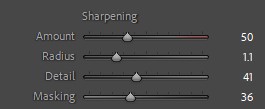
Step 12 - Sharpening
Sharpening adds detail to photos by increasing the contrast of edges.
Amount changes how much the photo is sharpened by.
Radius affects how far the sharpening affects the neighbouring pixels.
Detail affects how much detail is preserved in the high-frequency areas (areas of small detail).
Masking effects which areas the sharpening is and isn't applied to.
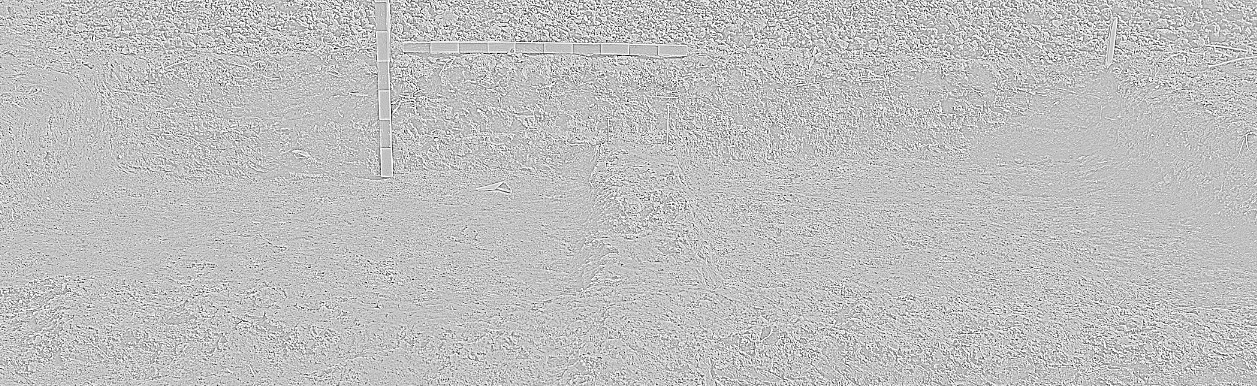
Notes: holding Option/Alt while moving the sliders will change the interface to a grey overlay. This will visualise the amount each setting is changing the photo.
Example:
Results should look similar to this:
Settings which were used:
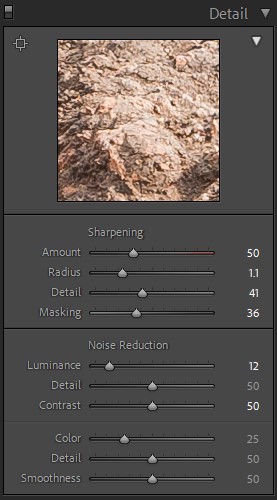
Step 13 - Noise Reduction
Luminance removes monochromatic noise (grain) in photos.
Detail determines how much detail is preserved in the photo. The higher the amount of detail is preserved, the less noise is removed by luminance.
Contrast affects how much contrast is in the luminance.
Colour removes colour noise in the photo.
Detail determines how much detail is preserved in the photo.
Smoothness determines how much areas of low frequency (areas of low detail, e.g. gradients) is preserved.
Note: holding Alt/Option while moving the sliders will change some of the interfaces into a grey overlay to visualise how much the setting is changing the photo.
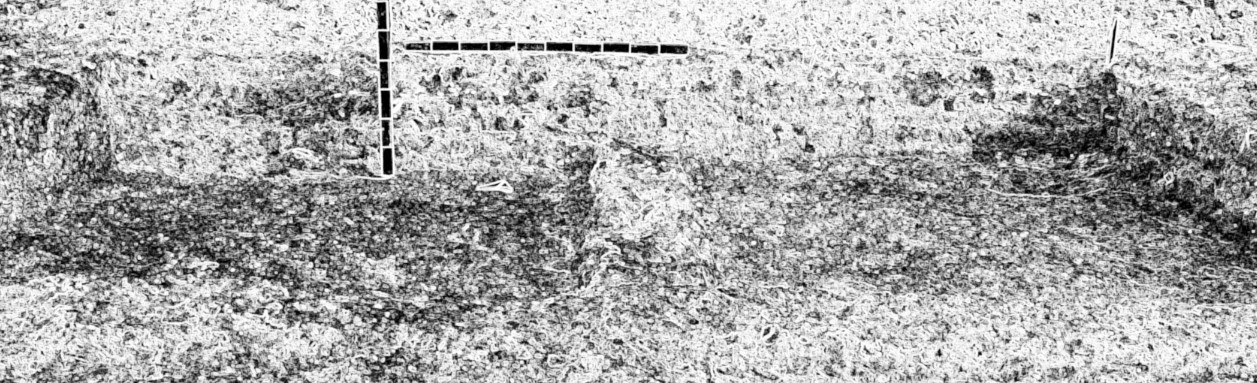
Results should look similar to this:
Sharpening and noise reduction settings used:
Step 14 - Lens Correction
Remove Chromatic Aberration reduces colour fringing (colour distortion/artefacts that occur around edges)
Enable Profile Corrections removes lens distortion.
Checking these boxes may not have a noticeable difference, however, it removes elements of distortion in photos.

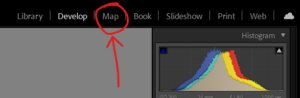
Map
Step 15 - Removing sensitive metadata
Metadata is additional information that is linked to the image.
Metadata can contain useful information such as the manual settings used to take the photo and sensitive information such as GPS coordinates.
In this case, we would want to remove the GPS metadata to protect the confidential location of archaeologist sites.
Click on the Map on the top right of the screen to access the metadata panel.
In the drop-down menu of the top right of the Metadata panel, change it to Location.
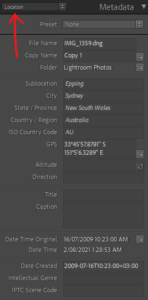
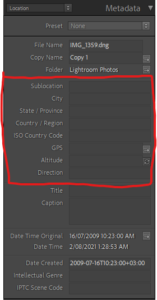
Ensure that the information about the location is cleared. Example:
Export
Step 16 - Exporting
Select the photo you would like to export by selecting it in the image strip panel at the bottom of the screen.
If you have multiple photos you would like to export, click on the first photo and then click on the last photo whilst holding Shift.
If you would like to export a selective range of photos, hold Ctrl/Command ⌘ and select the photos you would like to export.
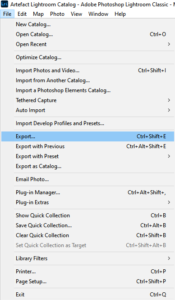
With the photos selected, go to File > Export.
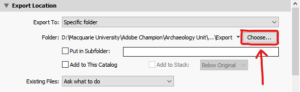
Under Export Location, choose the folder the exported images will be saved to.
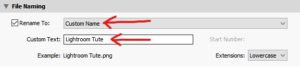
Under File Naming change Rename To to Custom Name. In Custom Text, name your photo file.
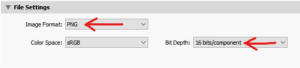
Under File Settings, change the Image Format to PNG and set the Bit Depth to 16 bits/component.
Finally, press Export to export your photos.
Congrats! You're done.
If you want to learn any of the other editing settings in Lightroom, you can try experimenting with each slider and observe what it does!