Adobe Portfolio (Pf) - Staff Session
Creating a website to show off publications and research
Difficulty: Medium
What you will learn: How to create a multi-page website with emebds such as Google Forms and PDF's, using Adobe Portfolio
Example Website: https://louisandersondccc.myportfolio.com
Step 1 - Setting up a webpage
- Adobe portfolio is a web-based website tool that can be found @www.portfolio.adobe.com. Use your MQ username and password to sign in.
- Click ‘New site’ and choose a theme (I chose Hegen).
- Click the blue button ‘Use this Theme’.
- Select the ‘Pages’
 tab on the left and click on the blue plus,
  to and add a 'Custom Page', title it ‘About Me' and tick the 'make this my homepage' selection box.
 - Add three more, naming them Research and Publicationse respectively. With each page, select it's destination as 'Navigation'. Alternatively, you can name these pages whatever you'd like, the page names can be changed at a later date.
- Click back onto the 'Pages' menu.
- Select the settings drop down menu
 for the Contact page and 'delete page'.This menu provides useful page options such as the ability to change your page name.
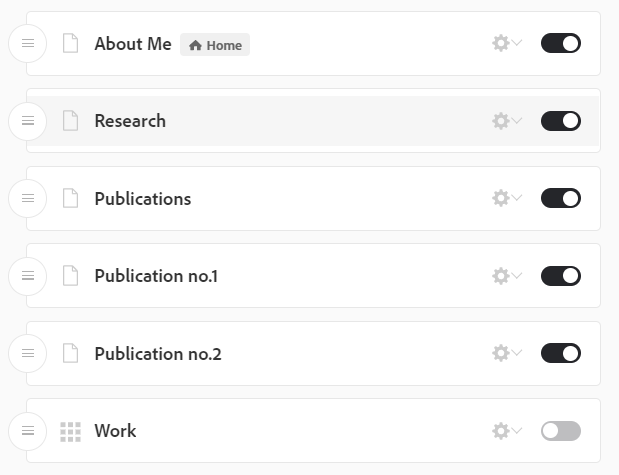
 - Return to the pages tab and click and drag the pages into the desired position using the three lines.

- Toggle the ‘Work’ page by clicking the slider. This turns the page off.
- Your pages tab should look like this (minus Publication page 1 and 2):
- Under 'site-wide' > 'Logo', you can choose to use a Image or Text for a logo.
- Going back to the 'navigation' click and select the 'Social icons' button. Here you can link multiple socila media profiles to your website. These social icons appear on your Navigation bar.
- Click the 'back' arrow
 to close this tab.
Step 2 - About Me
- To add text click the 'text' button module. A text box will appear that will allow you to type what you wish. Highlighting your text brings up the text editing options.

- Scroll down the bottom of the menu to 'All Pages' > 'Page container'. In here you can edit the width of the text boxes within your blog by dragging the sliders.
- In 'All Pages' click 'Page header' > 'Page header' and adjust the top and bottom height margins to your liking.
- Hover your cursor pver the right edge of the text box and click the white and blue 'add module'
 button and select the 'Image' option.
  Find your saved image and click 'Open'. Your image should have now been imported into your webpage and appear next to your text box.
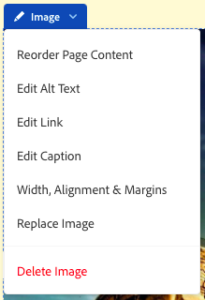
 - To add a caption to this image, move the cursor over the image and click the blue 'Image' button, this will open a drop down menu. Select 'Edit Caption'. This will open up a text box below the image.
- Hover your cursor over the seam between the textbox and footer, and click the 'blue' 'add module' button
 and select the 'Contact Form' module. This includes a contact form that when filled out will be sent to your email linked to the Adobe
Step 3 - Research
- On this page I added more text using the text module.
- Lets now add a video of our work. If you have created a video on Adobe Premier Rush/Pro, make sure you have exported it as an MP4.
- Create a new page for your video and click on the 'Video' module
 . Select your video you have saved to your computer. Click 'open'.
 - Depending on the size of the video, it may take a long time to upload and process within your webpage.
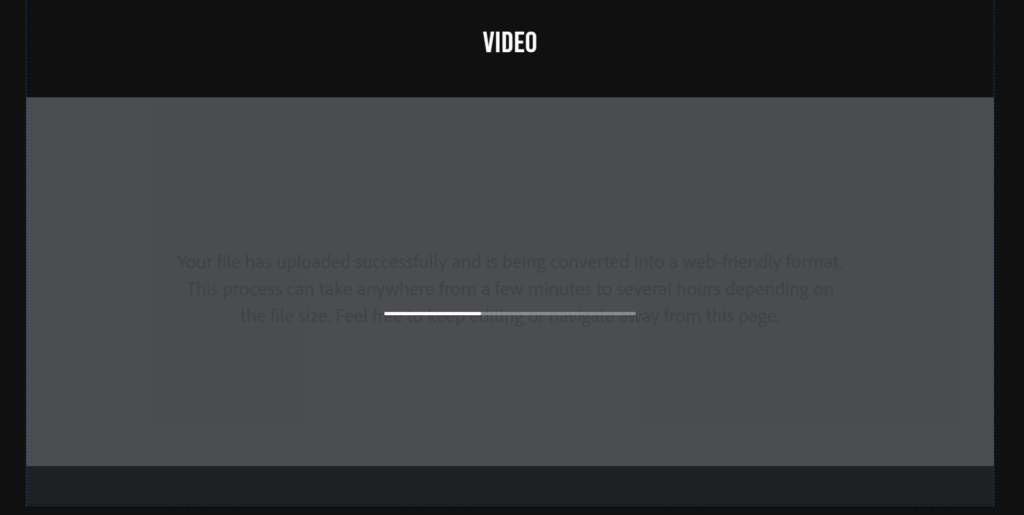
- Once the bar has loaded all the way, you can leave the video to process on its own.
- ALTERNATIVELY, you can upload your video to YouTube
 , watch the video, click 'Share'
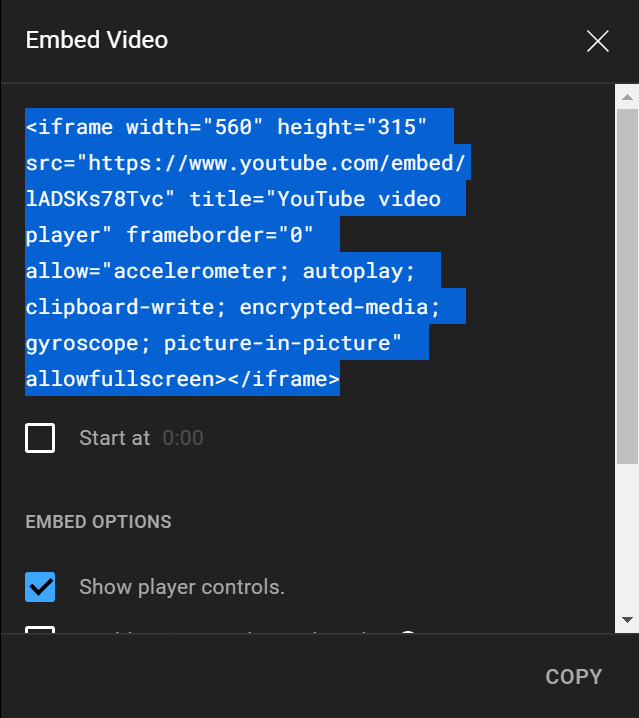
  and get then click 'embed'
  and copy the code
  .
. - Heading back into Adobe Portfolio, click the ‘module plus’
 symbol and select ‘embed’.
  Paste the embed code into the text box on the left and click ‘save embed’.
Step 4 - Publications Page
- Heading abck to the 'pages' menu, add another page titling it whatever you like. I have titled it Publication no.1. Click the 'settings' drop-down menu and select Hide In Navigation. You can duplicate a page in the same drop-down settings menu if required.
- Heading back to the 'Publications' page add a 'Button' module and hover your cursor over the button and click the blue 'Button' tab, opening the settings on the left. Under 'text' you can change the text of the button. Under 'Link To' select the page Publication no.1. The radius, height and padding can be changed in these settings.
- Clicking on the button should now take you to an unisted page where you can upload your publication documents.
- We will now embed our PDF Publication document.
- Make sure to export your desired document as a PDF.
- Head to your MQU Google drive and click + New > File Upload.

 Select your saved PDF and click 'Open'.
 - On the left menu click 'Recent'
 and doulbe click your PDF.
 - Click 'three dots'
 at the top right and select 'Open in a new window'.
- Again, click the three dots
 and select 'Share'.
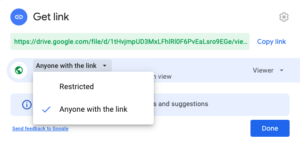
 Click the 'Get Link' section of the pop up and change 'Restricted' to 'Anyone with the link'. This makes your PDF visible to anyone visiting your website. Click Done.
- Click the three dots again and select the 'Embed item...' option. Copy the code.
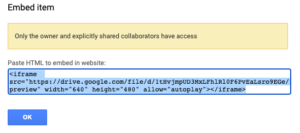
- Heading back into Adobe Portfolio, click the ‘module plus’
 symbol and select ‘embed’.
  Paste the embed code into the text box on the left and click ‘save embed’.
 - Your document will now be embedded into your webpage.