Adobe InDesign (Id) - Tutorial
Linking Files in InDesign
Difficulty: Easy
What you will learn: linking InDesign with other Adobe programs/files
Download resources: download here
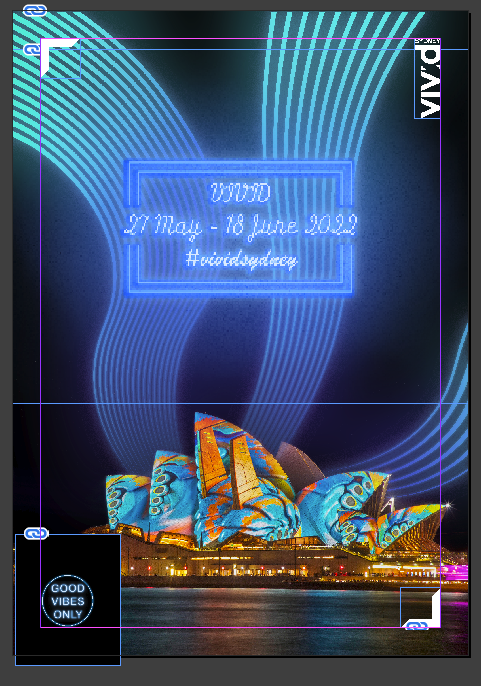
Results:

Step 1 - Setup
Open Adobe InDesign.
Select New File at the top left side of the screen.

In the new window, select Web, then the A4 preset and rename the document to something of your choosing.
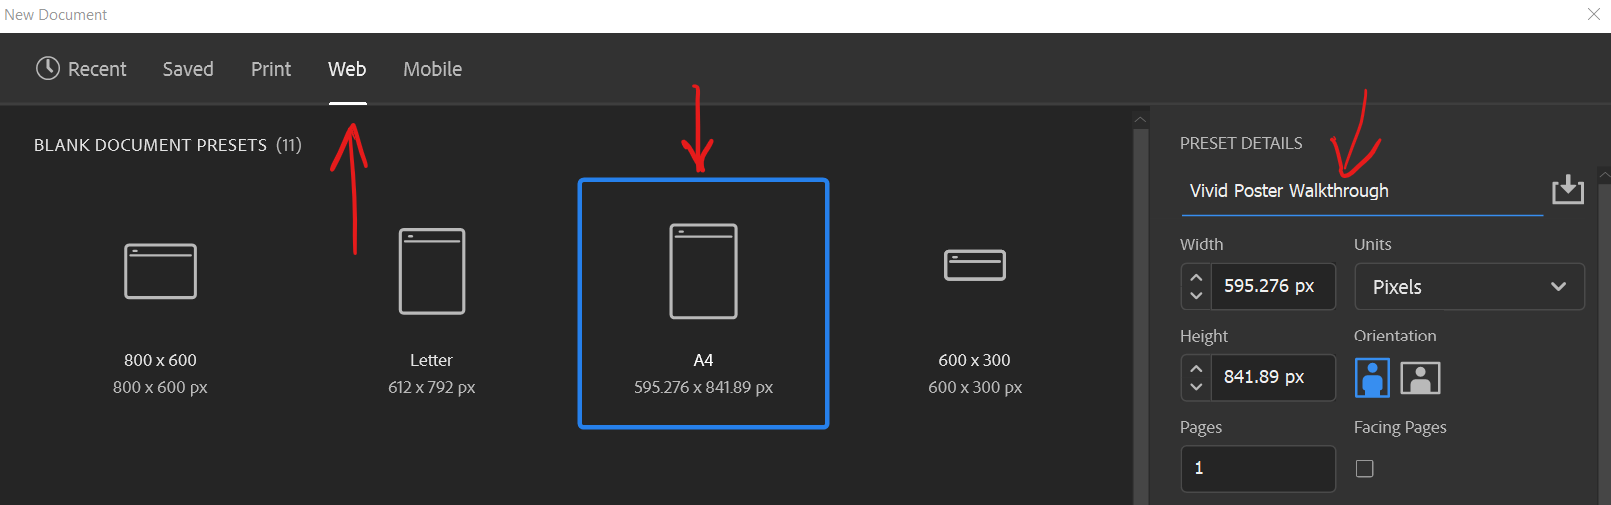
Select Create to make the document.

Finally, go to Window and select Link to enable the tool.
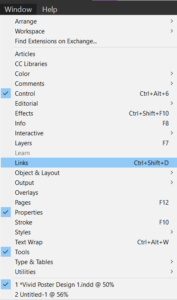
Note: selecting and dragging the top bar or tab of the 'Links' window will allow you to move it around.
Step 2 - Importing assets
Note: previous guides will teach you how to create the neon signs, however, if you have not completed these guides, a copy of these assets can be downloaded from the top of the page.
Go to File > Place to import the assets.
Select all the required resources from the library window popup.
After importing the assets, they won't be placed into the document immediately. You will need to left-click and drag to create a frame for the assets to be placed into. 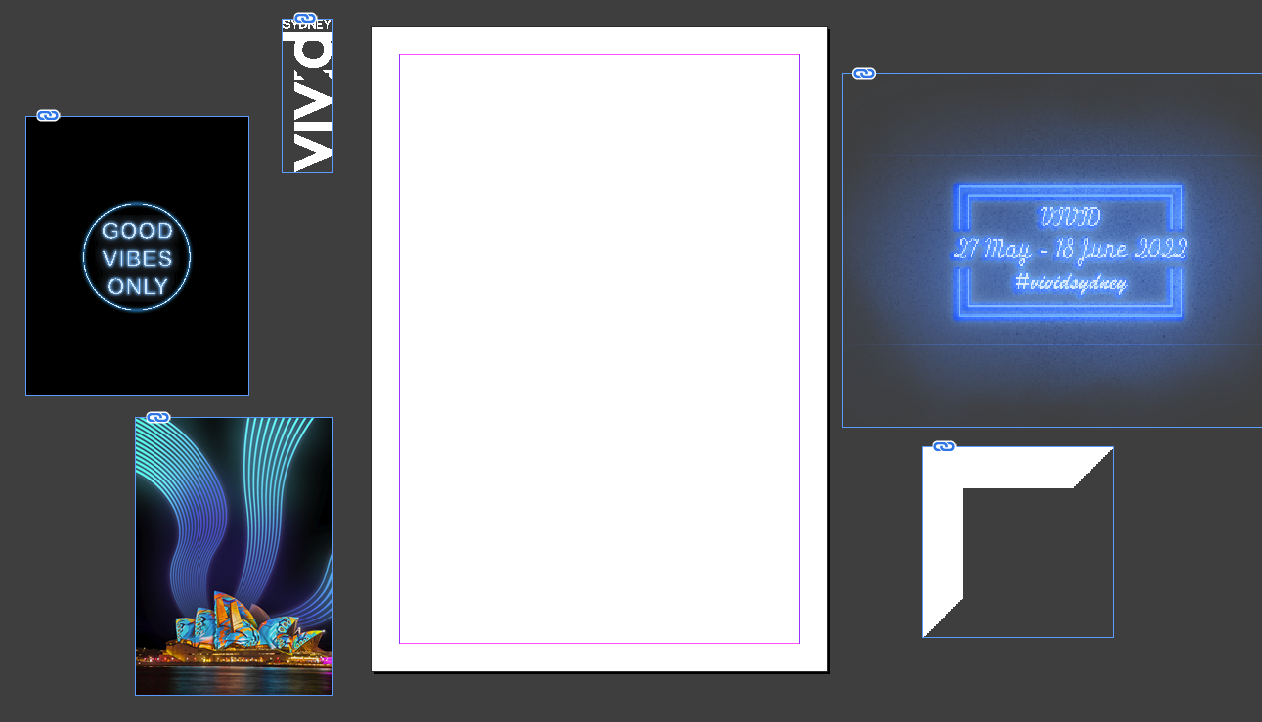
Use the Black Selection Tool to select the assets and move them. The anchor points on the edges and corners of the selected asset can be used to resize them.
Note:
- Hold Ctrl (Windows) or Command (Mac) while moving the anchor points when rescaling the asset. For some users, if this isn't done, moving the anchor points will rescale the frame of the asset and not image itself.
- If an asset is covering another asset, the order can be rearranged by selecting the asset, right-clicking and choosing Arrange, and then selecting the respective option.
Reorganise the assets to look similar to this:
Note: the assets may look low quality after importing them. This can easily be fixed by going to View > Display Performance > High-Quality Display. Alternatively, this setting can be accessed by selecting an asset, right-clicking, and going to Display Performance > High-Quality Display.
Step 3 - Changing the blending of the 'Good Vibes Only' asset
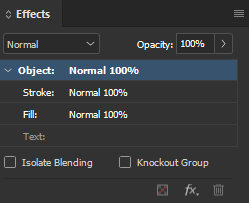
Go to Window > Effects.
Select the 'Good Vibes Only' asset and change the blend mode in the Effects window to Screen.
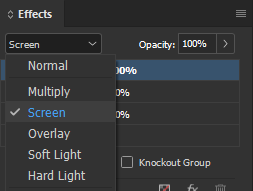
The asset should now have the black background removed and should look similar to this:

Step 4 - Using links
Adobe provides a linked feature between all their programs which allows users to integrate other Adobe program files into one another. In this case, Photoshop and Illustrator files will be imported into InDesign to be organised and designed for presentation. The linked feature provides the ability to make live changes to an original file in which every file which is linked to it will have its changes updated almost instantaneously.
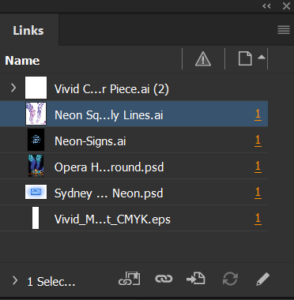
The buttons highlighted by the coloured arrows allows you to relink, update or go to linked files.
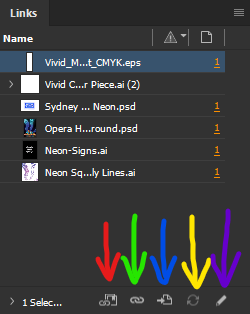
Red - if there is a missing link between InDesign and a file in the CC library, the path can be relinked with this button.
Green - if there is a missing link between InDesign and a file on your computer, the path can be relinked with this button.
Blue - this button will highlight the selected linked file on your artboard.
Yellow - if a change is made in the original linked file, the change can be updated in InDesign by using this button. Holding Alt while clicking on this button will update every linked file used in the document.
Purple - this will open the selected original linked file in its respective program.
This warning icon indicates that the original file has been modified and is not currently updated within InDesign. Selecting the Update button (yellow arrow) will update the linked file within InDesign.

Step 5 - Exporting
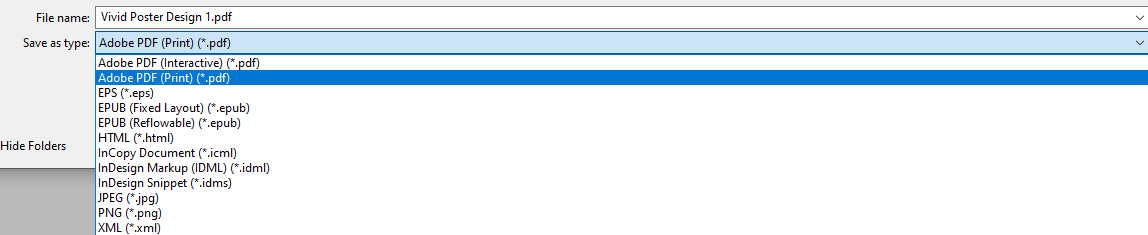
To export, go to File > Export.
For a high-quality export, select Adobe PDF (Print) or to export it as a lower quality image for easy distribution, select PNG.
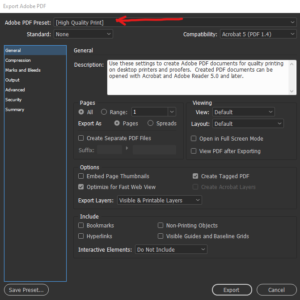
Adobe PDF (Print)
A new export window will appear. Ensure that the [High-Quality Print] preset is selected and then finally select Export.
PNG
A new PNG export window will appear. Leave the export settings at default, however, the resolution (ppi) can be increased if you desire a higher resolution export.
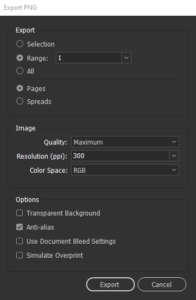
Finally, select Export once you are done.