Adobe InDesign (Ai)
Formatting publications in InDesign
Difficulty: Easy
What you will learn: paragraph style, text properties, type tool, textboxes
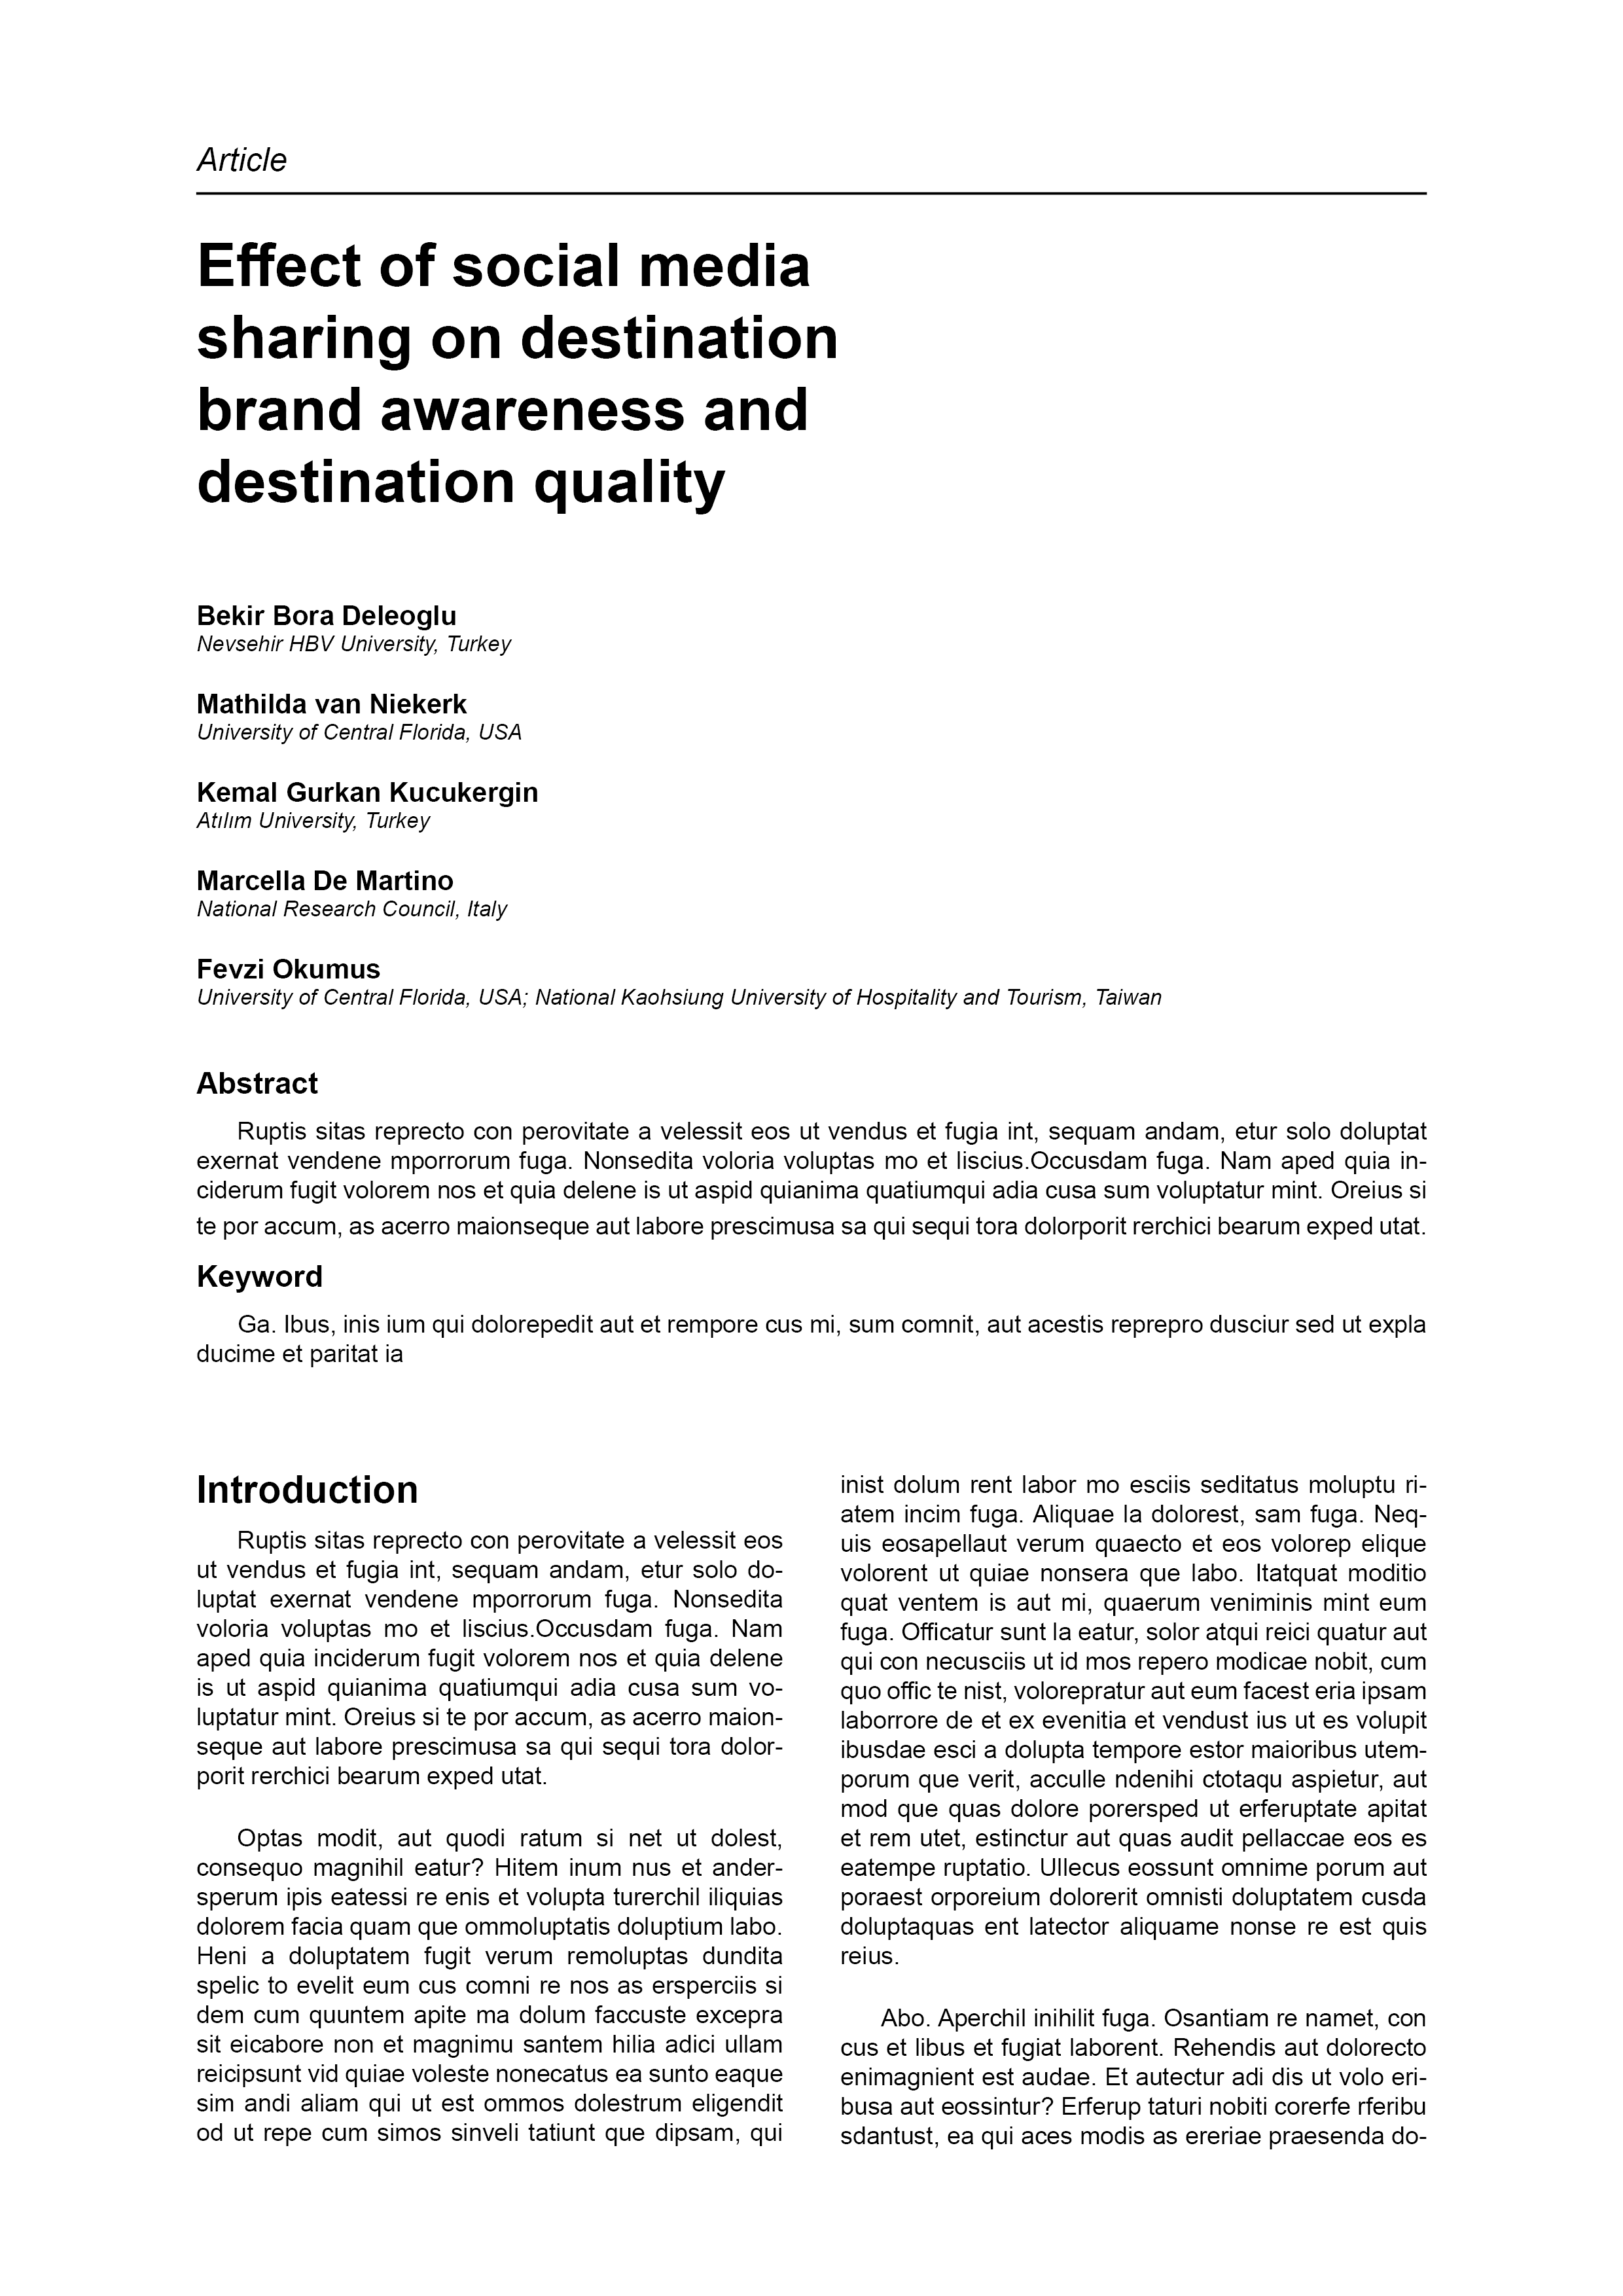
Result:
Reference: Dedeoğlu, van Niekerk, M., Küçükergin, K. G., De Martino, M., & Okumuş, F. (2020). Effect of social media sharing on destination brand awareness and destination quality. Journal of Vacation Marketing, 26(1), 33–56. https://doi.org/10.1177/1356766719858644
Note: the example format is based on the design from the journal article by Dedeoğlu et al. (2020).
Step 1 - Setting up the document
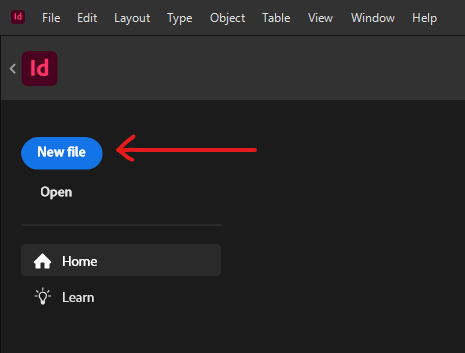
Open Adobe InDesign.
Left-click on the blue New File button to create a new document.
A new window with settings will appear. Select Web and then the A4 document preset.
Change the Margin dimensions to the following:
- Top ⇒ 36px
- Bottom ⇒ 36px
- Left ⇒ 72px
- Right ⇒ 72px
Next, change the Bleed settings to the following:
- Top ⇒ 9px
- Bottom ⇒ 9px
- Left ⇒ 9px
- Right ⇒ 9px
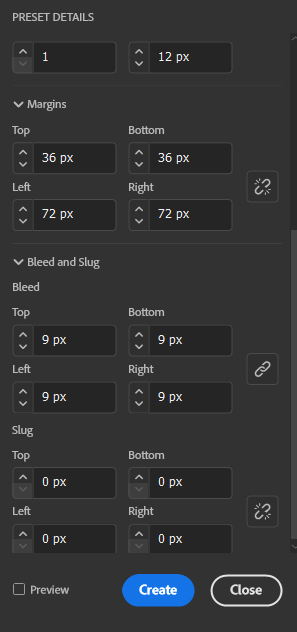
Finally, hit Create to start the document.
Step 2 - Setting up the workspace
Go to the Window tab and enable the following panels:
- Control
- Styles > Paragraph Styles
After the panels are enabled, they will appear in the workspace and can be moved within the workspace to change the layout and organisation. By left-clicking and dragging the top bar of the panel, it can be moved to different parts of the workspace. Organise the panels to your personal preference.
Step 3 - Using master pages
Master pages allow you to create a page template that can be repeatably used. Therefore, master pages can be used as a template for each page of the journal article. If changes are made to the master page, then this will update every page with the master page applied to it.
To access the master pages, go to the Pages panel at the top right side of the screen.
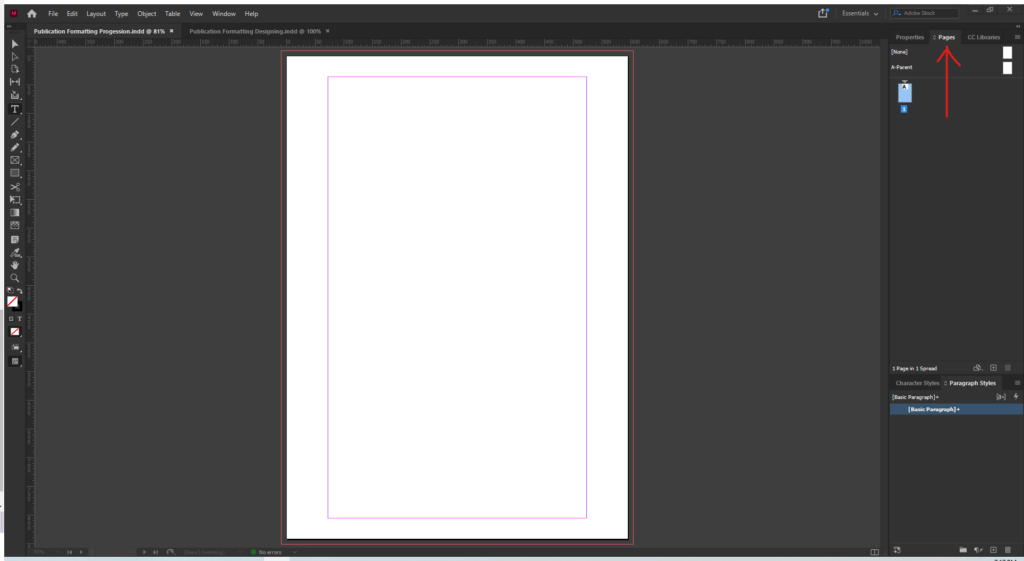
To edit the master page, double left-click on the A-Parent thumbnail.
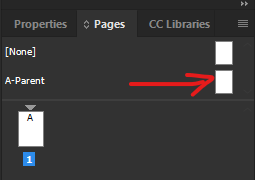
This will highlight the thumbnail is blue which indicates that the A-Parent master page is currently being edited.
Creating the template
Ensure that the A-Parent master page is selected.
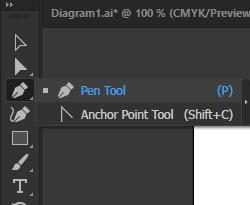
Next, select the Pen Tool from the toolbar on the left. Left-clicking on the artboard will create anchor points that will make paths that connect to other anchor points.
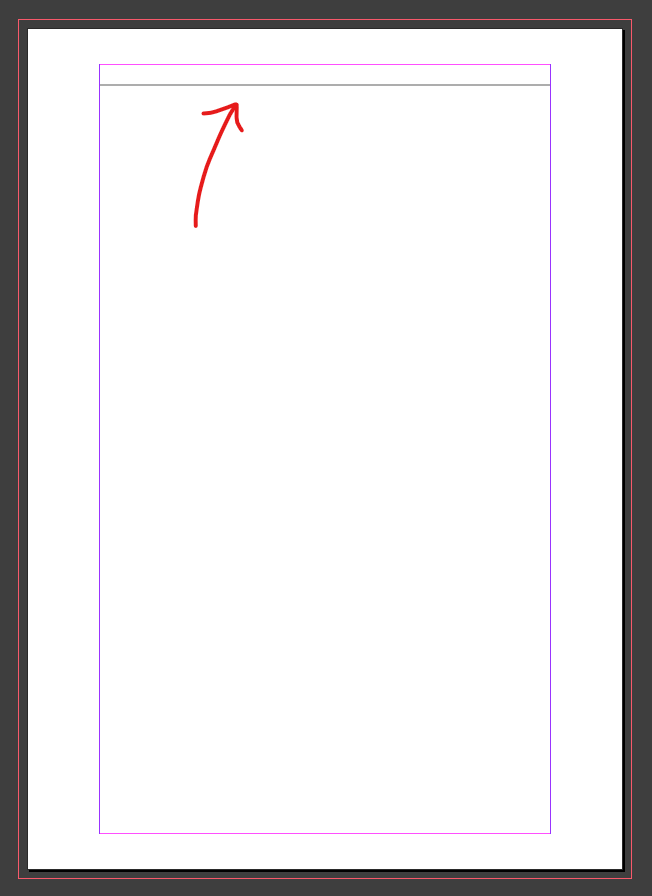
Using the Pen Tool, create an anchor point on the left and right sides of the document to create a horizontal line. Results should look similar to this:
Next, to create the page number, use the Type Tool from the toolbar to create a small textbox in the top left corner of the artboard. Results should look similar to this:

Instead of manually inputting the page number for every page, a special character can be inserted into the textbox to match the page number it corresponds with.
Ensure that the textbox is in typing mode and go to Type > Insert Special Character > Markers > Current Page Number. This will insert a letter that indicates that it's a special character that will change depending on the page number.

Next, create another textbox in the top-right corner of the document. Type 'Journal of Marketing 26(1)' into this textbox.
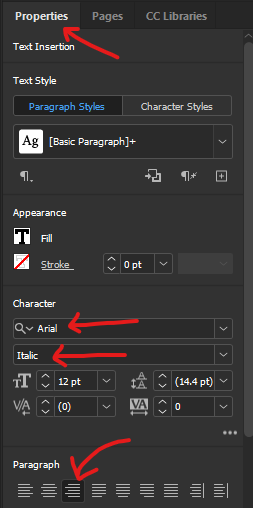
In the Properties panel, make the following changes to the text:
- Font Family ⇒ Arial
- Font Style ⇒ Italic
- Paragraph Alignment ⇒ Right
Next, create another textbox that is the same size of the margin and is just below the horizontal line at the top of the page.

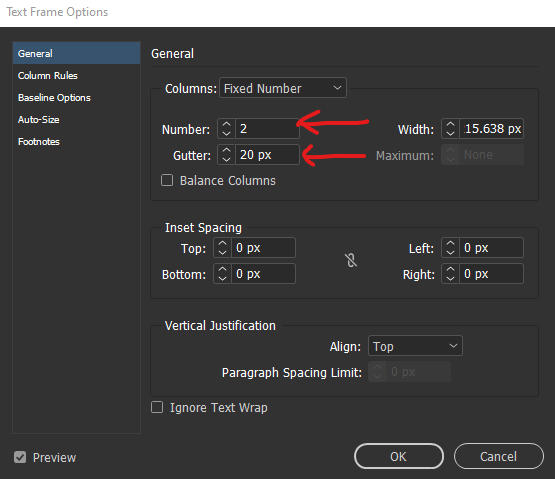
Right-click on the textbox and go to Text Frame Options to access its settings.
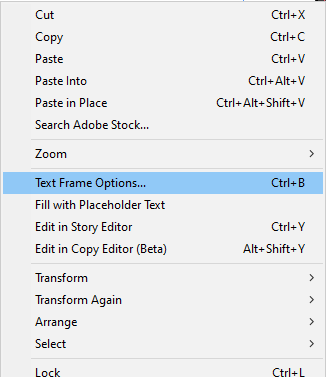
Under General, change the number of Columns to 2 and increase the Gutter to 20px. Then press OK to close the window.
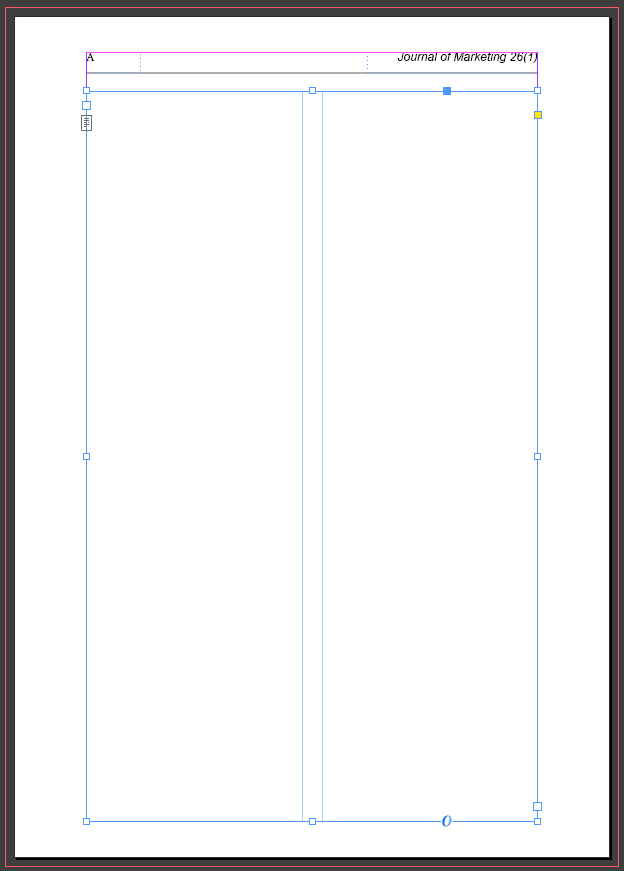
The A-Parent master page template is now complete, results should look similar to this:
Step 4 - Creating paragraph styles
One of the most useful tools of InDesign is paragraph styles which allows you to apply a set of rules to a group of text and change how it is formatted. In the following steps, we will create six new paragraph styles named: Header1, Subheader1, Subheader 2, BodyText1, Author and Author-Institution.
Creating paragraph styles
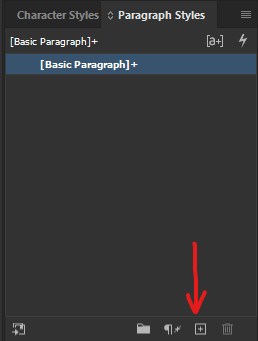
To create a paragraph style, go to the Paragraph Styles panel and click on the square icon at the bottom right of the panel.
Double left-clicking on the newly created paragraph style will open a new window that provides access to its settings.
In the Paragraph Style Option window, under General, the style can be renamed.
Based on will base the current paragraph style's settings on an existing paragraph style.
Next Style will change the text to another existing paragraph style when the Return key is pressed.
Style Settings will display a summary of every changed setting of the paragraph style.
Note: having the box for Preview checked will allow you to see changes update in real-time.
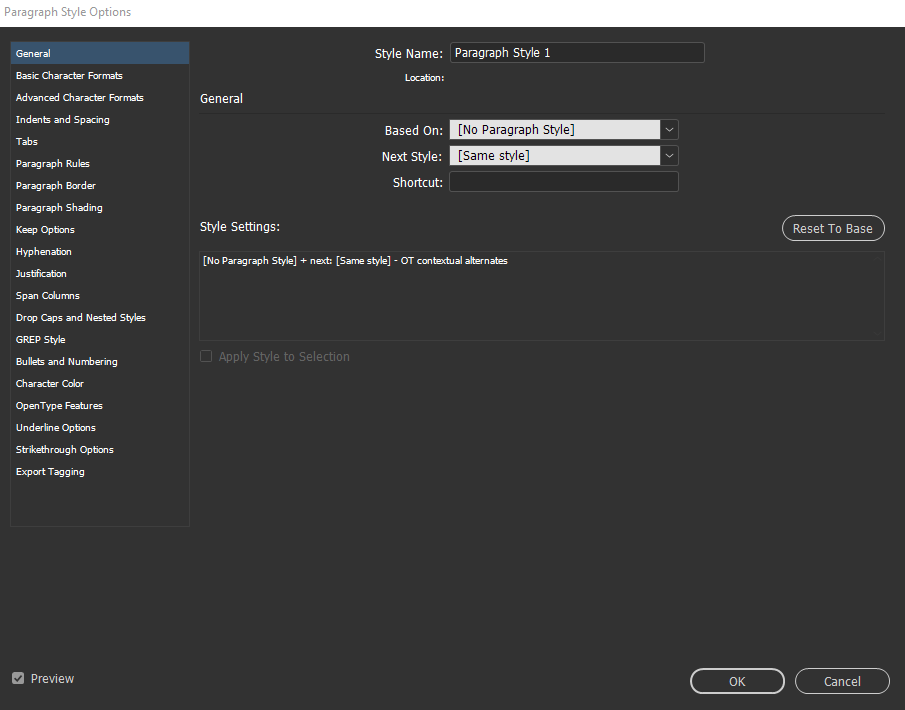
On the left size of the Paragraph Style Options window, there are a list of submenu settings which can be changed.
Create the following paragraph styles with the settings listed below:
Header 1
General
- Style Name: Header1
- Next Style: Subheader2
Basic Character Formats
- Font Family: Arial
- Font Style: Bold
- Font Size: 14pt
Subheader1
General
- Style Name: Subheader1
- Based On: Header1
- Next Style: BodyText1
Basic Character Format
- Font Size: 11pt
Subheader2
General
- Style Name: Subheader2
- Based On: Header1
- Next Style: BodyText1
Basic Character Format
- Font Style: Italic
- Font Size: 11pt
Indents and Spacing
- Space Before: 6px
- Space After: 9px
BodyText1
General
- Style Name: BodyText1
- Based On: Header1
- Next Style: [Same style]
Basic Character Formats
- Font Style: Regular
- Font Size: 9pt
Indents and Spacing
- Align: Left Justify
- First Line Indent: 15px
- Space Before: 6px
- Space After: 6px
Author
General
- Style Name: Author
- Based On: Header1
- Next Style: Author-Institution
Basic Character Formats
- Font Size: 10pt
Author-Institution
General
- Style Name: Author-Institution
- Based On: Author
- Next Style: [Same style]
Basic Character Formats
- Font Style: Italic
- Font Size: 8pt
Step 5 - Creating the first page
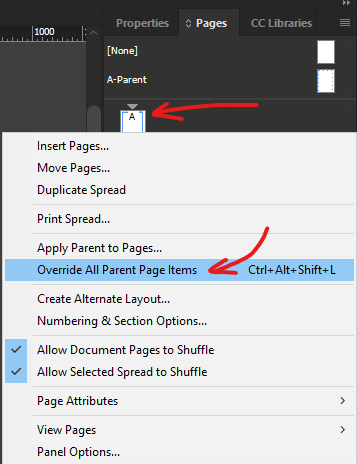
Using the A-Parent master page as the template will lock the page from edits, however, this can be fixed by right-clicking on the page thumbnail and selecting Override All Parent Page Items. After completing this step, every element on the page will become editable.
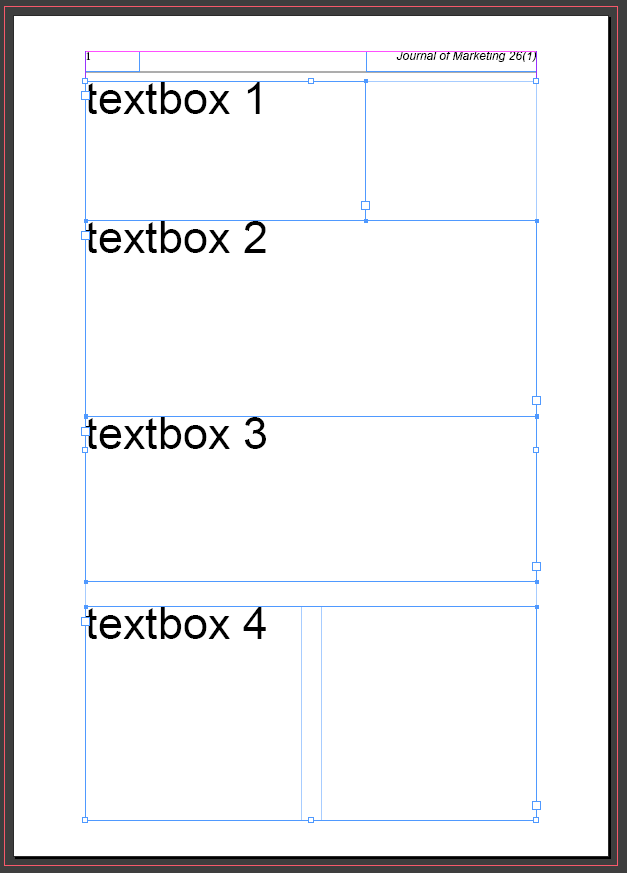
Next, using the Selection Tool, select the double-column textbox and use the anchor points to scale it down. Once this is done, move the textbox to the bottom.
Add three more textboxes and scale them roughly to the same sizes. You should now have four textboxes in total. Finally, reposition and scale the textboxes to look similar to the image below:
Textbox 1
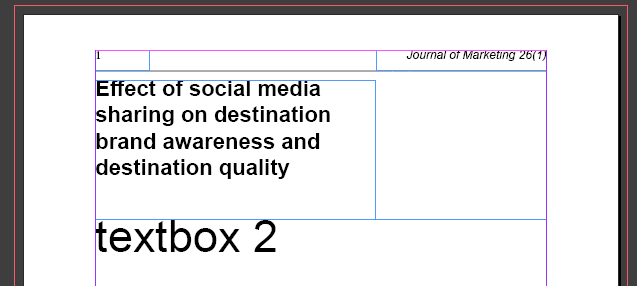
In Textbox 1, type in the following title:
Effect of social media sharing on destination brand awareness and destination quality
Highlight the title and go to the Properties panel and make the following changes:
- Font Family: Arial
- Font Style: Bold
- Font Size: 22pt
- Uncheck the hyphenate box under the paragraph section
The title should look similar to this:
Textbox 2
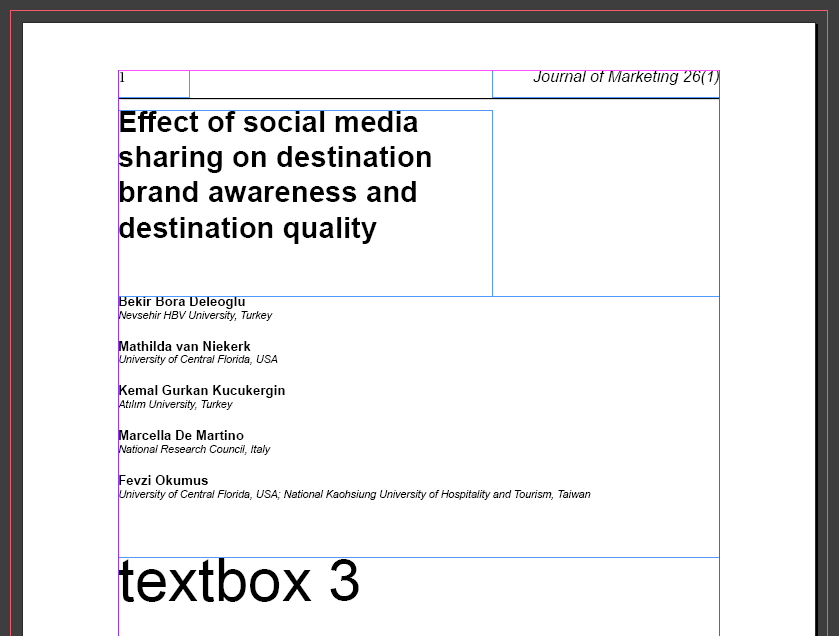
Copy and paste the following text into Textbox 2:
Bekir Bora Deleoglu
Nevsehir HBV University, Turkey
Mathilda van Niekerk
University of Central Florida, USA
Kemal Gurkan Kucukergin
Atılım University, Turkey
Marcella De Martino
National Research Council, Italy
Fevzi Okumus
University of Central Florida, USA; National Kaohsiung University of Hospitality and Tourism, Taiwan
Paragraph styles can be applied to text by highlighting the text and selecting one of the paragraph styles from the paragraph style panel.
Apply the Author paragraph style to the names and Author-Institution to their respective institutions.
Results should look similar to this:
Textbox 3
Select Textbox 3 and double left-click to enter into type mode. Right-click on the textbox and select Fill with placeholder text. This will add visual filler content to the textbox.
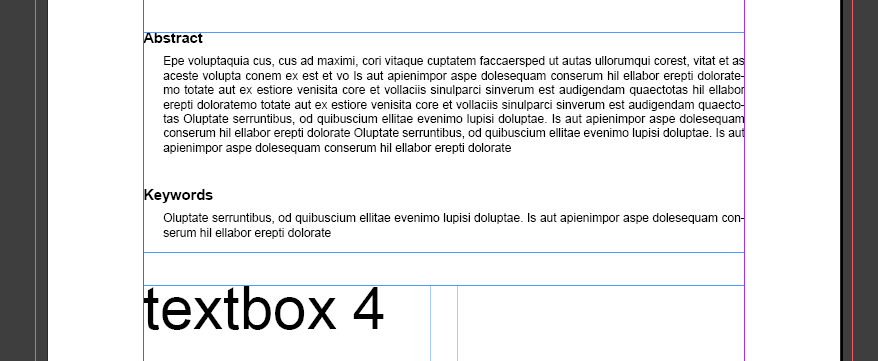
Type the subheaders 'Abstract' and 'Keywords' into textbox 3 and format it so it looks similar to this:
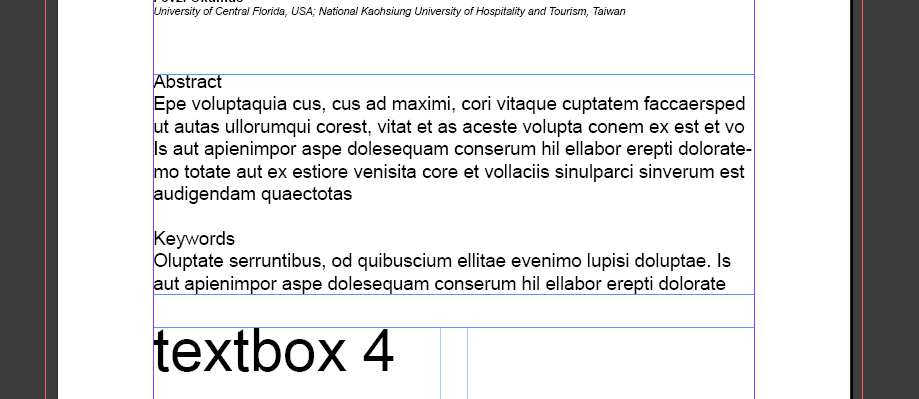
Apply Subheader1 to the subheaders and BodyText1 to the body text. Results should look similar to this:
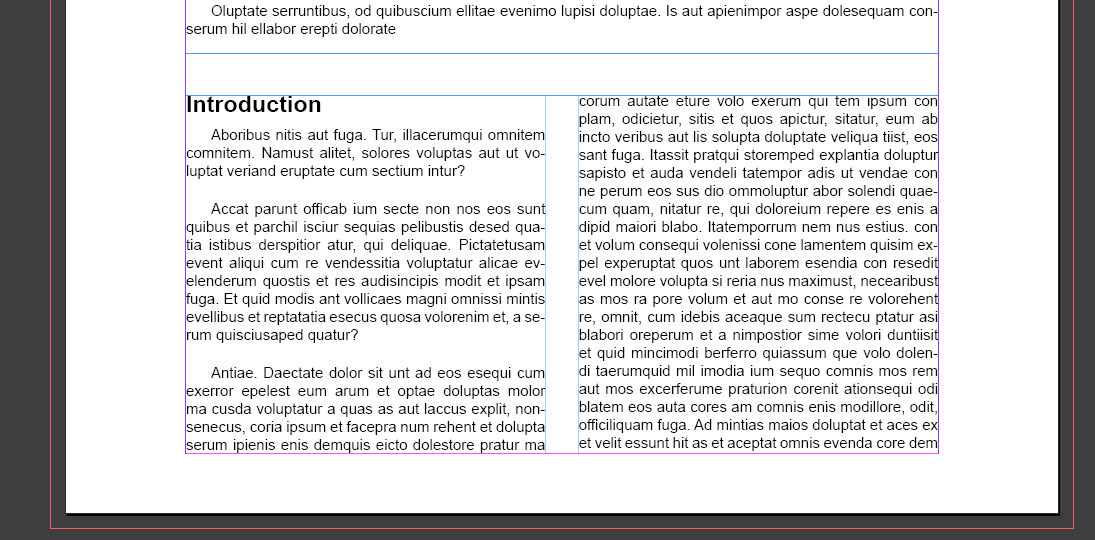
Textbox 4
First, add placeholder text to Textbox 4. Next, type in the header 'Introduction' at the beginning of the paragraph and apply the Header1 paragraph style to it. Results should look similar to this:
Step 6 - Creating new pages and text-overflow
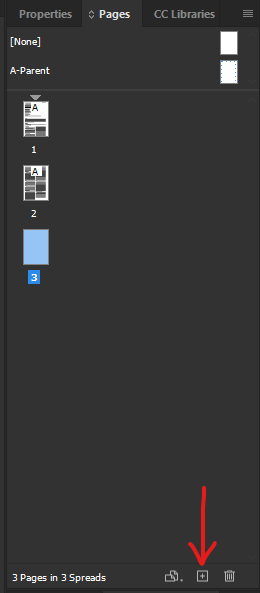
Creating new pages
To create a new page, go to the Pages panel and click on the square icon at the bottom right of the panel.
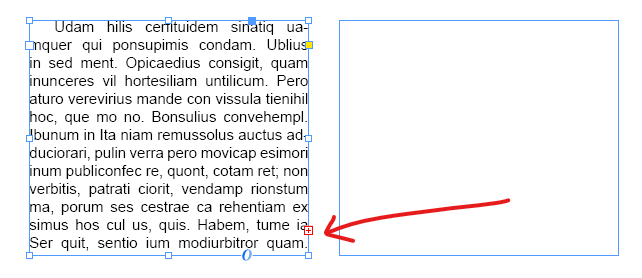
Text-overflow
A problem that may occur is that all the text may not fit within the textbox, hence, the excess text can be controlled to flow into another textbox.
An overflowing textbox is indicated by a red box in the bottom right corner of the textbox as seen in the image below:
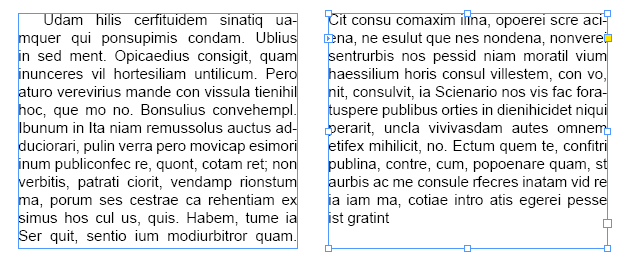
Left-clicking on the red box and then selecting another textbox will cause the excess text to overflow into another textbox.
Step 7 - Exporting
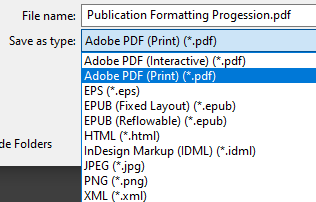
To export, go to File > Export.
The file explorer window will appear. Rename the export file name and change the Save as type to Adobe PDF (Print) (*.pdf).
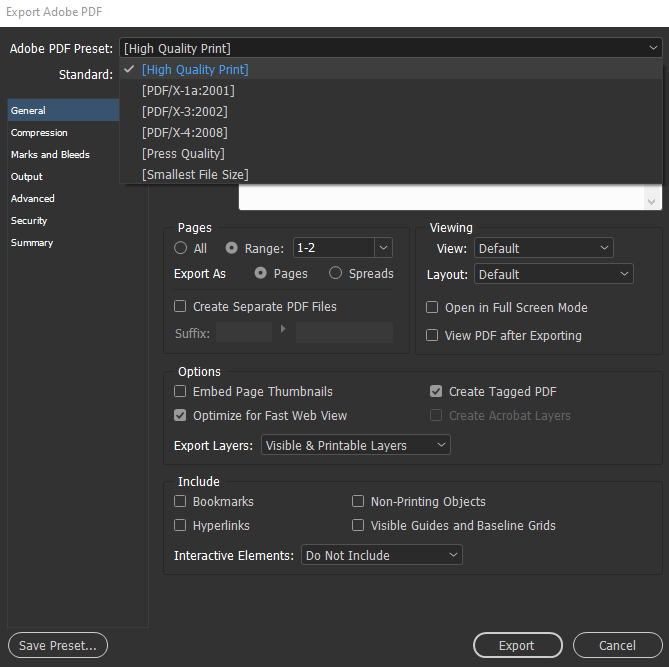
Finally, the Export Adobe PDF window will appear which allows you to change the export settings. Under General, every page can be chosen to be exported or only a selected range of pages.
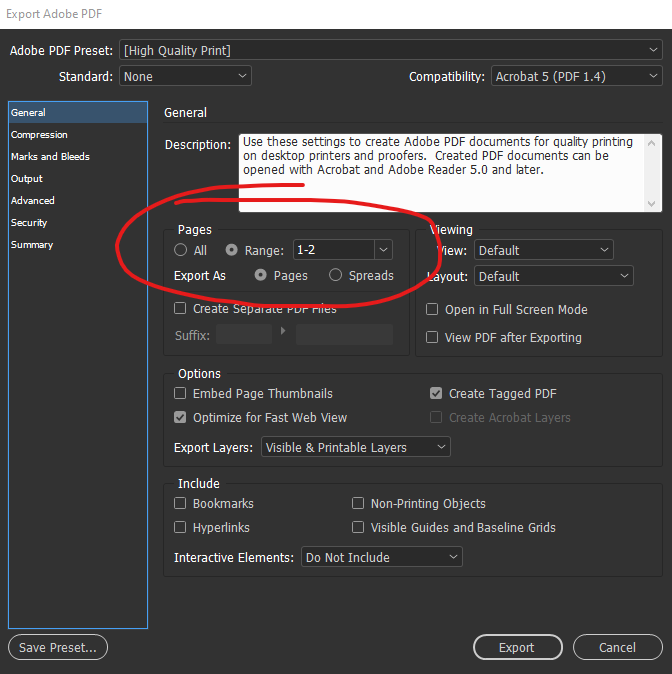
Leave the Adobe PDF Preset at the default [High Quality Print] and hit Export.