Adobe Portfolio (Pf) - Tutorial 2
Creating a website with embedded resources using Adobe Portfolio
Difficulty: Medium
What you will learn: How to create a multi-page website with emebds such as Google Forms and PDF's, using Adobe Portfolio
Example Website: https://louisandersonb238.myportfolio.com
Step 1 - Setting up a webpage
- Adobe portfolio is a web-based website tool that can be found @ www.portfolio.adobe.com. Use your MQ username and password to sign in.
- Click ‘New site’ and choose a theme (I chose Ludwig).
- Click the blue button ‘Use this Theme’.
- Click the blue plus
 and add a Welcome Page.
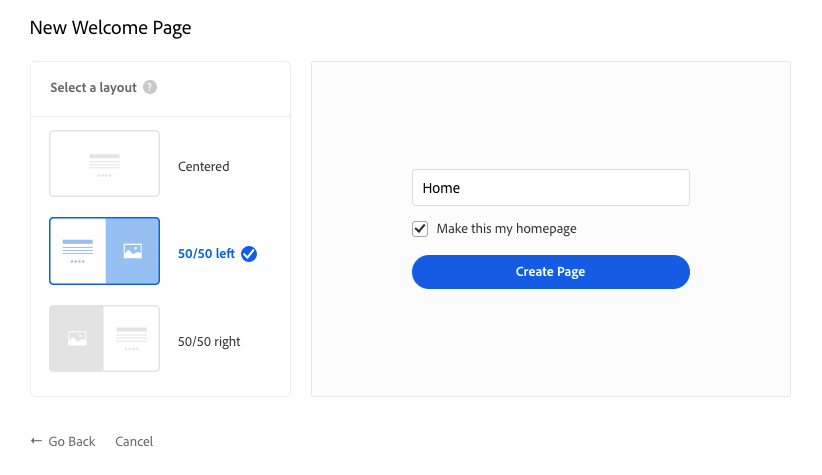
 - Title it ‘Home' and tick the 'make this my homepage' box. On the left select a layout. The example is using the '50/50 left'.
- Select the ‘Pages’
 tab on the left and click on the blue plus,
  to add more pages. Add three more, naming them The Proposal, Documentation and Survey respectively. With each page, select it's destination as 'Navigation'.
 - Click back onto the 'Pages' menu.
- Select the settings drop down menu
 for the Contact page and 'delete page'.This menu provides useful page options. No more are required for this step.
 - Return to the pages tab and click and drag the pages into position using the three lines.
 Position the pages so that Home is first, The Proposal is second, Documentation third and Survey is last.
 - Toggle the ‘Work’ page by clicking the slider. This turns the page off.
- Your pages tab should look like this:

- Click the 'back' arrow
 to close this tab.
Step 2 - Customising each page
- The left menu displays options listed under 'Essentials', 'Site-Wide', 'This Page' and 'All Pages'.
- Click on 'pages' and click your 'The Proposal' page.
- Background, colours & font will allow you to set a site-wide background image (or colour), colour scheme and font. Any image can be uploaded and used as a background (by clicking the ‘upload’ button), however we will set a colour. Scroll down to the bottom of the menu and click the colour code, allowing you to select a custom background colour. Word font can be changed by clicking on the 'Fonts' drop down menu and selecting a font.
- Return to the main menu using the 'back' button. Click on 'Media content styles'. This drops down a menu which allows the changing of settings for all text, media and embeds in your website. Clicking on 'media content styles' again will close this drop down menu.
- Clicking on 'Logo' gives the options between a text or image based logo. I have chosen an image and used the Randwick council logo in the example. Save your logo to your computer and upload it here. Make sure the 'Link To' option is selected as 'Home'.
- Back in the menu, click on 'navigation' and make sure that all sliders are turned off, apart from 'page titles'.
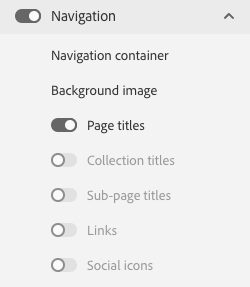
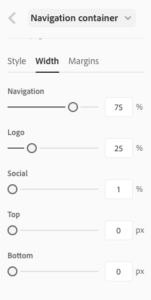
- Whichever slider is turned on, the corresponding navigation option will appear in the navigation bar. As we only need a Logo and Page titles, all other options have been turned off. Go to navigation container > Style to edit navigation colour, height and alignment. Navigation container > Width allows you to adjust the position of the page titles and logo within the navigation bar. The examples' is set to this:
- Go to your websites home page (Pages > Home) and click the blue 'add module'
 button. To find this button, hover your cursor over a seam between other modules.
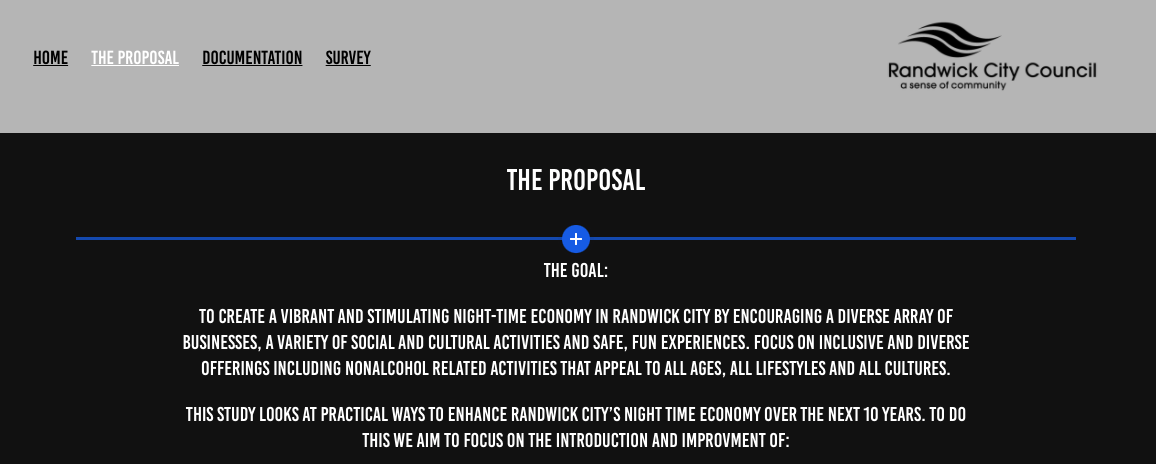
- Additionally, on new empty pages, a menu 'Start building your page' will be available, which also allows you to add modules.
- Select the 'Text'
 option. A text box will appear that will allow you to type what you wish. Highlighting your text brings up the text editing options.
- Click the blue 'add module' button and select the 'Button'
 option. A button will appear. Move the cursor over the button and click the blue 'button' drop down menu. Select 'edit button'.
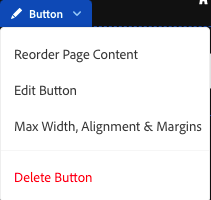 On the menu on the left change the text of the button (the example uses The Proposal). Then click 'link to' and select your page 'The Proposal' from the drop-down menu. You have now created a button on your Home page that links to you Proposal page.
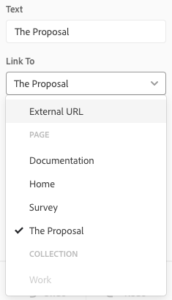
- You shoul now be able to use the modules to customize each page. Play around with the fonts, themes, colours and content of your webstie before you move onto Step 3.
Step 3 - Embedding a PDF
- Make sure to export your desired document as a PDF.
- Head to your MQU Google drive and click + New > File Upload.

 Select your saved PDF and click 'Open'.
 - On the left menu click 'Recent'
 and doulbe click your PDF.
 - Click 'three dots'
 at the top right and select 'Open in a new window'.
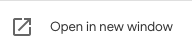
- Again, click the three dots and select 'Share'.
 Click the 'Get Link' section of the pop up and change 'Restricted' to 'Anyone with the link'. This makes your PDF visible to anyone visiting your website. Click Done.
- Click the three dots again and select the 'Embed item...' option. Copy the code.
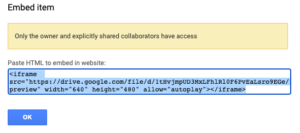
- Go to your ‘documentation’ page on Adobe Portfolio. Click the ‘module plus’ symbol and select ‘embed’.
 Paste the embed code into the text box on the left and click ‘save embed’.
 - Your consultation document will now be embedded into your webpage.
Step 4 - Creating and Embedding a Google Form
- Log into google using your student account and click the ‘Google Apps’ dots
 at the top right of the webpage, opening a drop-down menu. Select the purple ‘Forms’ application.
 - Click on the ‘blank form’ button. Add a title (and description, if you wish)
- Click on the first question and change its title. It would be wise to have your questions and the layout of each prewritten.
- Select the drop-down menu on the right and choose the style for that question
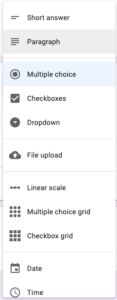
- Styles include, multichoice, short and long answer and scale.
- Options to add answers can be found below the question title
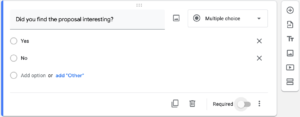
- To add another question, click on the ‘plus’ symbol

- If you want to make a question mandatory, select the ‘Required’ slider

- Clicking on the ‘theme’ button offers options to customise the survey’s theme.
- Click the ‘settings’
 button and in general, make sure that both boxes under ‘Requires sign in’ are unchecked. Click ‘save’. The settings should look like this:
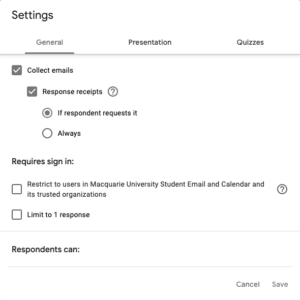
- Once the form has been created, click on the ‘send' button
 and then click the ‘embed’
  button. Change the width to 1000. This will give you an embed link that you can then copy and paste into Adobe portfolio:
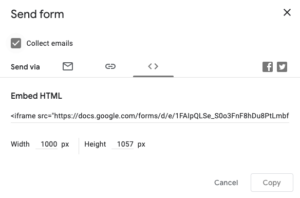
- Go to the desired page on Adobe Portfolio. Click the ‘module plus’ symbol and select ‘embed’. Paste the embed code into the text box on the left and click ‘save embed’.
- Your google form should now be embedded within your webpage.
- Disclaimer: To view responses, log back into Google Forms, enter your survey and click the ‘responses’ tab at the top

Step 5 - Embedding a Video
- If you have created a video on Adobe Premier Rush/Pro, make sure you have exported it as an MP4.
- Create a new page for your video and click on the 'Video' module
 . Select your video you have saved to your computer. Click 'open'.
 - Depending on the size of the video, it may take a long time to upload and process within your webpage.

- Once the bar has loaded all the way, you can leave the video to process on its own.
- ALTERNATIVELY, you can upload your video to YouTube
 , watch the video, click 'Share'
  and get then click 'embed'
  and copy the code
 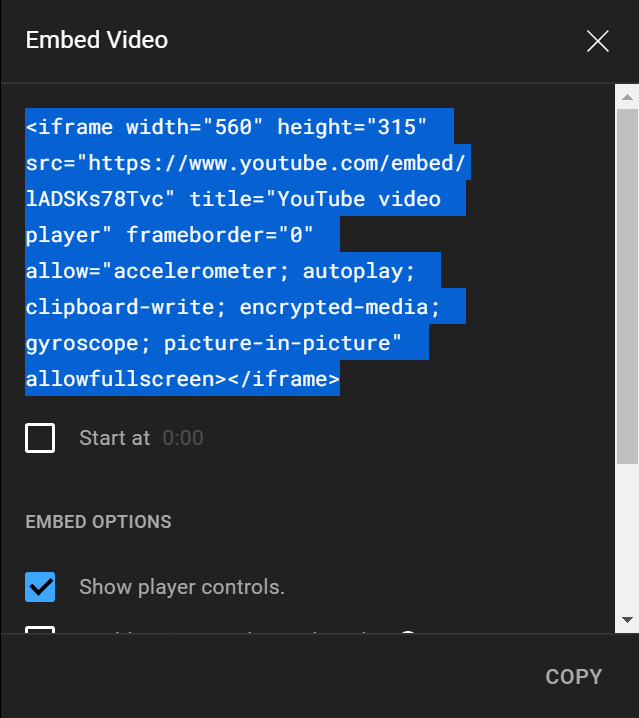 .
. - Then paste the embed code within an embed module in your website.
Step 6 - Go Wild
This guide has given you a basic understanding of the features required for your Consultation website. Adobe Portfolio has much more to offer. It would be wise to explore its other features and create a customised and personalised website that supports your consultation topic.