Adobe Portfolio (Pf)- Tutorial 1
Creating a singular scrolling paged blog
Difficulty: Easy
What you will learn: How to use Adobe Portfolio to create a blog incorporating the following:
- Title/Hero Banner
- Section titles with paragraph text
- Hyperlinked and captioned images
- Embedded videos
Example Website: https://ahis1210demoblog.myportfolio.com
Step 1 - Setting up a webpage
- Adobe portfolio is a web-based website tool that can be found @ www.portfolio.adobe.com. Use your MQ username and password to sign in.
- Click ‘New site’ and choose a theme (I chose Hegen)
- Click the blue button ‘Use this Theme’
- Click the blue plus
 and add a page.
 - Title this page 'blog' and select the destination as ‘Navigation’ and tick the box ‘Make this my homepage’
- Select the ‘Pages’
 tab on the left and click on the 'settings' menu
  for the Contact page and 'delete page'.This menu provides useful page options.
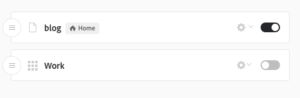
 - Toggle the ‘Work’ page by clicking the slider.
- Select the settings drop down menu for your page and click ‘hide in navigation’
- Your pages tab should look like this:
- We now have a single-page continuous blog set up
Step 2 - Page design
- The left menu displays options listed under 'Essentials', 'Site-Wide', 'This Page' and 'All Pages'.
- Background, colours & font will allow you to set a site-wide background image (or colour), colour scheme and font. Any image can be uploaded and used as a background (by clicking the ‘upload’ button), however we will set a colour. Scroll down to the bottom of the menu and click the colour code, allowing you to select a custom background colour.
- Clicking on the ‘Fonts’ drop down menu will allow a selection of fonts to be chosen.
- Return to the main menu using the 'back'
 button. The options under 'Media content styles' allow for the inclusion of a Logo, Navigation bar and Footer. As we will not be requring them for the blog, click the sliders for all three so that they are turned off.
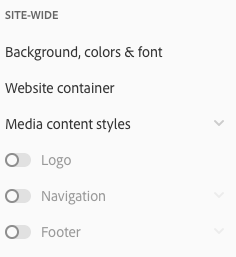
- Instead of a navigation bar, your blog requires a Hero Banner. In Adobe Portfolio this is called a Masthead.
- Scroll down to 'This Page' > 'Use global page styles' and make sure the 'Masthead' slider is turned on.
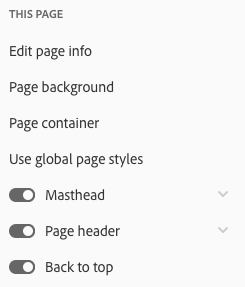 Clicking on 'Masthead' reveals the relvant settings. To add an image to your Hero Banner, click 'Masthead background' > 'Background' > 'Upload' and search your computer for your image. Under 'Options' and 'Overlay' play around with the settings to personalise your Masthead.
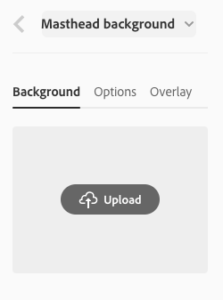 Clicking on the Masthead drop down menu, make sure you also have turned on the sliders for 'Masthead title', 'Masthead text', and 'scroll down arrow'. To change the text of each feature, double click on the text or click on the menu options.
 - Still under 'This Page' > 'Use global page styles' turn the 'Page Header' slider on and add a 'Page title', 'Page description' and 'Date'. These are all optional, but may be worth including in your blog to help bolster your introduction. To edit the page header hover the cursor over the header box and click the blue drop down menu and select 'Edit Page Info'. The pop up menu on the left will allow you to edit the page title and description.
 To edit the style and format of the date, click on the date button on the left, which will open another menu allowing for the changing of the format as well as editing the margins.
Step 3 - Adding content
- Under your title and description, clcik the blue 'add module'
 button, select the 'Text'
  option. A text box will appear that will allow you to type what you wish. Highlighting your text brings up the text editing options.
- Scroll down the bottom of the menu to 'All Pages' > 'Page container'. In here you can edit the width of the text boxes within your blog.
- Click the blue 'add module' button and select the 'Image' option.
 Find your saved image and click 'Open'. Your image should have now been imported into your webpage.
 - To reference this image, move the cursor over the image and click the blue 'Image' button, this will open a drop down menu. Select 'Edit Caption'. This will open up a text box below the image.

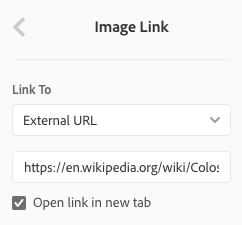
- To add a hyperlink to an image move the cursor over the image and click the blue 'Image' button, this will open a drop down menu. Select 'Edit Link'. This will open up a menu on the left where an external URL can be included. Tick the box labelled 'Open link in new tab'.
- To add a hyperlink to some text, highlight the desired text and click the 'Link' button on the grey text edit menu that appears.
 A menu will pop up that will allow you to change the 'Link To' option to a External URL, or Page within your website. Select External URL and paste the desired website link. Make sure you tick the 'Open link in new tab' box.
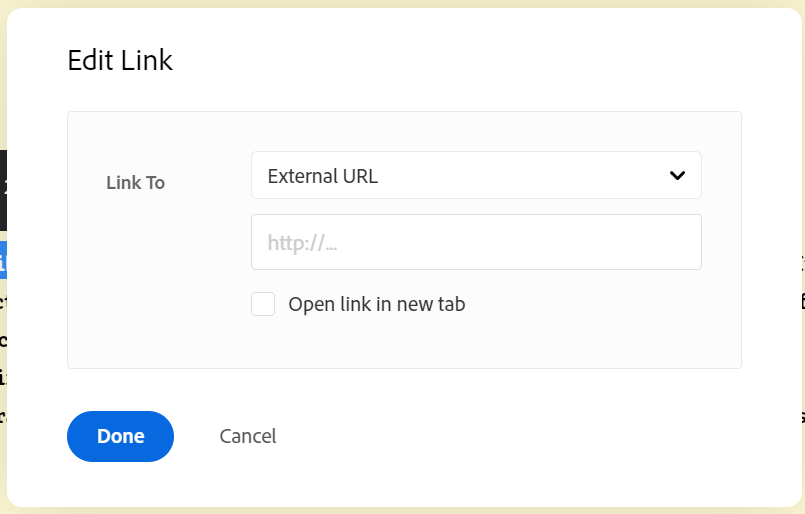
- There are two methods to adding a video to your blog. The first is selecting the 'Video' button
 from the 'add module' menu. You will then select and 'open' a video you have saved to your computer and it will be added in. Note: Using this method, the video must not exceed 1GB in size.
 - OR find a relevant video on YouTube (or other media sharing website), click 'Share'
 > 'Embed'
  and copy the embed code.
 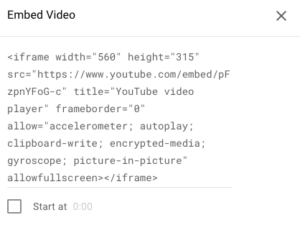 Return to Adobe Portfolio select the 'embed'
  module and copy the embed code into the relevant box on the left menu.
 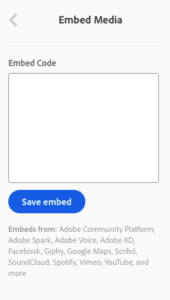 When you have done this, you must then click the blue 'Save Embed' button. The youtube video should now appear on your blog page.
Step 4 - Explore
The required basics of this web-design tool have been demonstrated in relation to your Assessment; everything you need to build your blog has been covered. Adobe Portfolio has numerous features that have not been included in this guide. Spend some time playing around with the other features and make your blog a personalised masterpiece.