Adobe Illustrator (Ai)
Creating Diagrams in Illustrator
Difficulty: Easy
What you will learn: textbox, type tool, paragraph styles, paths, appearances
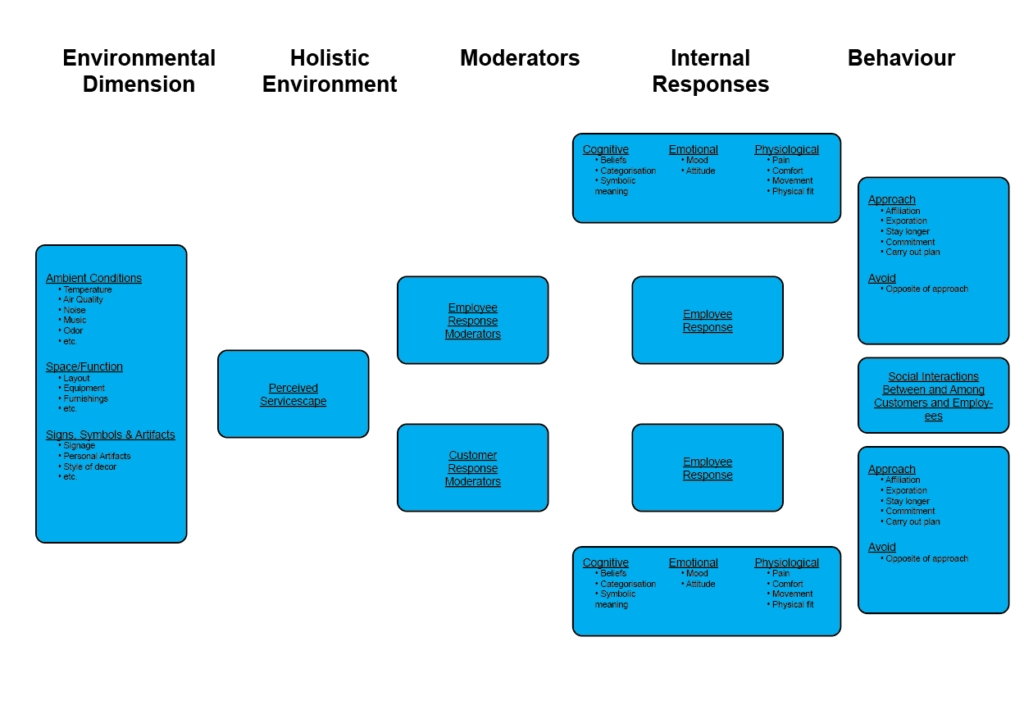
Results:
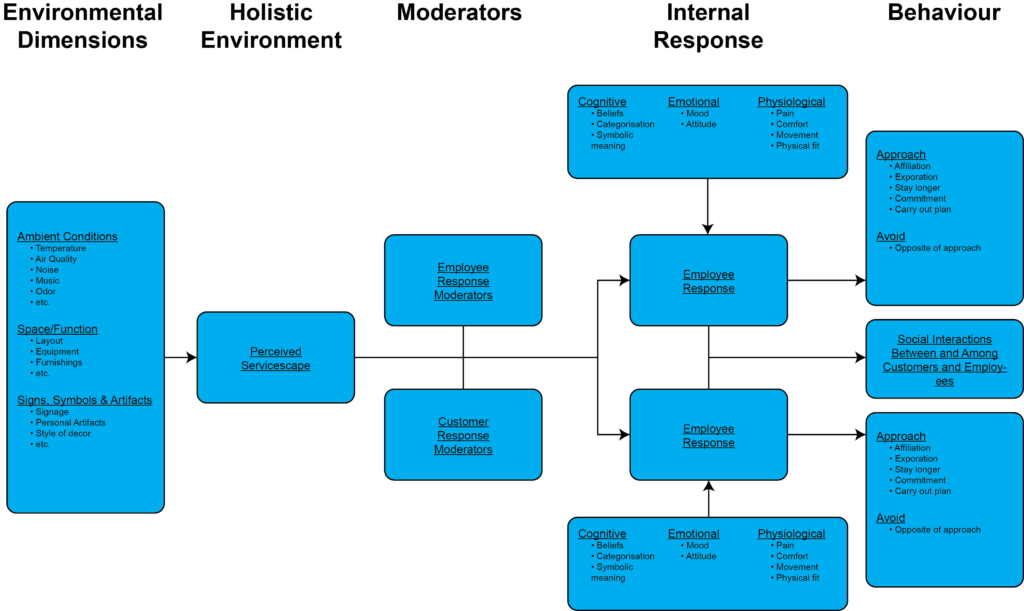
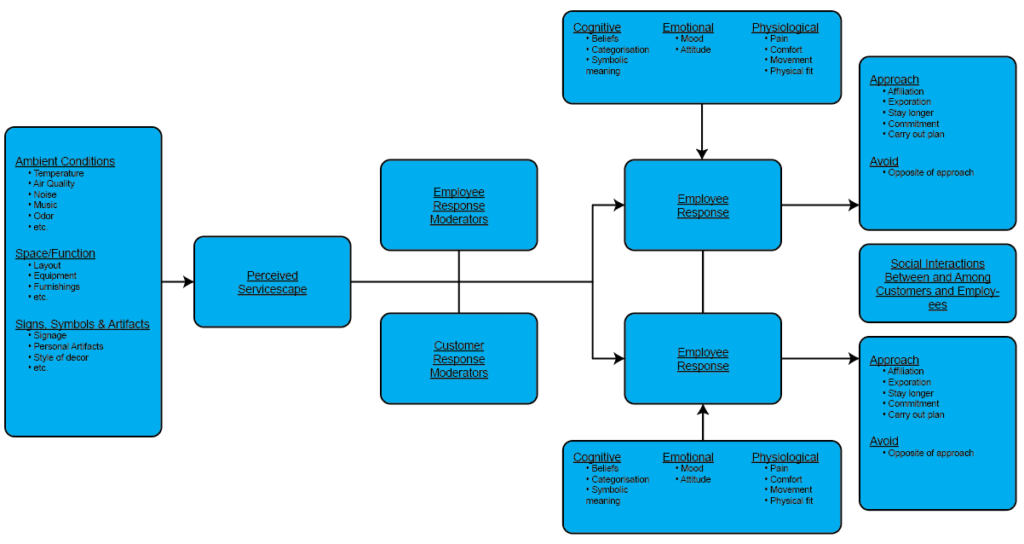
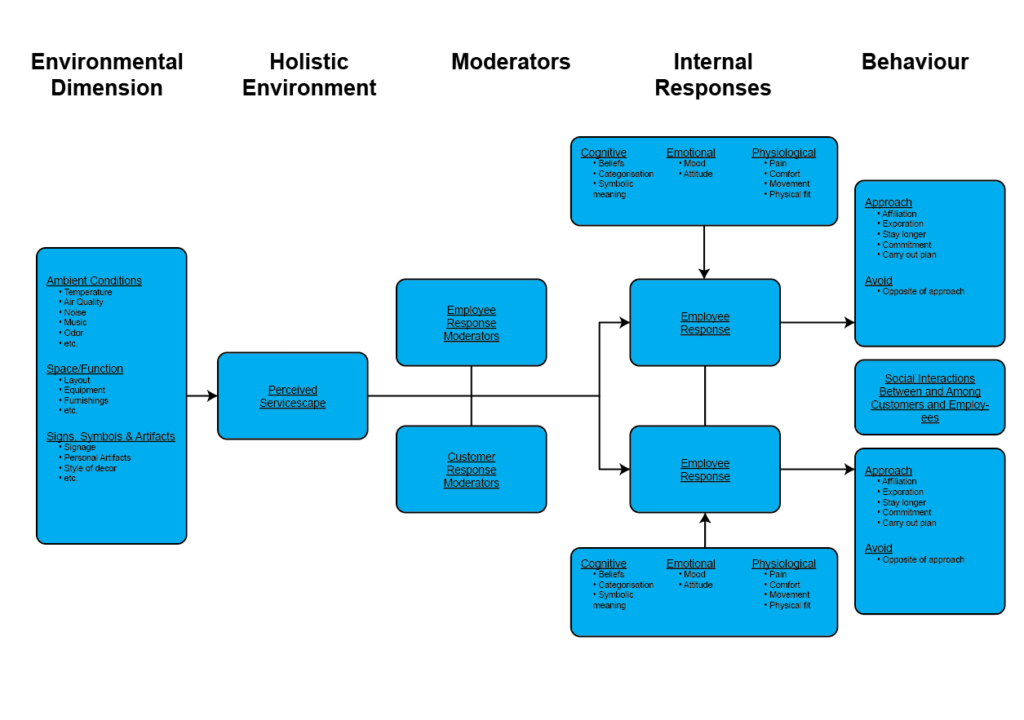
Diagram based on a model by Bitner (1992).
Bitner. (1992). Servicescapes: The Impact of Physical Surroundings on Customers and Employees. Journal of Marketing, 56(2), 57–71. https://doi.org/10.1177/002224299205600205
Step 1 - Creating the document
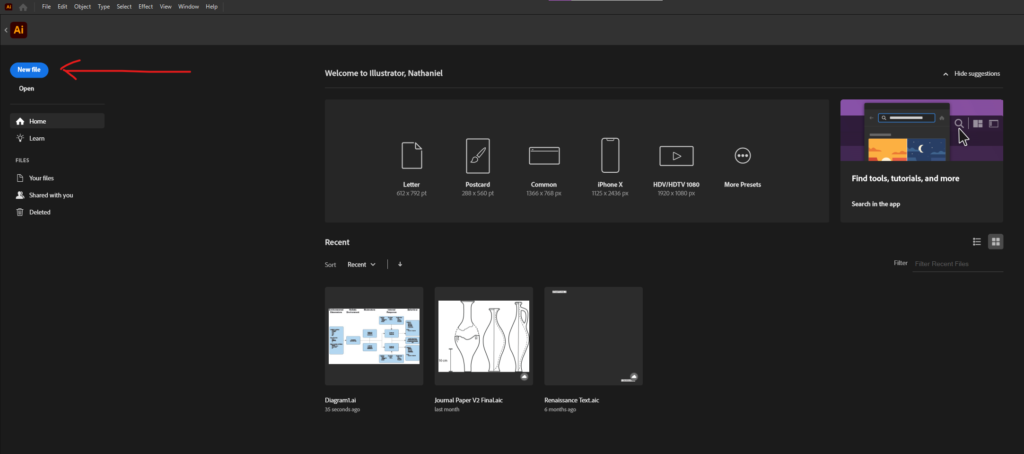
Open Adobe Illustrator.
To create a new document, click on the blue New File button.
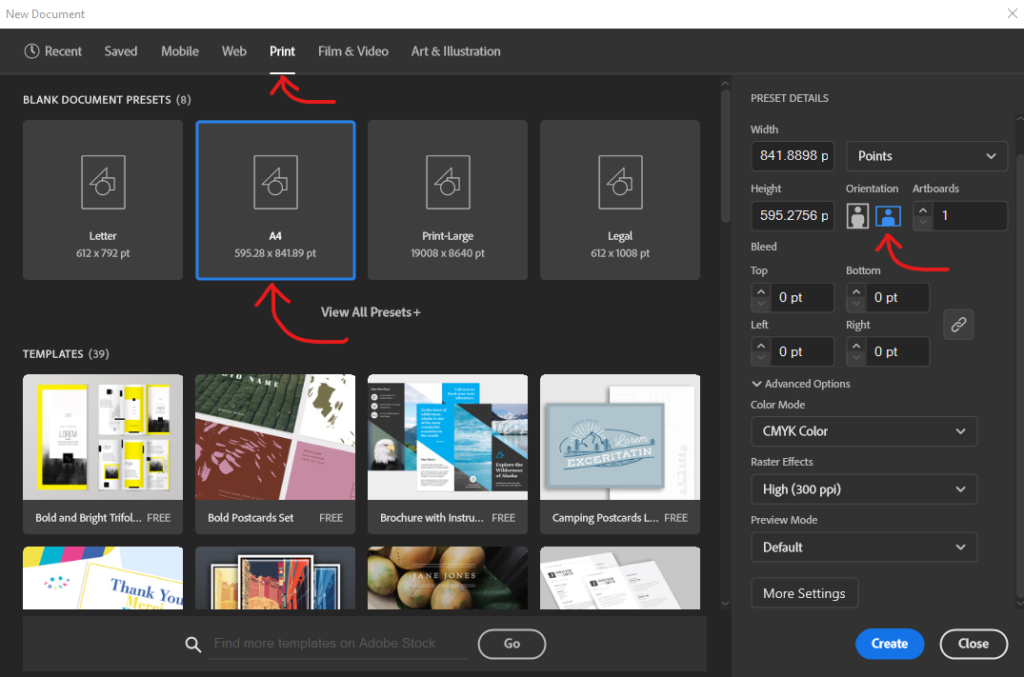
Select Print, then A4, and next change the orientation to Landscape.
Finally, click on the blue Create button to start a new document.
Step 2 - Setting up the workspace
After creating your document, your workspace will look similar to this:
You will need to add more panels to the workspace to use as tools.
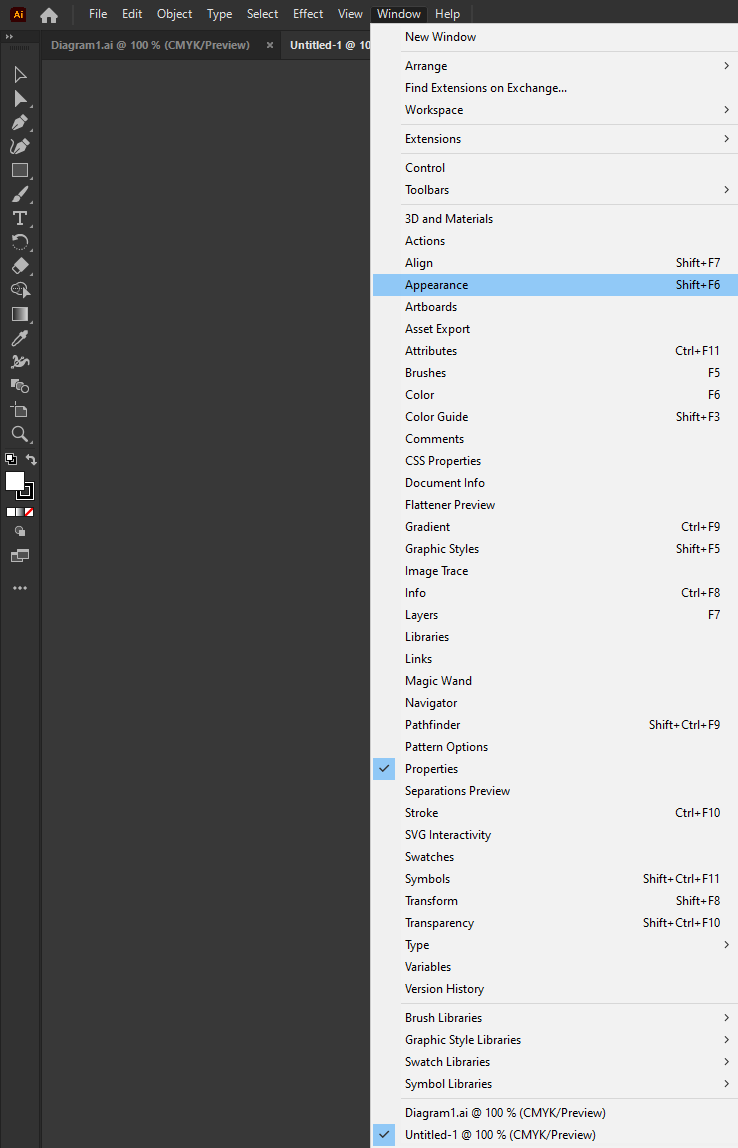
To add the necessary panels, select Windows from the menu at the top-left of the screen. From the Windows submenu, select:
- Control
- Appearance
- Type > Paragraph Styles
- Color
When a panel is enabled, you can move and organise the panels in the workspace by left-clicking on the top bar of the panel. Dragging a panel near an edge will cause a blue highlight to appear which indicates that the panel will snap to the edge.
Organise the workspace to your personal preference. An example workspace layout:
Step 3 - Creating headers
Select the type tool from the toolbar.
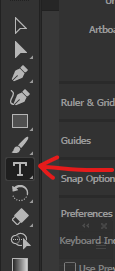
Left-clicking on the artboard will create a new textbox and type 'Environmental Dimension'.
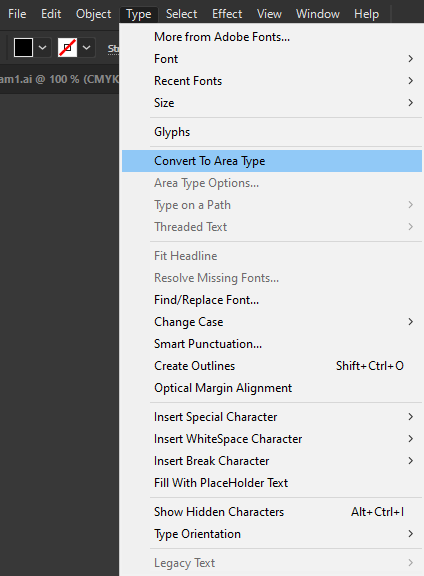
Next, with the newly created textbox selected, go to and select Type > Convert to Area Type.
Left-click and drag the anchor points on the corners of the textbox to expand its size.


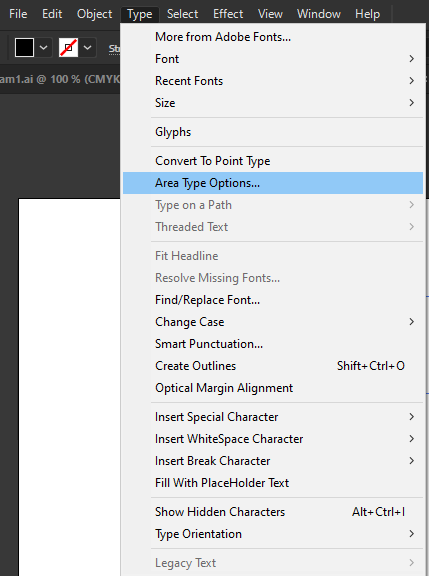
With the textbox selected, go to Type > Area Type Options to bring up the option window for Area Type.
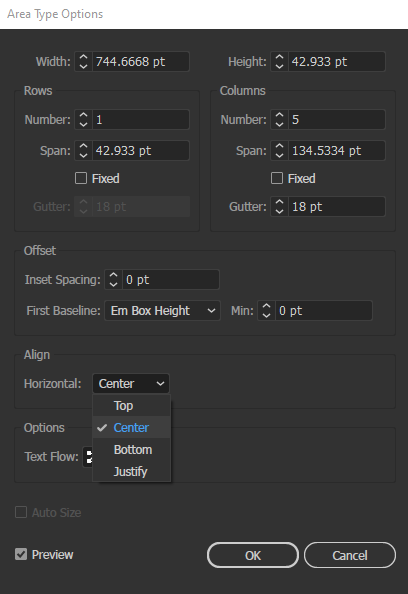
Change the number of columns to 5 and Horizontal Align to Center. Then hit OK.
In the textbox, type in the remaining headers until it looks similar to this:

Formatting the headers
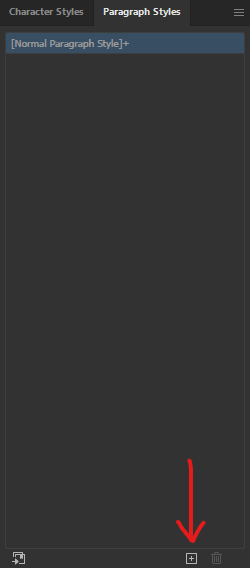
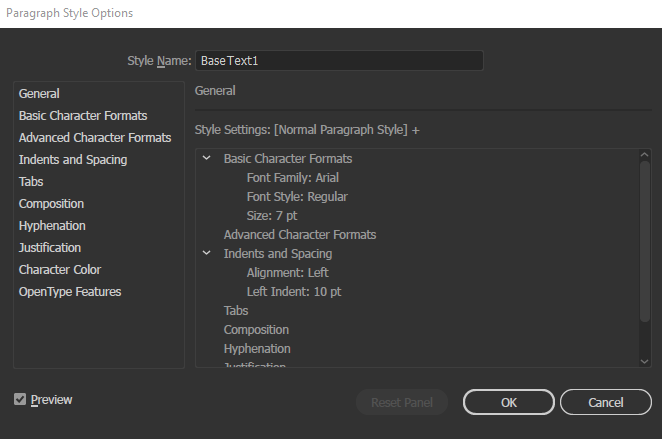
In the Paragraph Styles panel, select the Create New Style button to make a new paragraph style. After creating a new paragraph style, double left-click on Paragraph Style 1 to open up a new window and access its settings.

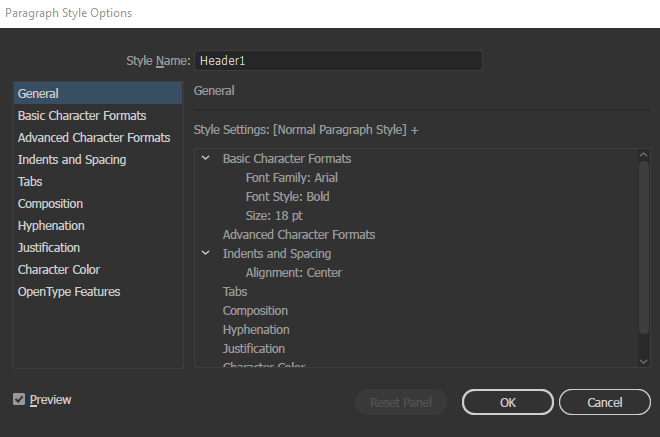
In General, rename the paragraph style to Header1.
Under Basic Character Format, make the following changes:
- Font Family => Arial
- Font Style => Bold
- Font Size => 18
Next, in Indents and Spacing, change Alignment to Center.
To apply the paragraph style to the headers, with the Selection Tool, double left-click on the text to edit it. Highlight the text and then select Header1 in the Paragraph Styles panel. Note: changing the font size of the header will affect the spacing of the text so you may have to readjust the text.
After some readjustments, the header should look similar to this:

Step 4 - Creating textboxes
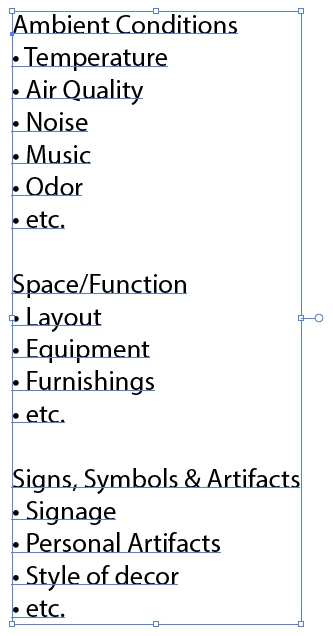
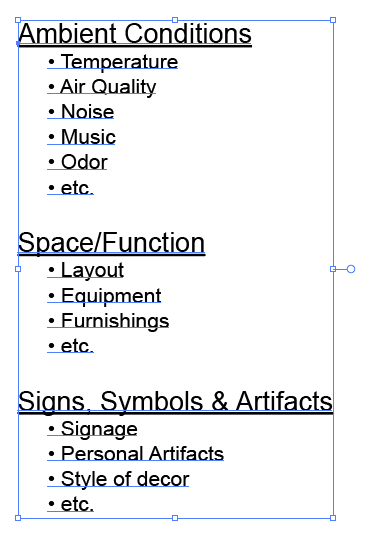
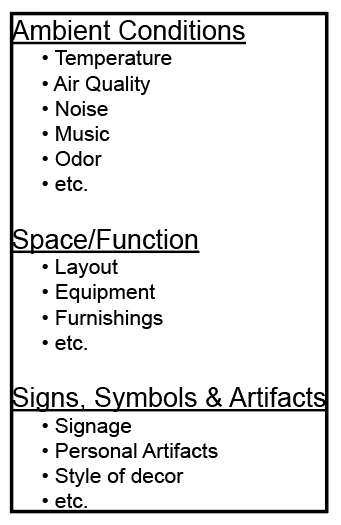
Use the Type Tool to create a new textbox and type in the text for the first box.
Bullet points can be created by using the hotkey: Alt + 98 (Window) or Opt/Alt + 8 (Mac).
The text should look similar to this:
Formatting the text
Creating Subheader1
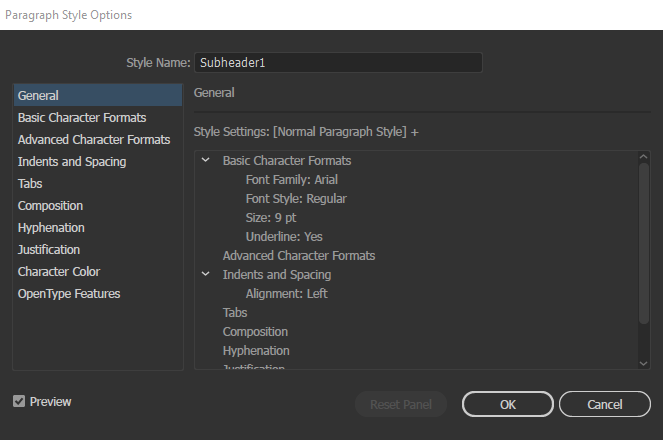
Create a new paragraph style and double left-click on it to access its settings.
Change the name of the new paragraph style to Subheader1.
Under Basic Character Format, make the following changes:
- Font Family to Arial
- Font Style to Regular
- Font Size to 9pt
- Have Underlined checked
Next, under Indents and Spacing, change Align to Left.
Creating Text1
Create a new paragraph style and double left-click on it to access its settings.
Change the name of the new paragraph style to Text1.
Under Basic Character Format, make the following changes:
- Font Family to Arial
- Font Style to Regular
- Font Size to 7pt
Next, under Indents and Spacing, make the following changes:
- Align to Left.
- Left Indent to 10pt
Applying the paragraph styles
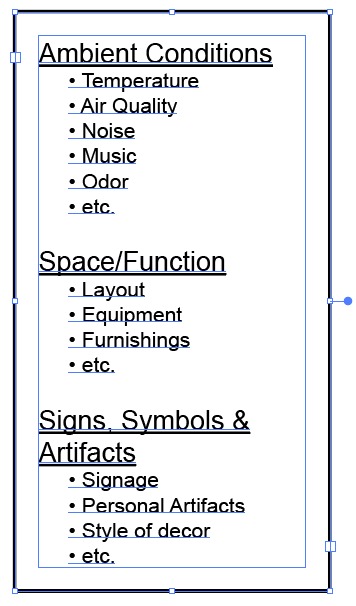
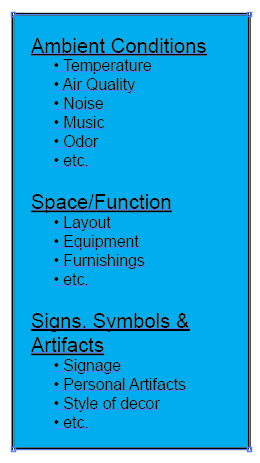
Highlight the subheaders and select Subheader1 to apply the paragraph style to the next. Similarly, apply Text1 to the body texts. Results should look similar to this:
Area Type
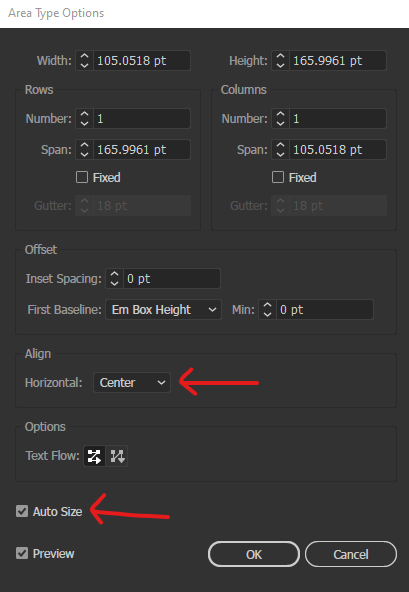
Convert the textbox into an Area Type by having the textbox selected and going to Type > Convert to Area Type.
Next, go to Type > Area Type Options and change Align > Horizontal to Center and check the box for Auto Size.
Once done, click on OK to close the window.
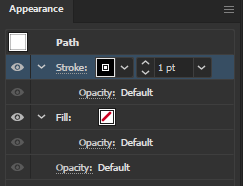
Stroke
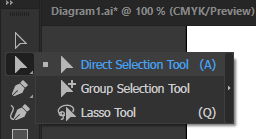
Next, use the Direct Selection Tool and select the blue edge of the textbox to directly select it.
The exclusively selected stroke of the textbox will appear like this:

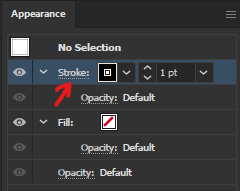
With the textbox stroke selected, go to the Appearance panel, select the thumbnail of the Stroke and change the colour to Black.
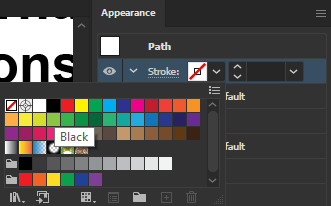
The textbox stroke will look similar to this:
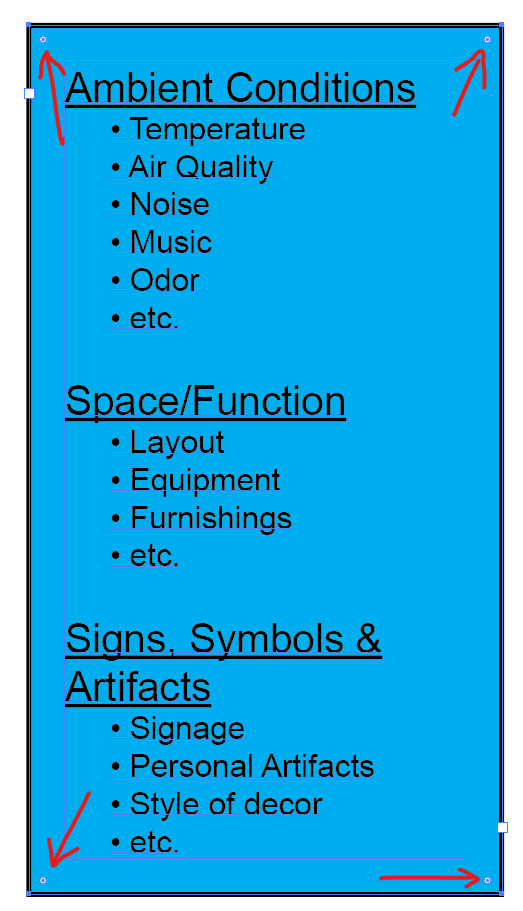
The border is too close to the text, therefore some padding will need to be added.
Go to Type > Area Type Options. Then, under Offset, increase Inset Spacing to 8pt. Resize the textbox if all the text does not fit inside the box.
The textbox should look similar to this:
Fill
Using the Direct Selection Tool again, select the stroke of the textbox. Go to the Appearance Panel and select the thumbnail of the Fill and change it to Cyan.
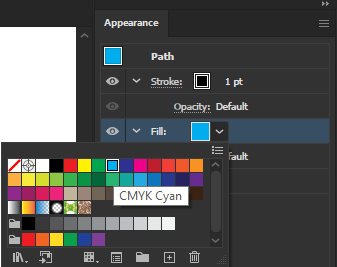
The results will look similar to this:
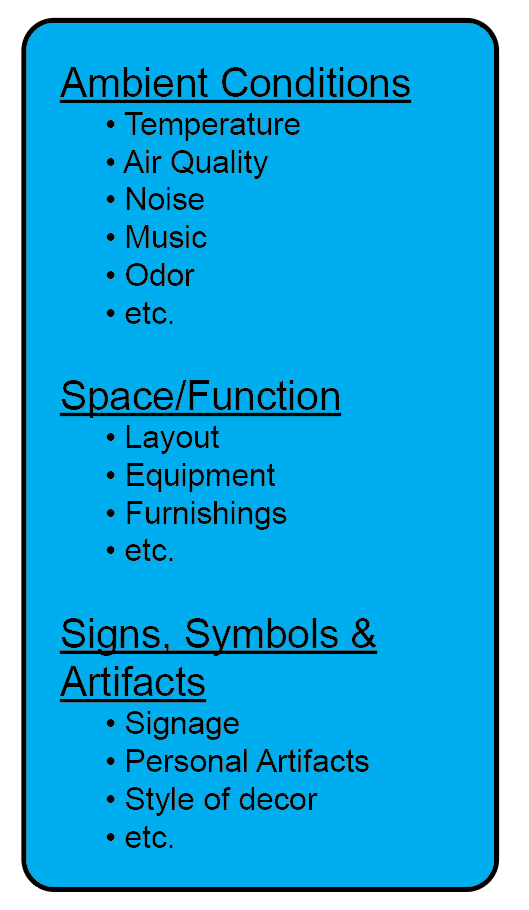
Using the Direct Selection Tool, select the textbox. In the corners of the textbox, there are circle anchors which can be used to round the corners. Left-click and drag the circle anchors to round the corners.
Results should look similar to this:
Step 5 - Creating the remaining text boxes
Use the previous steps to recreate the rest of the textboxes in the diagram.
Results should look similar to this:
Step 6 - Creating the arrows
Select the Pen Tool from the toolbar.
With the Pen Tool, left-clicking on the artboard will create anchor points with paths connecting each point together.
Pressing Esc will end a path.
Place anchor points on the edges of the textboxes to create paths that connect each text box together.
Results should look similar to this:
Next, to add arrowheads to each path, go to Appearance and left-click on the text Stroke to access its settings.
In the settings, select one of the Arrowhead and select Arrow 1.
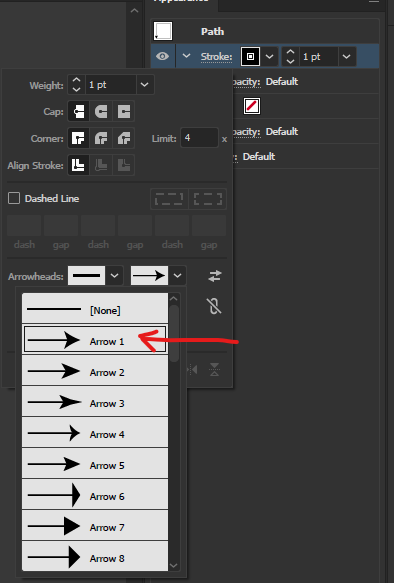
Repeat this step for every other path. Results should look similar to this:
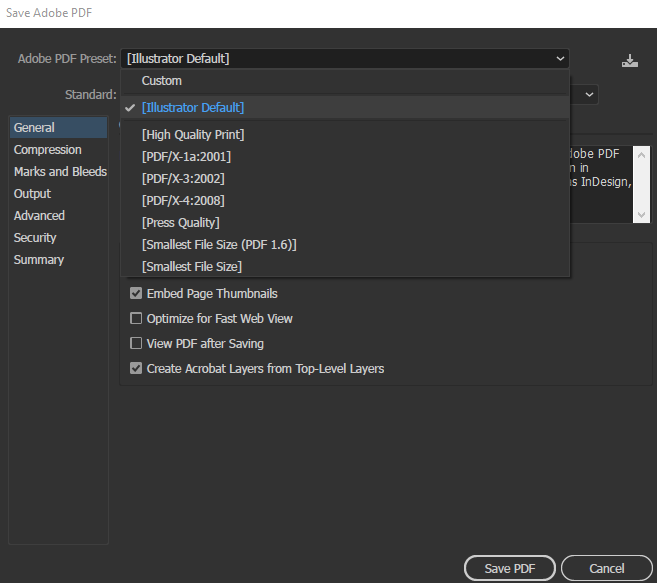
Step 7 - Exporting
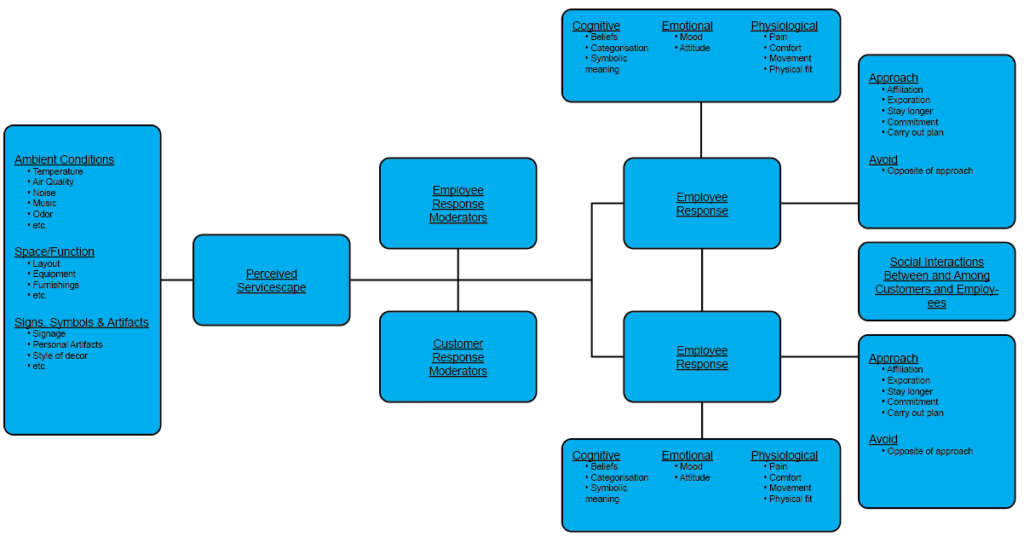
Overall, the diagram should look similar to this:
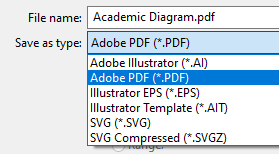
To export, go to File > Save As.
A file explorer window will appear. Rename the export file name and change Save as type to Adobe PDF (*.PDF) and then hit Save.
Next, a Save Adobe PDF window will appear. Leave the Adobe PDF Preset at the default [Illustrator Default] and then press Save PDF to finally export the diagram.